
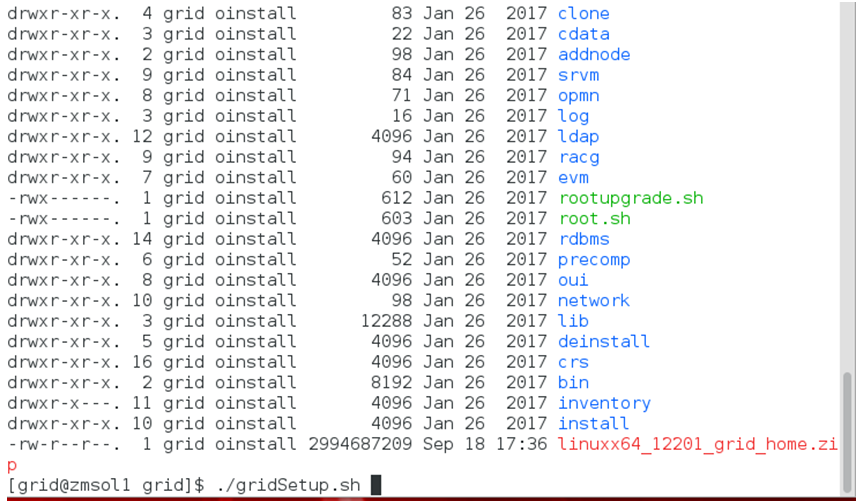
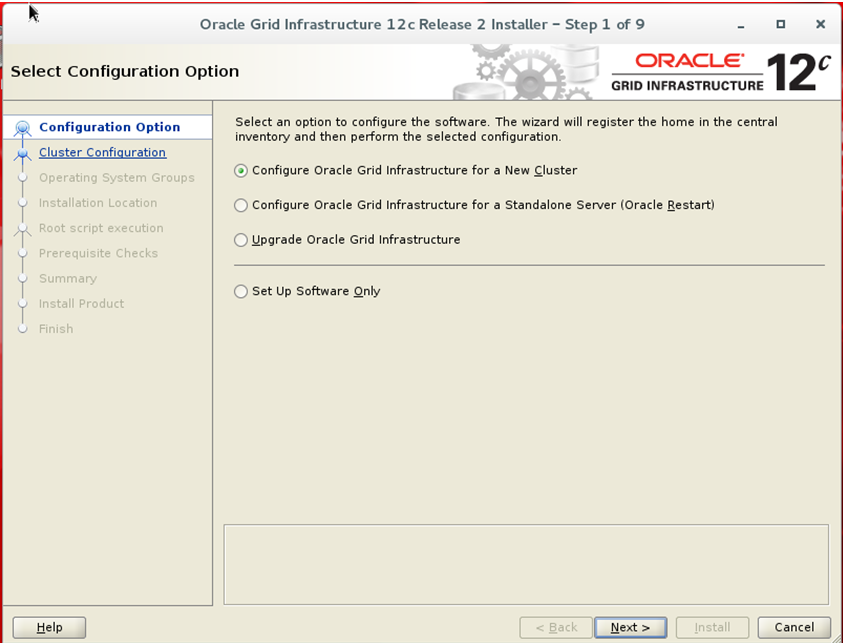
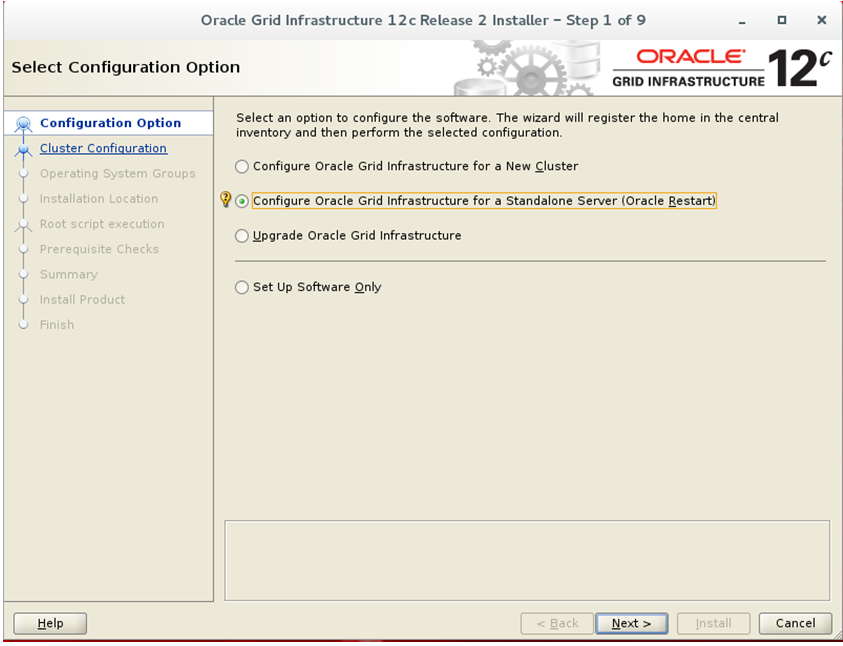
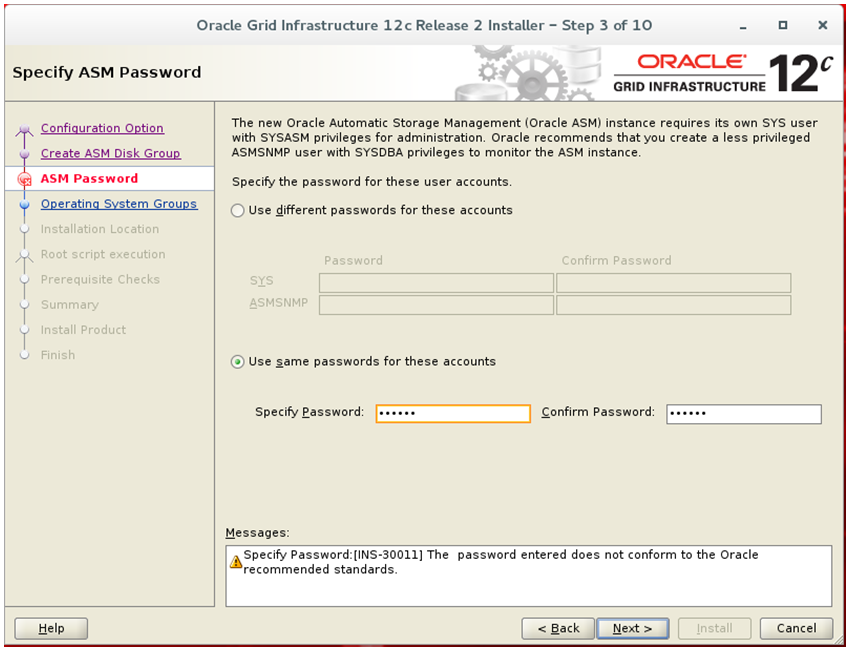
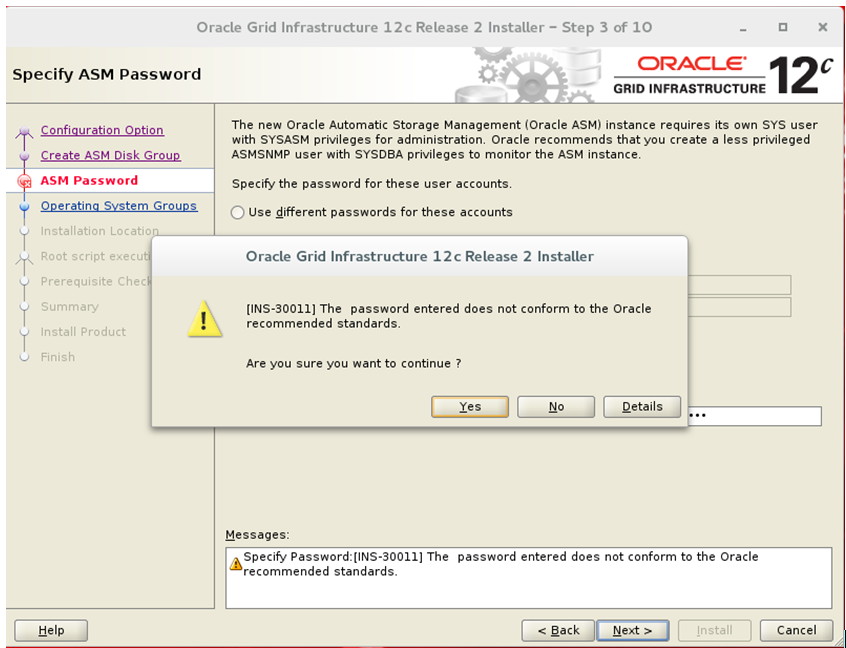
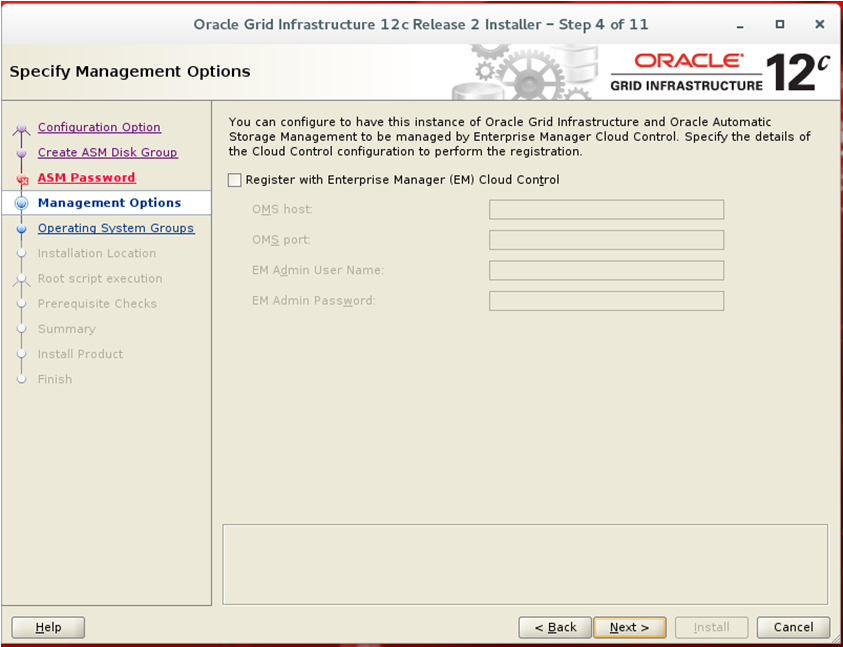
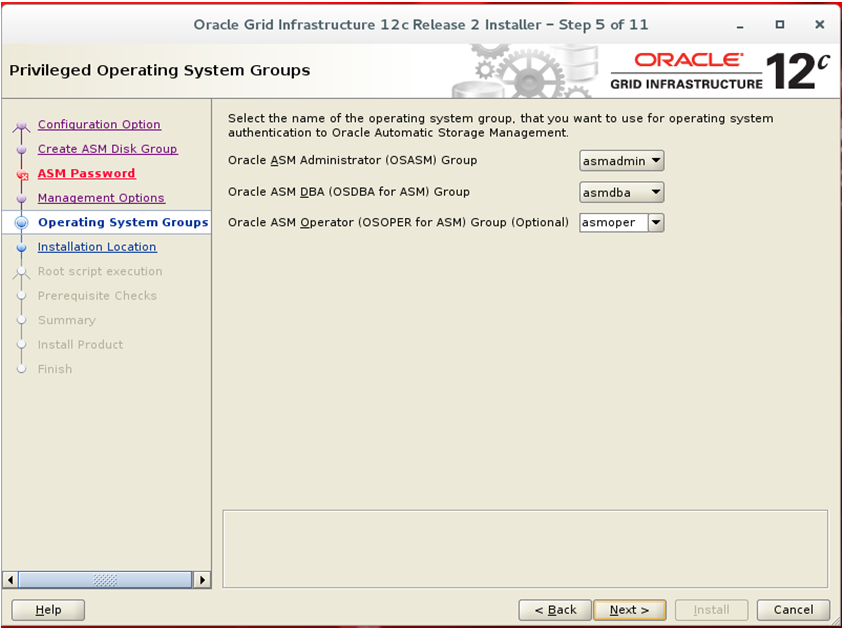
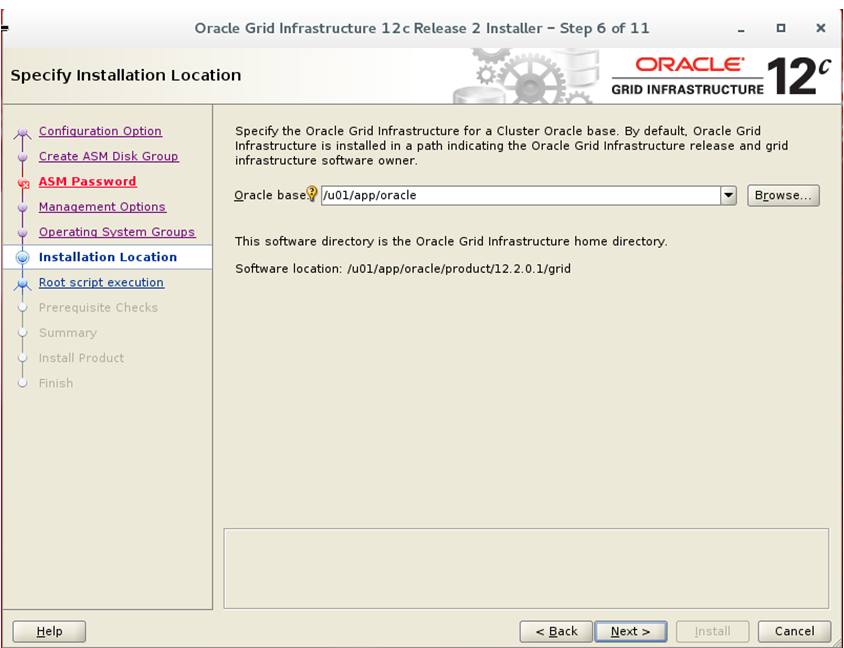
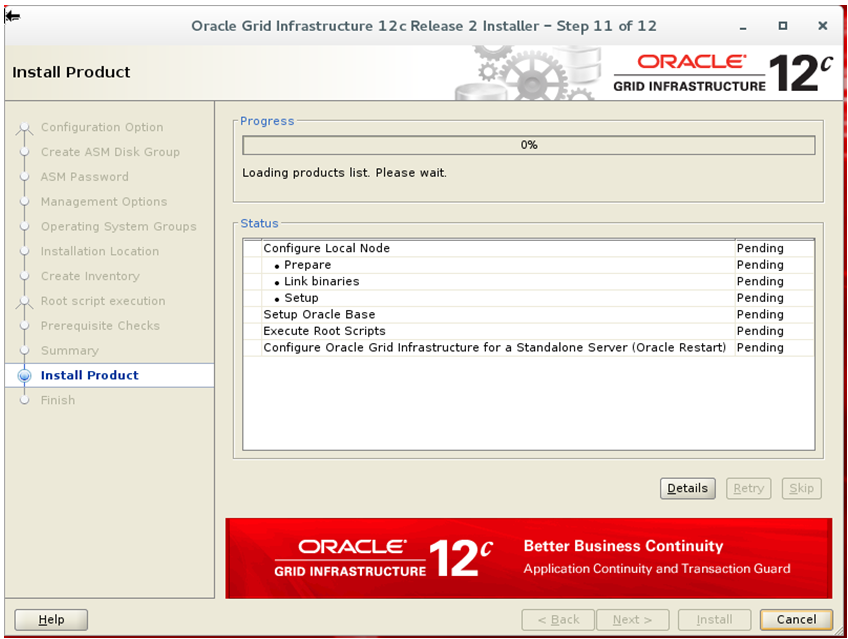
Nesse artigos ,vou mostra passo a passo como instalar o Oracle Grid infrastrutura 12.2 for a Standalone Server .
Instalando pacotes
yum install binutils -y
yum install compat-libcap1 -y
yum install compat-libstdc++-33 -y
yum install compat-libstdc++-33.i686 -y
yum install glibc -y
yum install glibc.i686 -y
yum install glibc-devel -y
yum install glibc-devel.i686 -y
yum install ksh -y
yum install libaio -y
yum install libaio.i686 -y
yum install libaio-devel -y
yum install libaio-devel.i686 -y
yum install libX11 -y
yum install libX11.i686 -y
yum install libXau -y
yum install libXau.i686 -y
yum install libXi -y
yum install libXi.i686 -y
yum install libXtst -y
yum install libXtst.i686 -y
yum install libgcc -y
yum install libgcc.i686 -y
yum install libstdc++ -y
yum install libstdc++.i686 -y
yum install libstdc++-devel -y
yum install libstdc++-devel.i686 -y
yum install libxcb -y
yum install libxcb.i686 -y
yum install make -y
yum install nfs-utils -y
yum install net-tools -y
yum install smartmontools -y
yum install sysstat -y
yum install unixODBC -y
yum install unixODBC-devel –y
yum install binutils -y
yum install compat-libstdc++-33 -y
yum install compat-libstdc++-33.i686 -y
yum install gcc -y
yum install gcc-c++ -y
yum install glibc -y
yum install glibc.i686 -y
yum install glibc-devel -y
yum install glibc-devel.i686 -y
yum install ksh -y
yum install libgcc -y
yum install libgcc.i686 -y
yum install libstdc++ -y
yum install libstdc++.i686 -y
yum install libstdc++-devel -y
yum install libstdc++-devel.i686 -y
yum install libaio -y
yum install libaio.i686 -y
yum install libaio-devel -y
yum install libaio-devel.i686 -y
yum install libXext -y
yum install libXext.i686 -y
yum install libXtst -y
yum install libXtst.i686 -y
yum install libX11 -y
yum install libX11.i686 -y
yum install libXau -y
yum install libXau.i686 -y
yum install libxcb -y
yum install libxcb.i686 -y
yum install libXi -y
yum install libXi.i686 -y
yum install make -y
yum install sysstat -y
yum install unixODBC -y
yum install unixODBC-devel -y
yum install zlib-devel -y
yum install zlib-devel.i686 –y
yum install  tigervnc-server
Altere o arquivo /etc/sysctl.conf
vi /etc/sysctl.conf
fs.file-max = 6815744
kernel.sem = 250 32000 100 128
kernel.shmmni = 4096
kernel.shmall = 5242880
kernel.shmmax = 10737418240
kernel.panic_on_oops = 1
net.core.rmem_default = 262144
net.core.rmem_max = 4194304
net.core.wmem_default = 262144
net.core.wmem_max = 1048576
net.ipv4.conf.all.rp_filter = 2
net.ipv4.conf.default.rp_filter = 2
fs.aio-max-nr = 1048576
net.ipv4.ip_local_port_range = 9000 65500
Altere o arquivo limits.conf
vi  /etc/security/limits.conf

# Oracle configuration - zmsolution

@oinstall        soft   nproc      16384
@oinstall        hard   nproc      16384
@oinstall        soft   nofile     8192
@oinstall        hard   nofile     65536
@oinstall        soft   stack      10240
@oinstall        hard   stack      32768
@oinstall        hard   memlock    134217728
@oinstall        soft   memlock    134217728

@root             soft nproc  4096
@root             hard nproc  16384
@root             soft nofile 8192
@root             hard nofile 65536
Criei os novos usuários e grupos
groupadd -g 1300 dba
groupadd -g 1301 oper
groupadd -g 1000 oinstall
groupadd -g 1200 asmadmin
groupadd -g 1201 asmdba
groupadd -g 1202 asmoper

useradd -u 1100 -g oinstall -G dba,oper,asmadmin,asmdba,asmoper  grid
useradd -u 1101 -g oinstall -G dba,oper,asmadmin,asmdba,asmoper  oracle
Altere as senhas
passwd grid
passwd oracle
Edite o arquivo /etc/hosts
vi  /etc/hosts

127.0.0.1      localhost.localdomain   localhost
192.168.56.101 zmsol1.localdomain zmsol1
Desabiltando o SELINUX
Altere o arquivo /etc/selinux/config

vi /etc/selinux/config
SELINUX=permissive
Desabilite o firewall
systemctl stop firewalld
systemctl disable firewalld
Make sure NTP (Chrony on OL7/RHEL7) is enabled.
systemctl enable chronyd.service
systemctl start chronyd.service
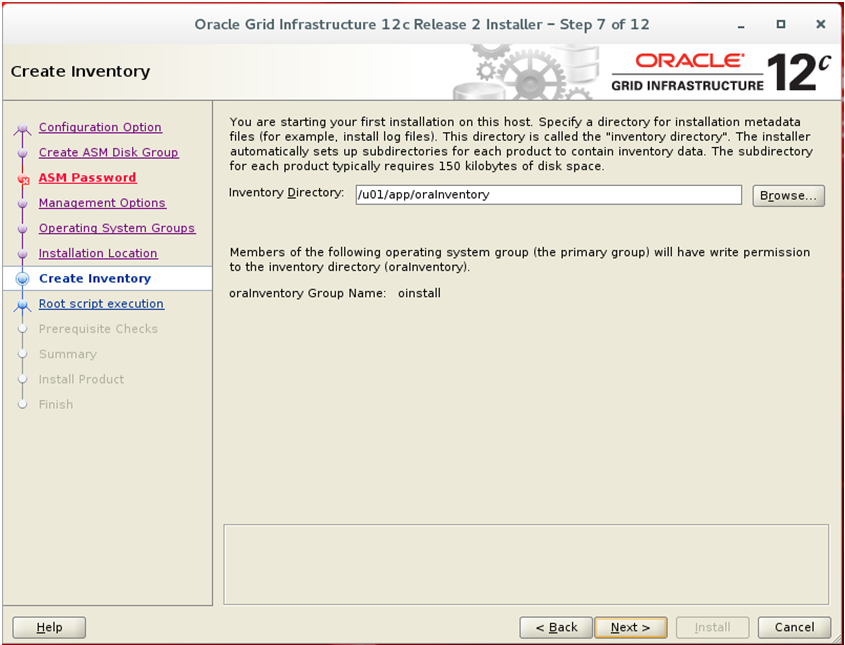
Crie os Directórios
mkdir -p /u01/app/oraInventory
chown -R grid:oinstall /u01/app/oraInventory
chmod -R 775 /u01/app/oraInventory
chmod -R 775 /u01/
mkdir -p /u01/app/oracle/product/12.2.0.1/grid
mkdir -p /u01/app/oracle/product/12.2.0.1/db_1
mkdir -p /u01/app/oracle/product/11.2.0.4/db_1
chown -R grid:oinstall /u01
chmod -R 775 /u01/
Instalando o ASM
[root@zmsol1 Packages]# rpm -Uvh ./oracleasm-support-2.1.8-3.1.el7.x86_64.rpm
Preparing...                          ################################# [100%]
Updating / installing...
   1:oracleasm-support-2.1.8-3.1.el7  #################################[100%]
Note: Forwarding request to ‘systemctl enable oracleasm.service’.
Created symlink from /etc/systemd/system/multi-user.target.wants/oracleasm.service to /usr/lib/systemd/system/oracleasm.service.
[root@zmsol1 Packages]#
[root@zmsol1 install]# rpm -Uvh oracleasmlib-2.0.12-1.el7.x86_64.rpm
Preparing...                          ################################# [100%]
Updating / installing...
 1:oracleasmlib-2.0.12-1.el7        ################################# [100%][root@zmsol1 install]#
Configurando o ASM
[root@zmsol1 install]# /etc/init.d/oracleasm configure
Configuring the Oracle ASM library driver.
This will configure the on-boot properties of the Oracle ASM library
driver.  The following questions will determine whether the driver is
loaded on boot and what permissions it will have.  The current values
will be shown in brackets ('[]').  Hitting <ENTER> without typing an
answer will keep that current value.  Ctrl-C will abort.
Default user to own the driver interface []: grid
Default group to own the driver interface []: asmadmin
Start Oracle ASM library driver on boot (y/n) [n]: y
Scan for Oracle ASM disks on boot (y/n) [y]: y
Writing Oracle ASM library driver configuration: done
Initializing the Oracle ASMLib driver:                     [  OK  ]
Scanning the system for Oracle ASMLib disks:               [  OK  ]
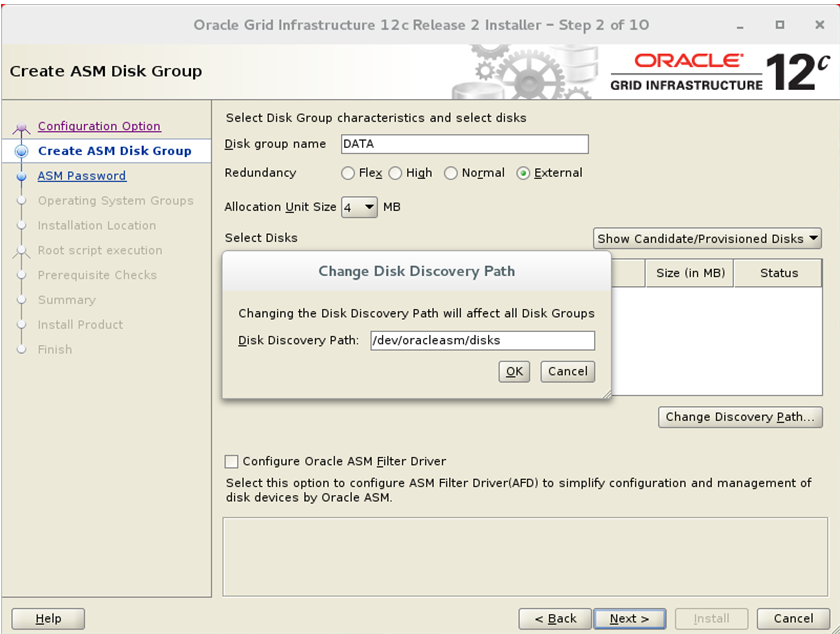
Formatando o disco para o ASM
[root@zmsol1 install]#
[root@zmsol1 install]# fdisk /dev/sdb
Welcome to fdisk (util-linux 2.23.2).

Changes will remain in memory only, until you decide to write them.
Be careful before using the write command.
Device does not contain a recognized partition table
Building a new DOS disklabel with disk identifier 0x031293c4.

Command (m for help): n
Partition type:
   p   primary (0 primary, 0 extended, 4 free)
   e   extended
Select (default p): p
Partition number (1-4, default 1): 1
First sector (2048-65064319, default 2048):
Using default value 2048
Last sector, +sectors or +size{K,M,G} (2048-65064319, default 65064319):
Using default value 65064319
Partition 1 of type Linux and of size 31 GiB is set

Command (m for help): w
The partition table has been altered!
Calling ioctl() to re-read partition table.
Syncing disks.
Criando o asm disk
[root@zmsol1 install]#
/etc/init.d/oracleasm createdisk DG1_DISK1_30GB   /dev/sdb1
[root@zmsol1 install]# /etc/init.d/oracleasm createdisk DG1_DISK1_30GB   /dev/sdb1
Marking disk "DG1_DISK1_30GB" as an ASM disk:              [  OK  ]
[root@zmsol1 install]# /etc/init.d/oracleasm scandisks
Scanning the system for Oracle ASMLib disks:               [  OK  ]
[root@zmsol1 install]# /etc/init.d/oracleasm listdisks
DG1_DISK1_30GB
[root@zmsol1 install]#

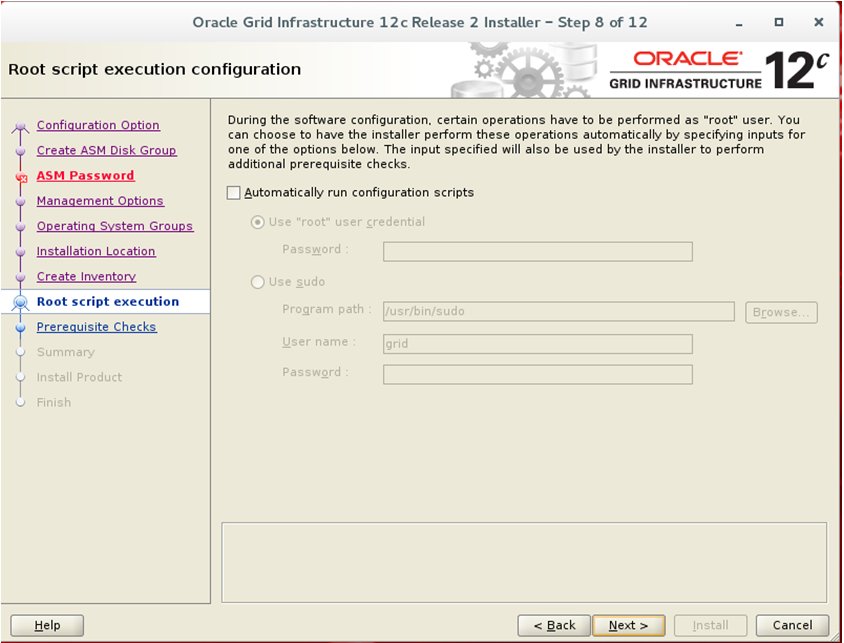
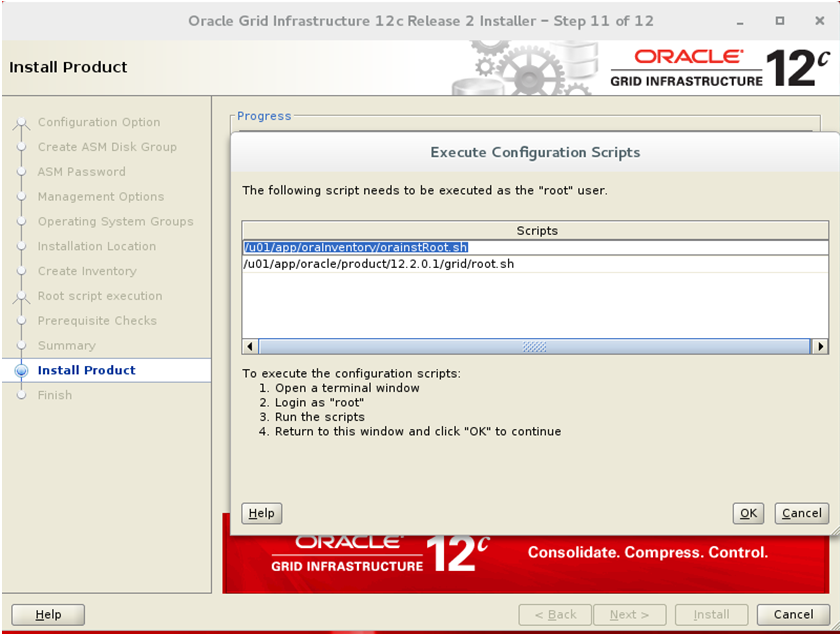
[root@zmsol1 rpm]# /u01/app/oraInventory/orainstRoot.sh
Changing permissions of /u01/app/oraInventory.
Adding read,write permissions for group.
Removing read,write,execute permissions for world.
Changing groupname of /u01/app/oraInventory to oinstall.
The execution of the script is complete.
[root@zmsol1 rpm]# /u01/app/oracle/product/12.2.0.1/grid/root.sh
Performing root user operation.

The following environment variables are set as:
    ORACLE_OWNER= grid
    ORACLE_HOME=  /u01/app/oracle/product/12.2.0.1/grid
Enter the full pathname of the local bin directory: [/usr/local/bin]:
   Copying dbhome to /usr/local/bin ...
   Copying oraenv to /usr/local/bin ...
   Copying coraenv to /usr/local/bin ...
Creating /etc/oratab file...
Entries will be added to the /etc/oratab file as needed by
Database Configuration Assistant when a database is created
Finished running generic part of root script.
Now product-specific root actions will be performed.
Using configuration parameter file: /u01/app/oracle/product/12.2.0.1/grid/crs/install/crsconfig_params
The log of current session can be found at:
  /u01/app/oracle/crsdata/zmsol1/crsconfig/roothas_2017-09-20_10-28-10PM.log
2017/09/20 22:28:12 CLSRSC-363: User ignored prerequisites during installation
LOCAL ADD MODE
Creating OCR keys for user 'grid', privgrp 'oinstall'..
Operation successful.
LOCAL ONLY MODE
Successfully accumulated necessary OCR keys.
Creating OCR keys for user 'root', privgrp 'root'..
Operation successful.
CRS-4664: Node zmsol1 successfully pinned.
2017/09/20 22:28:21 CLSRSC-330: Adding Clusterware entries to file 'oracle
ohasd.service'
CRS-2791: Starting shutdown of Oracle High Availability Services-managed resources on
'zmsol1'
CRS-2673: Attempting to stop 'ora.evmd' on 'zmsol1'
CRS-2677: Stop of 'ora.evmd' on 'zmsol1' succeeded
CRS-2793: Shutdown of Oracle High Availability Services-managed resources on 'zmsol1'
has completed
CRS-4133: Oracle High Availability Services has been stopped.
CRS-4123: Oracle High Availability Services has been started.
zmsol1     2017/09/20 22:29:31     /u01/app/oracle/product/12.2.0.1/grid/cdata/zmsol1/backup_20170920_222931.olr     0
2017/09/20 22:29:32 CLSRSC-327: Successfully configured Oracle Restart for a standalone server
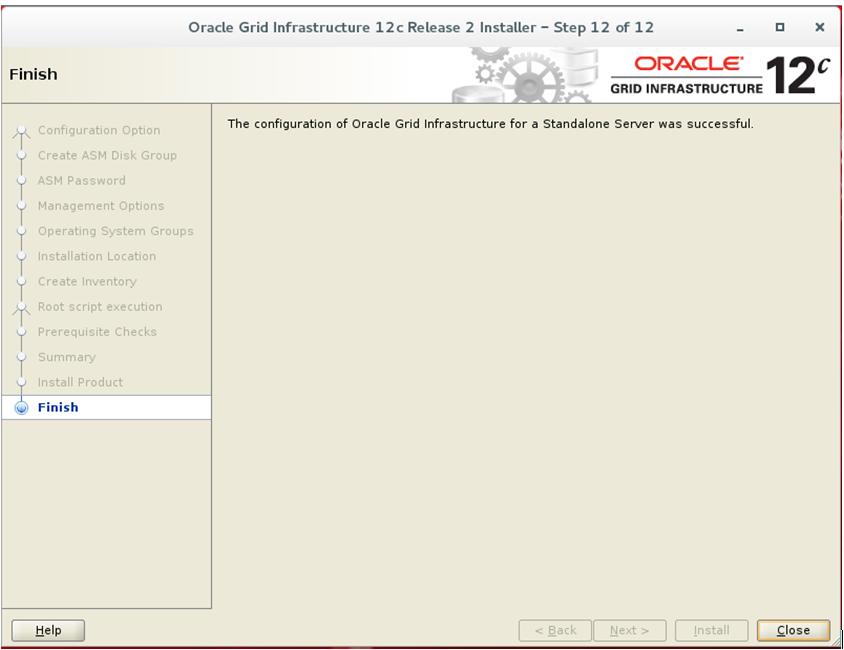
no próximo artigo instalaremos o rdbms.