
Nesse Artigo, Vamos instalar o Oracle 19c no virtual Box
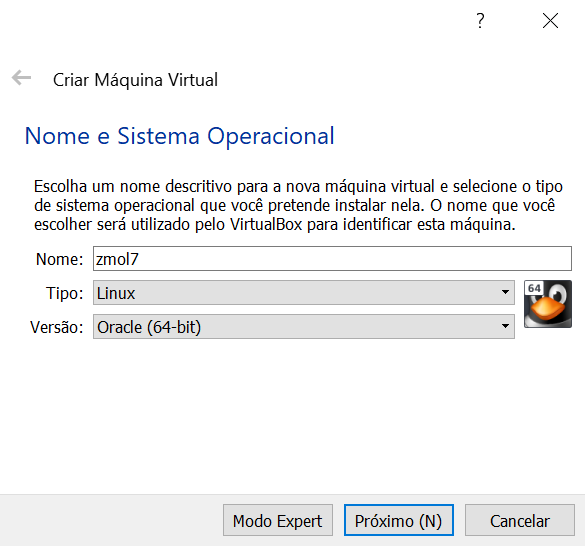
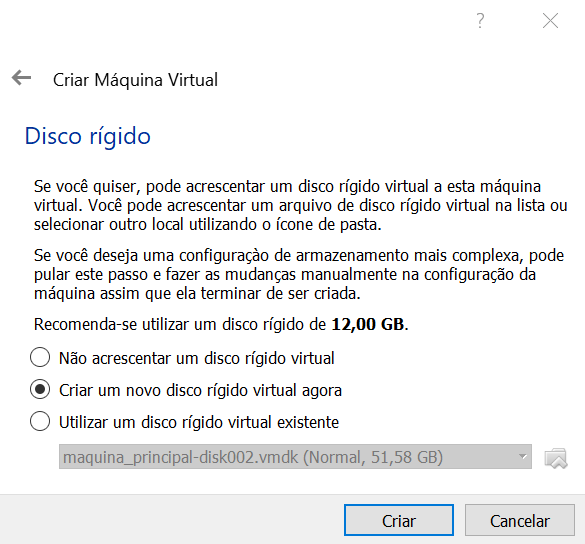
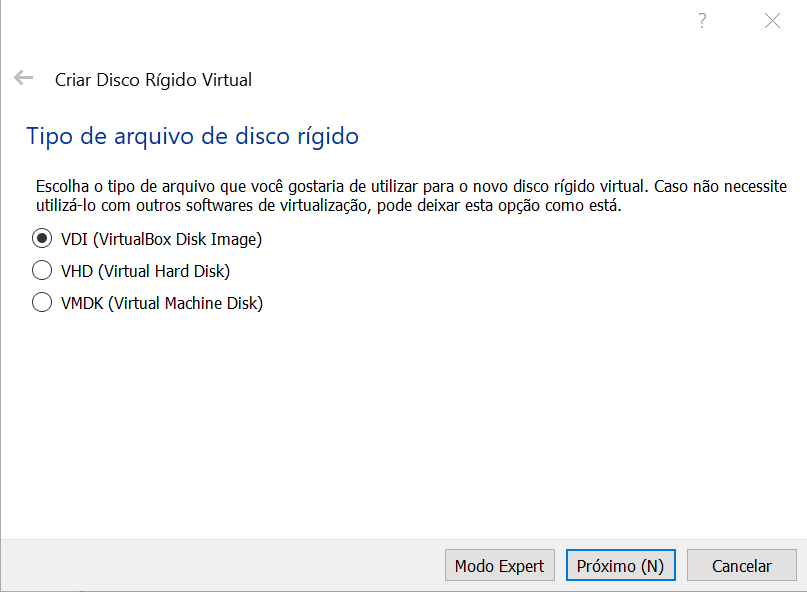
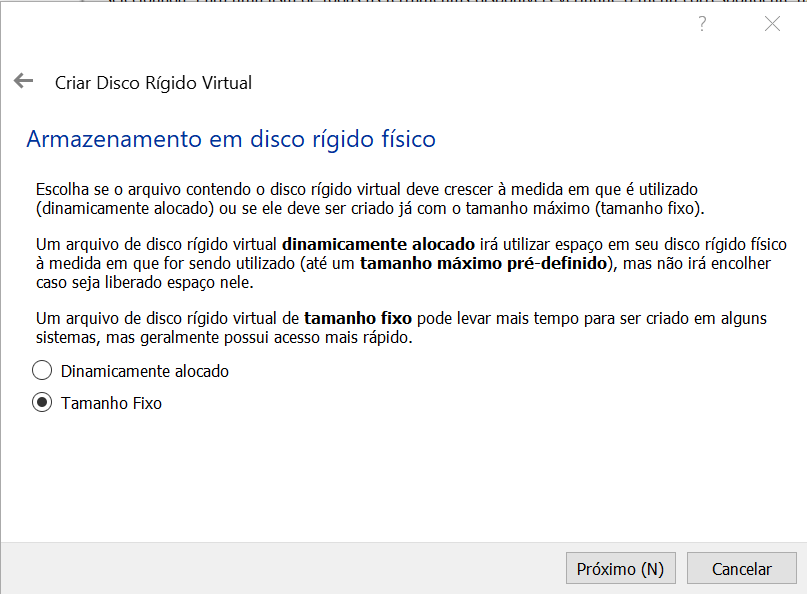
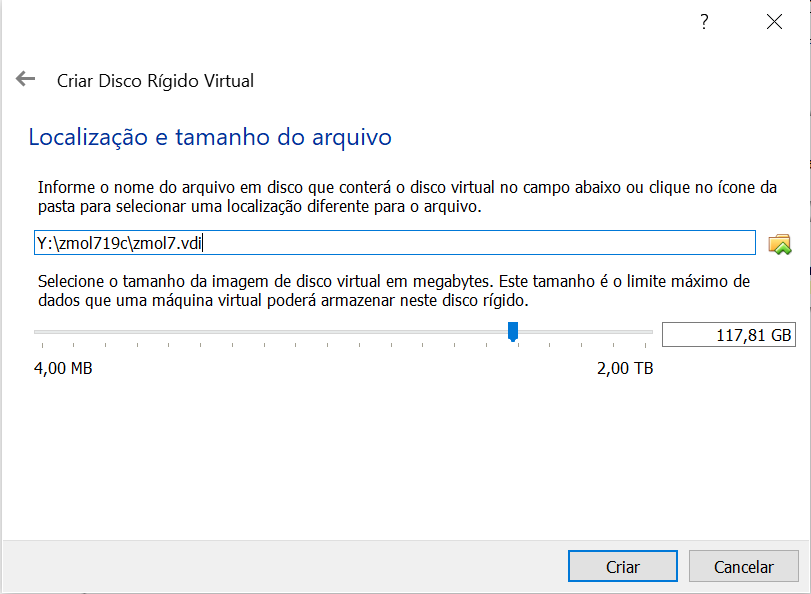
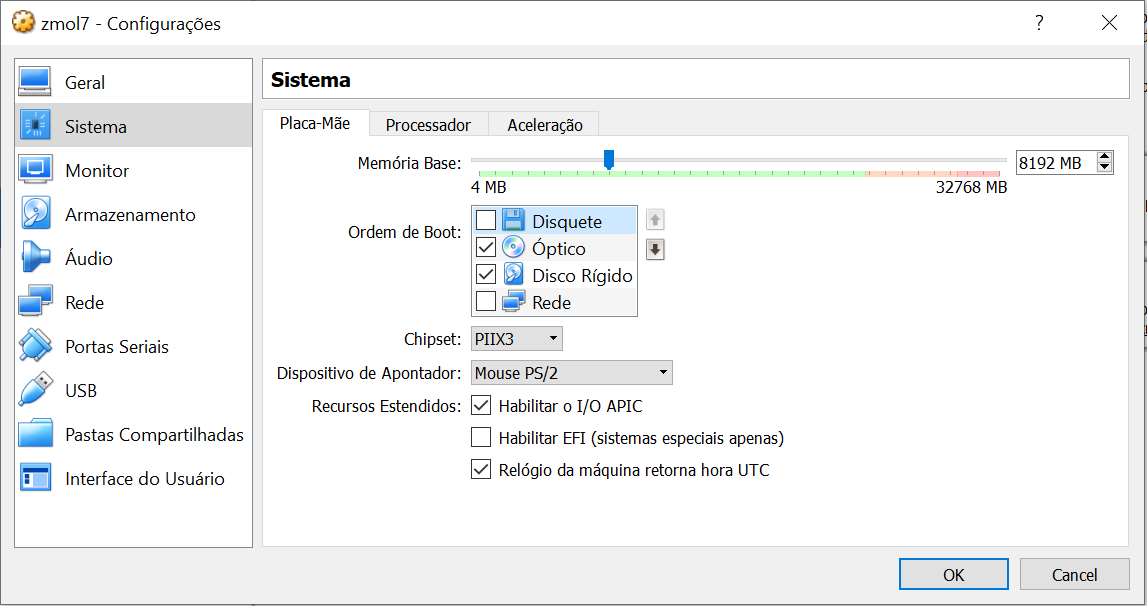
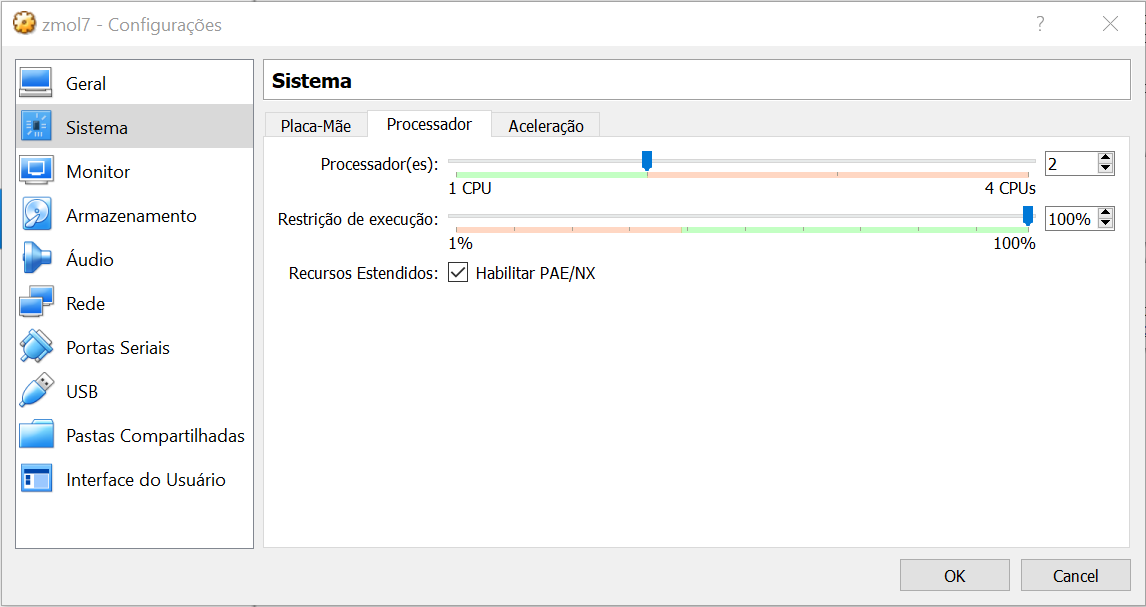
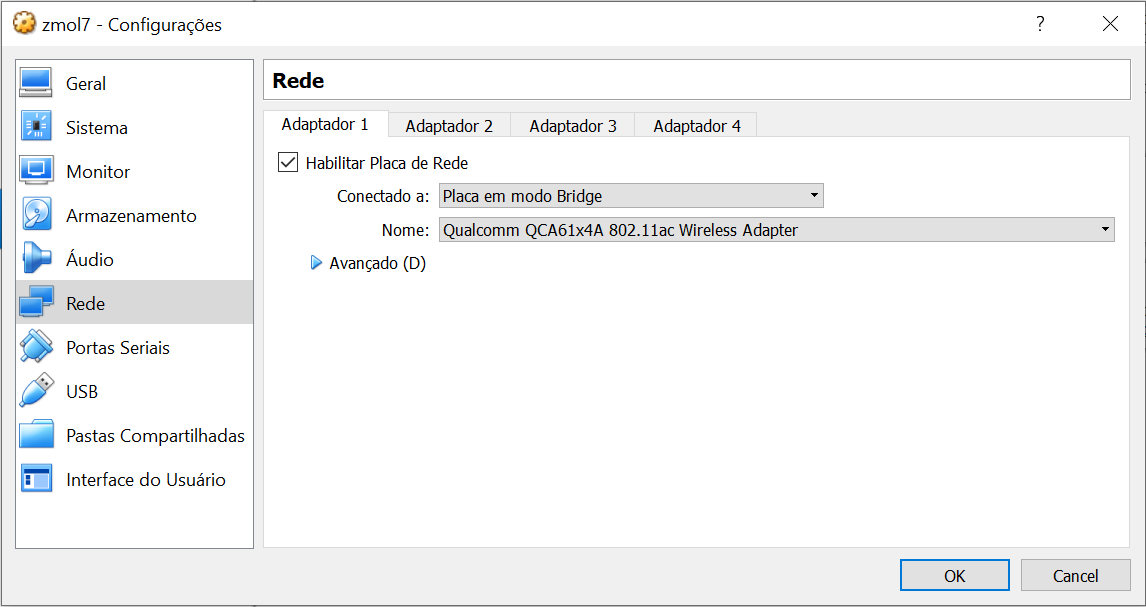
Vamos iniciar criando a maquina Virtual.
VirtualBox

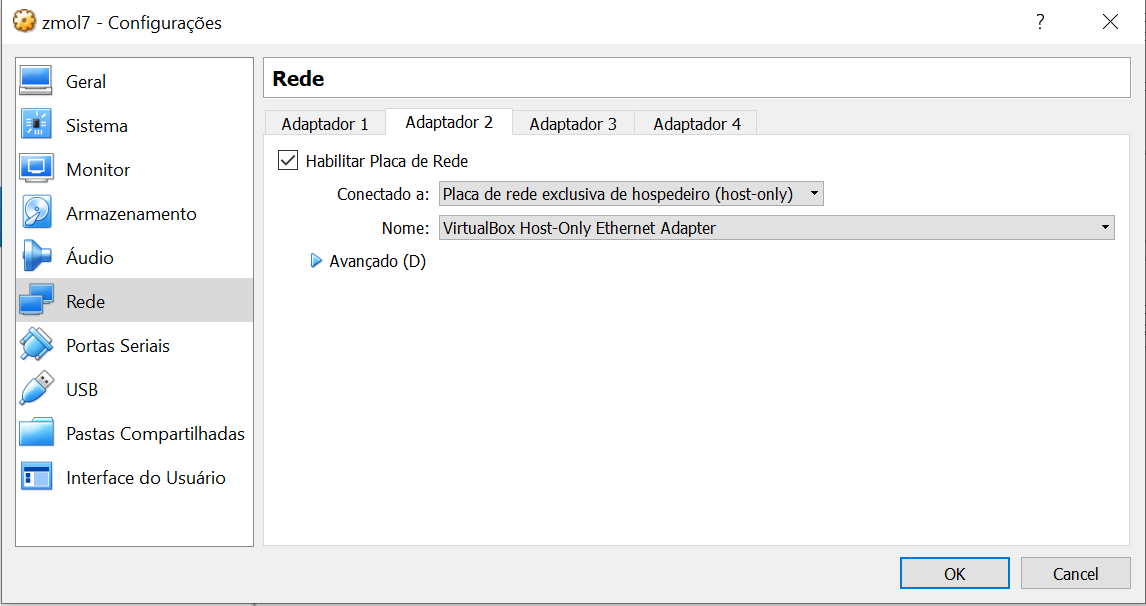
[collapse]
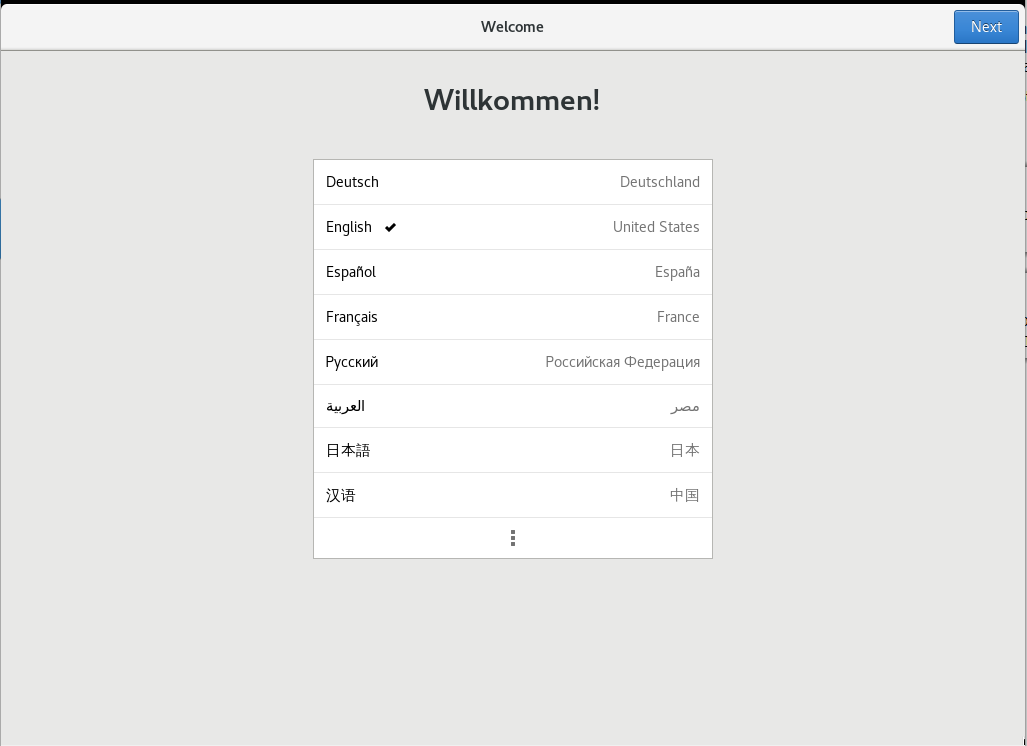
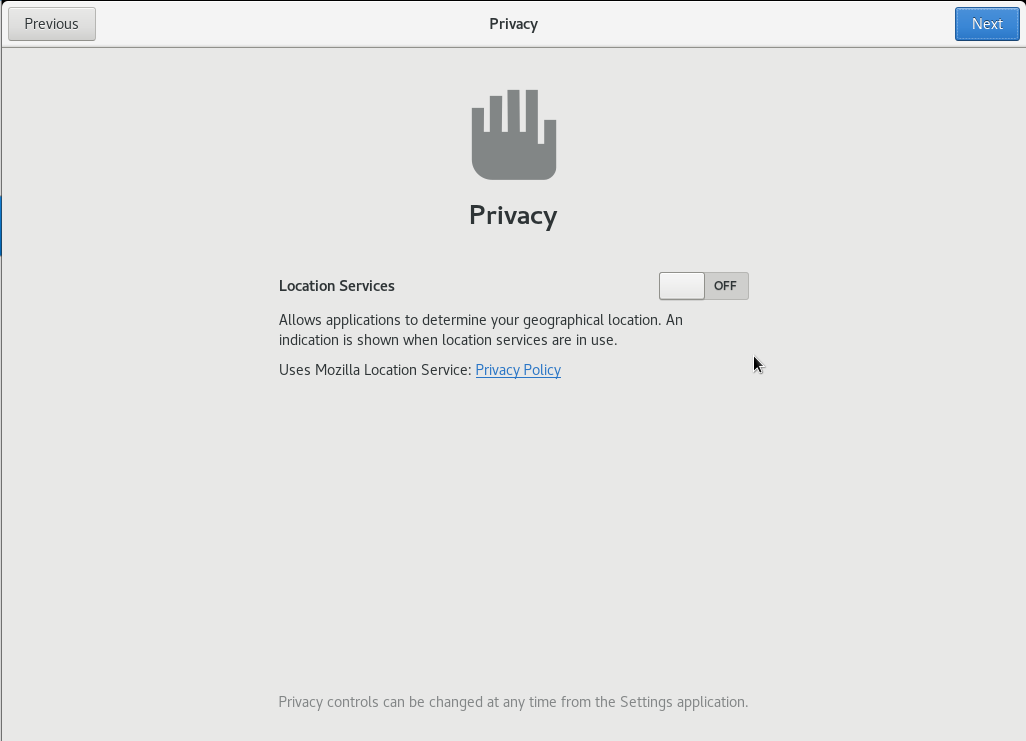
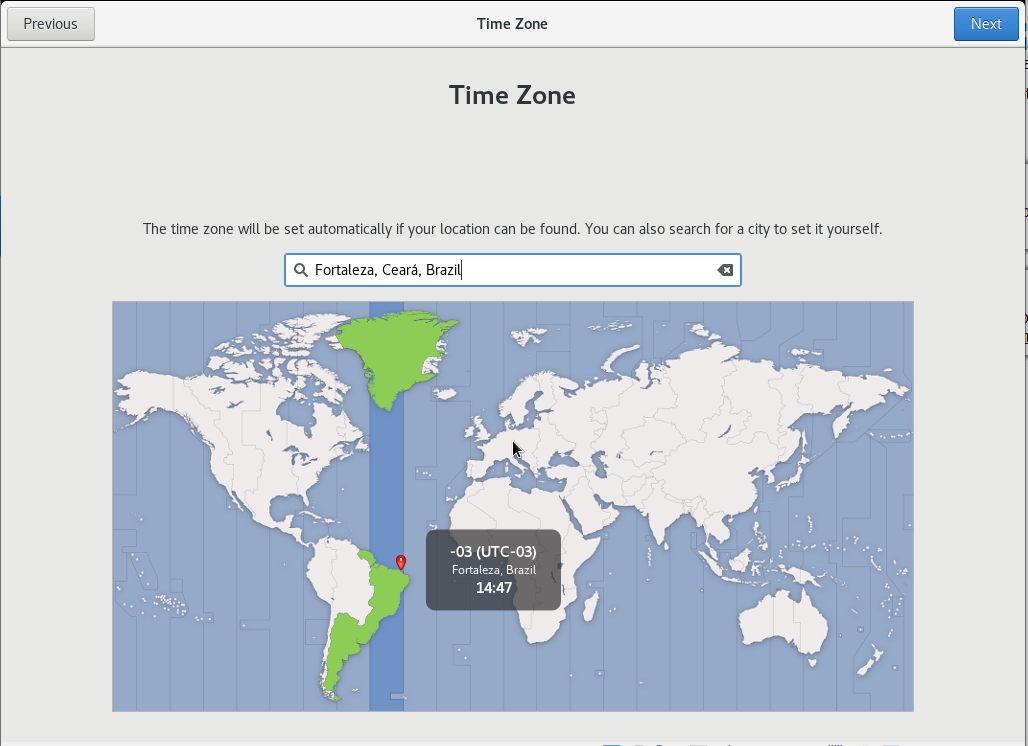
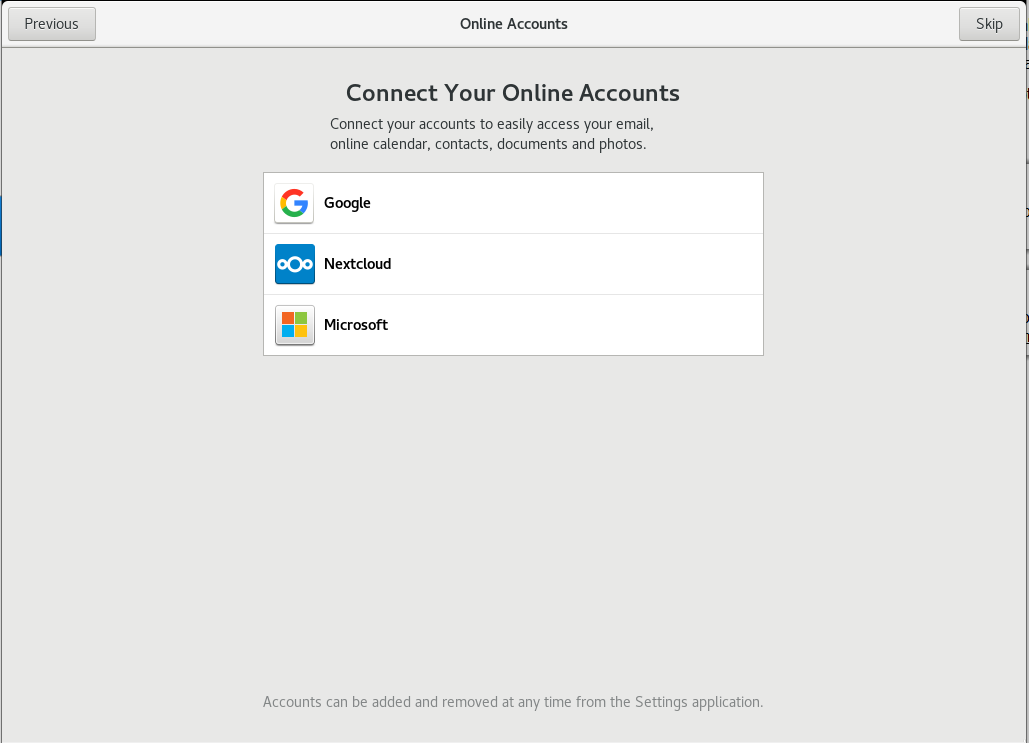
Agora Vamos iniciar a instalação do SO
Oracle Linux 7.7

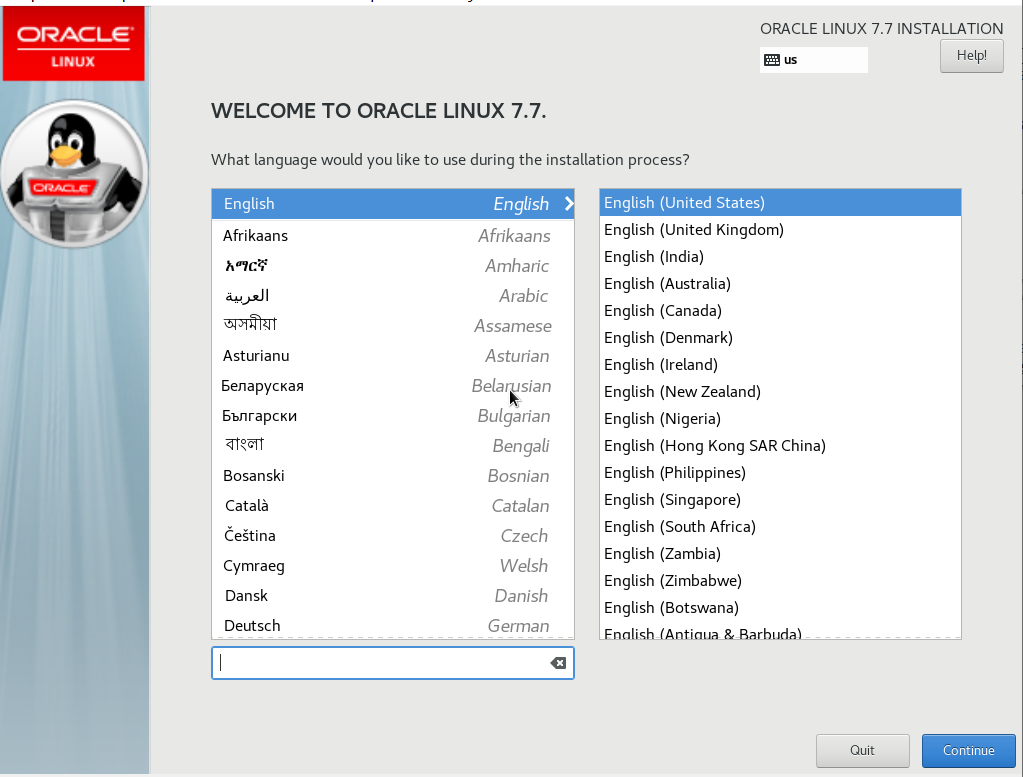
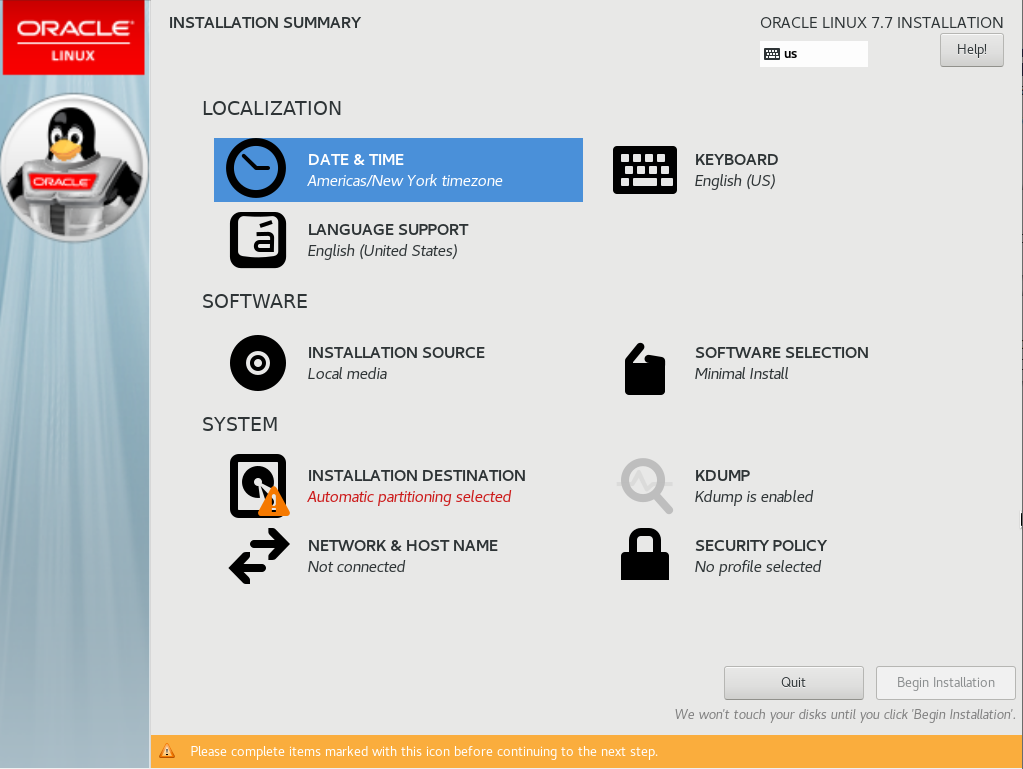
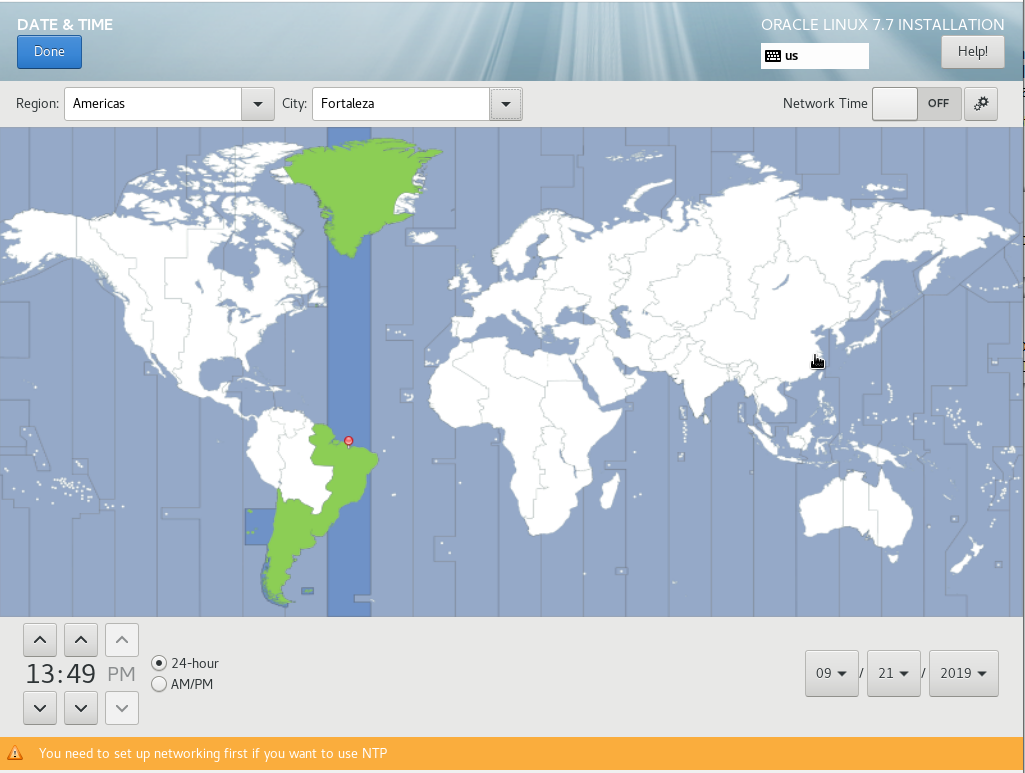
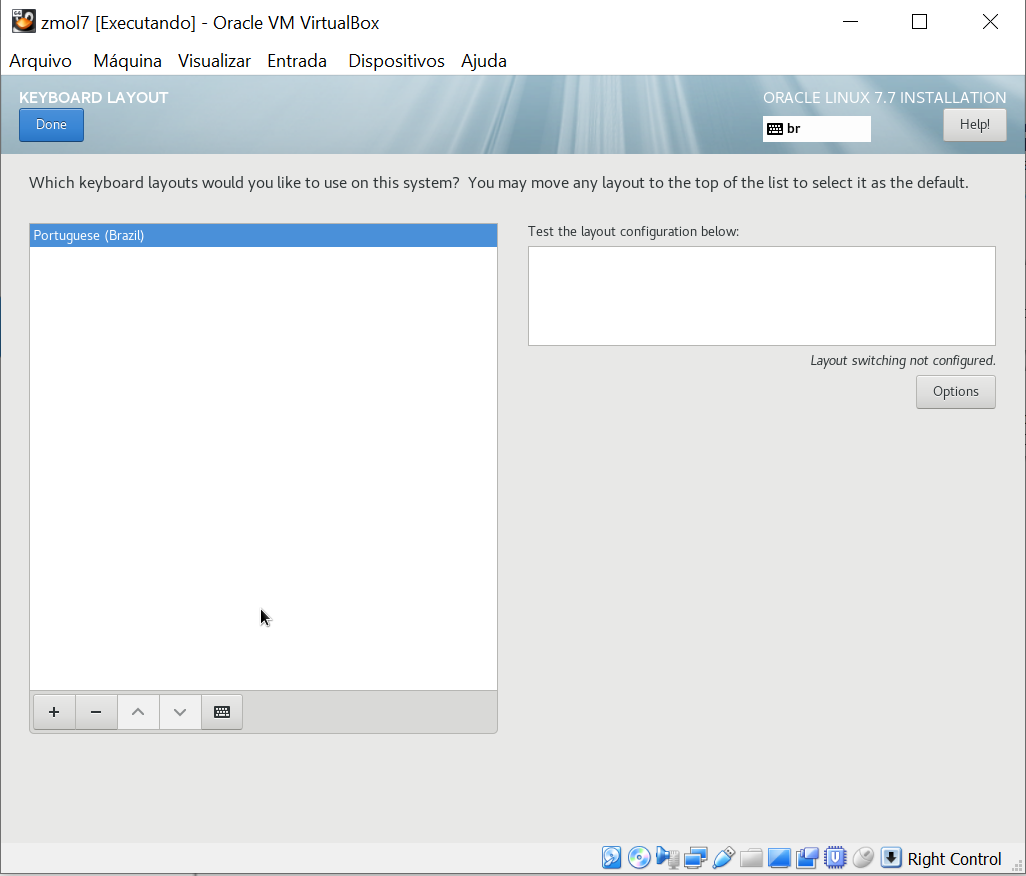
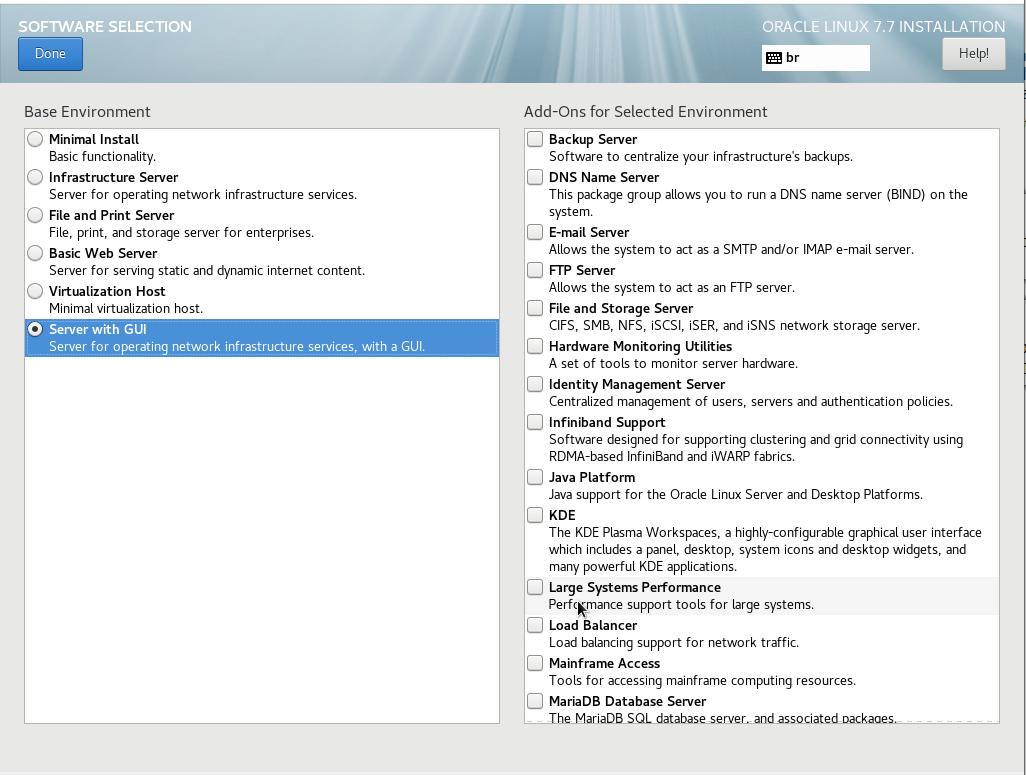
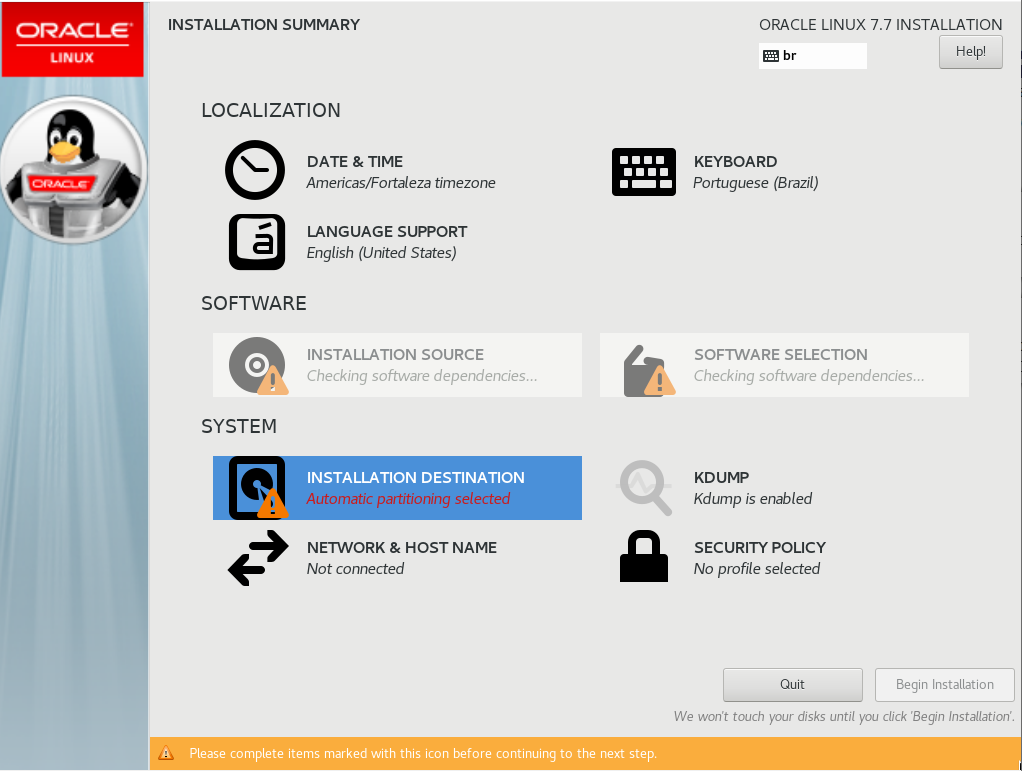
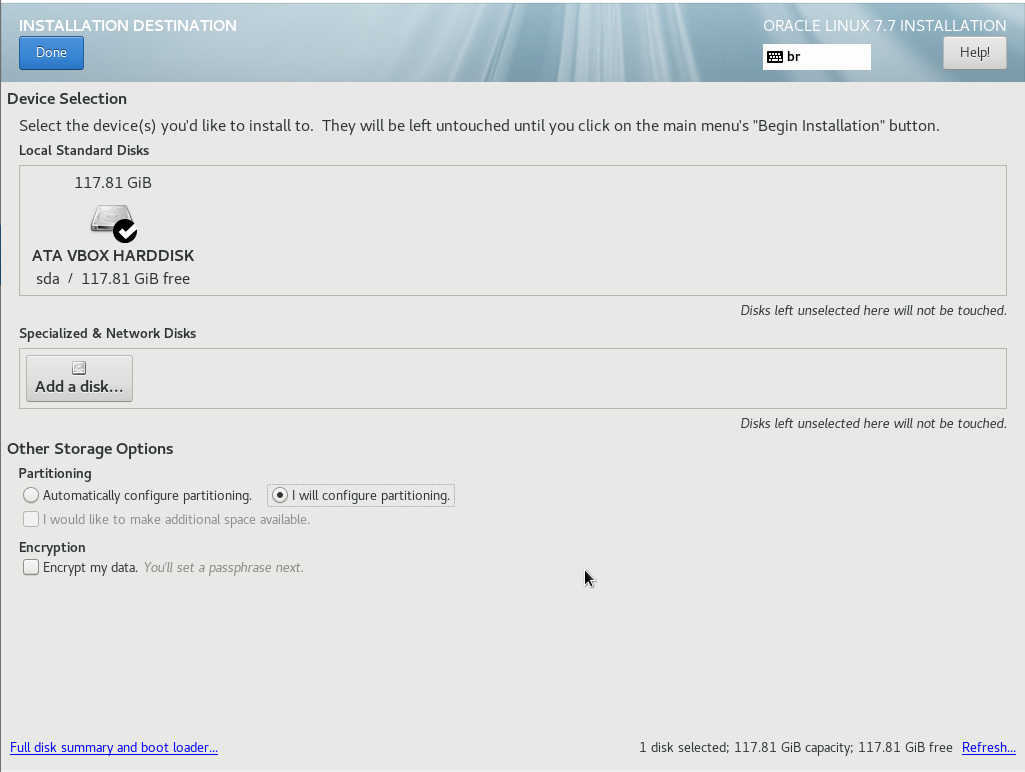
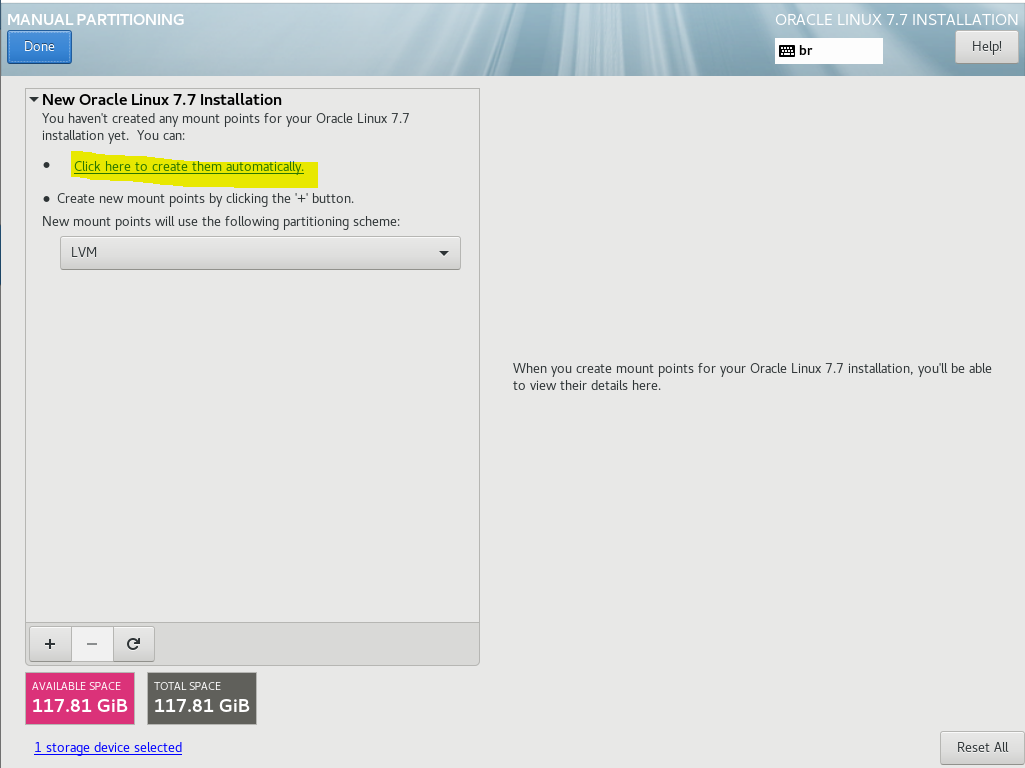
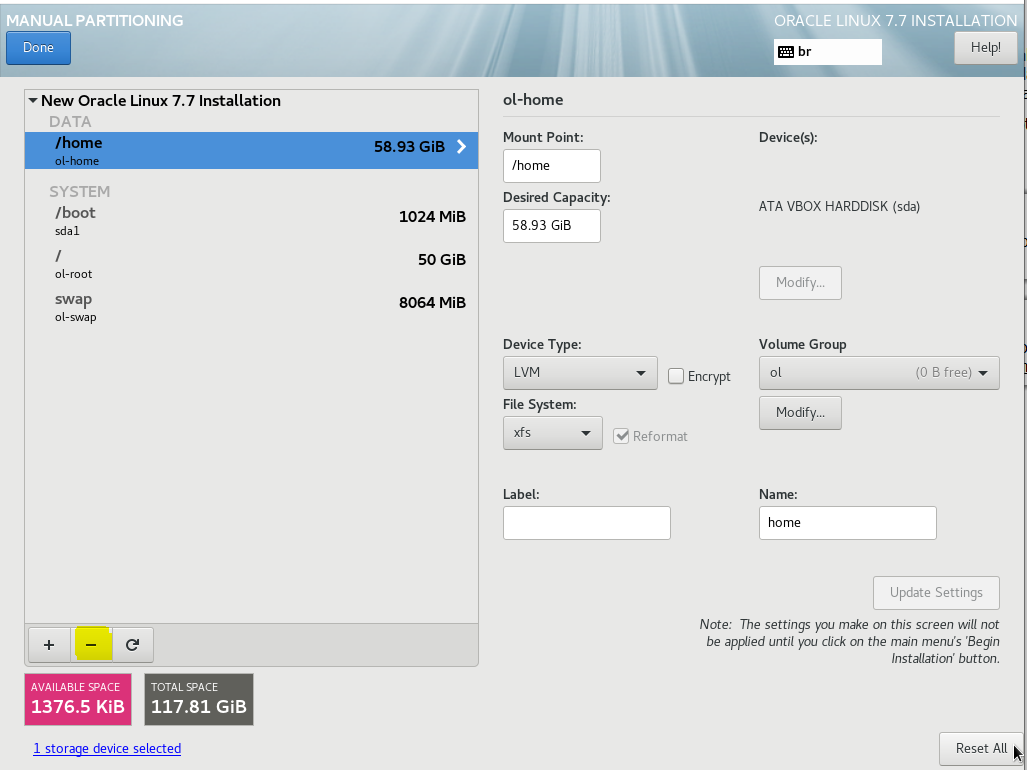
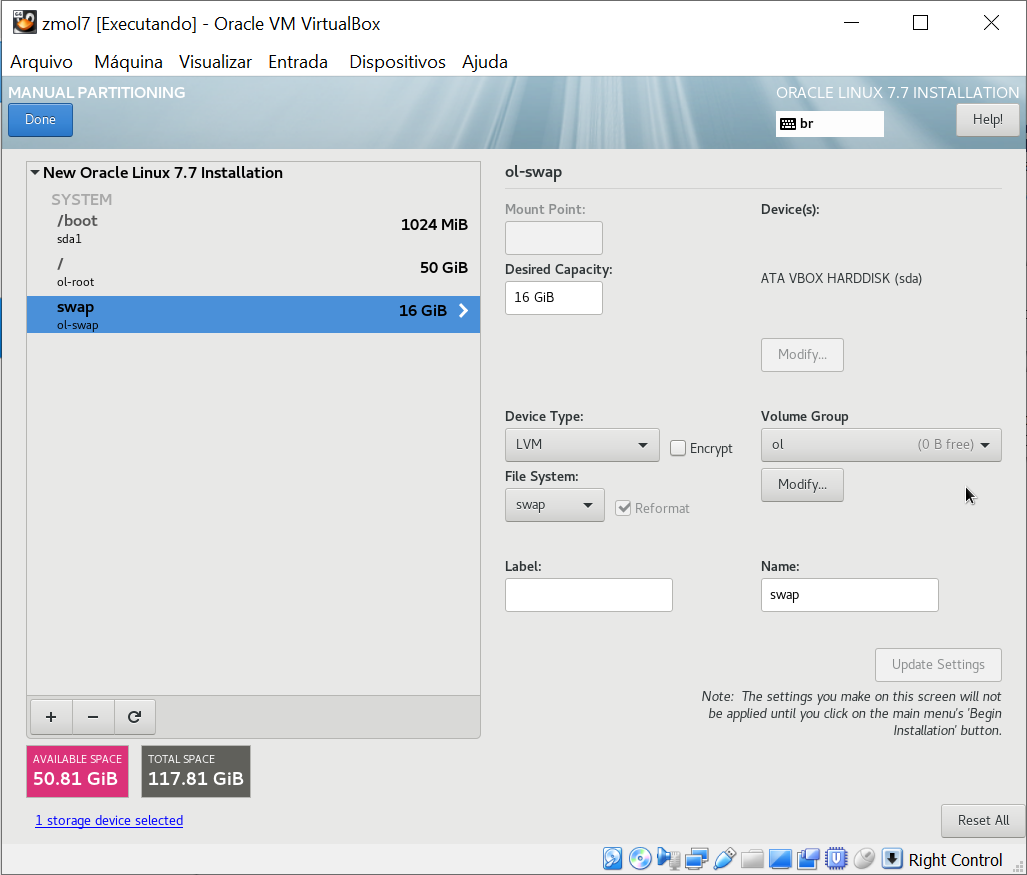
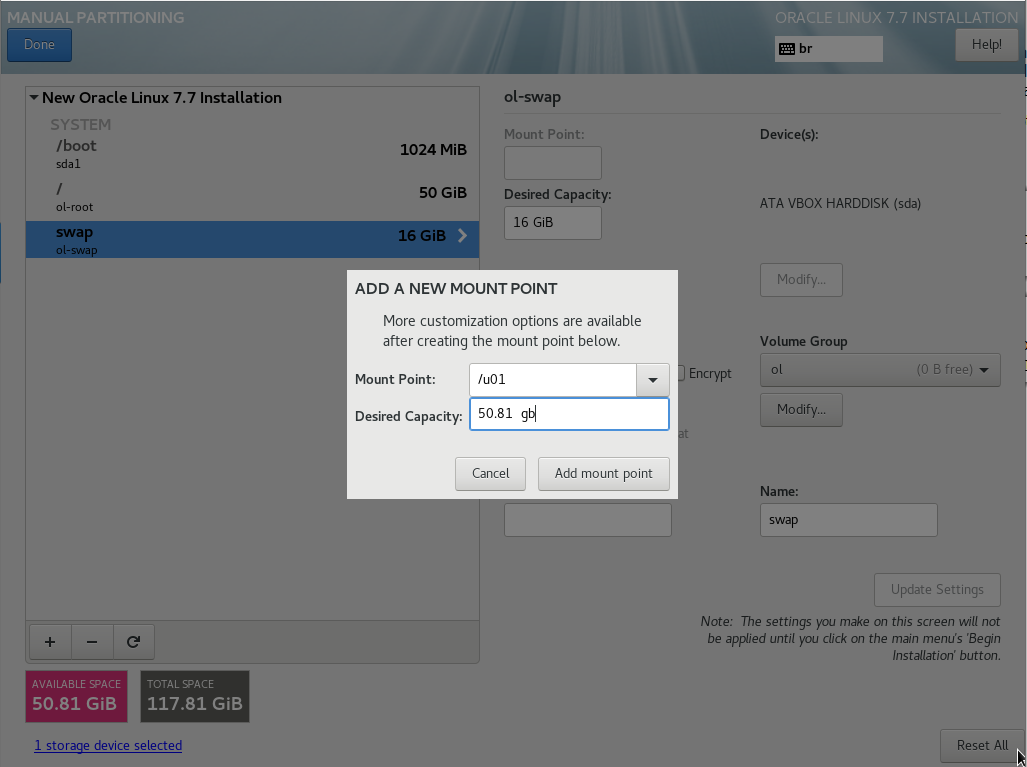
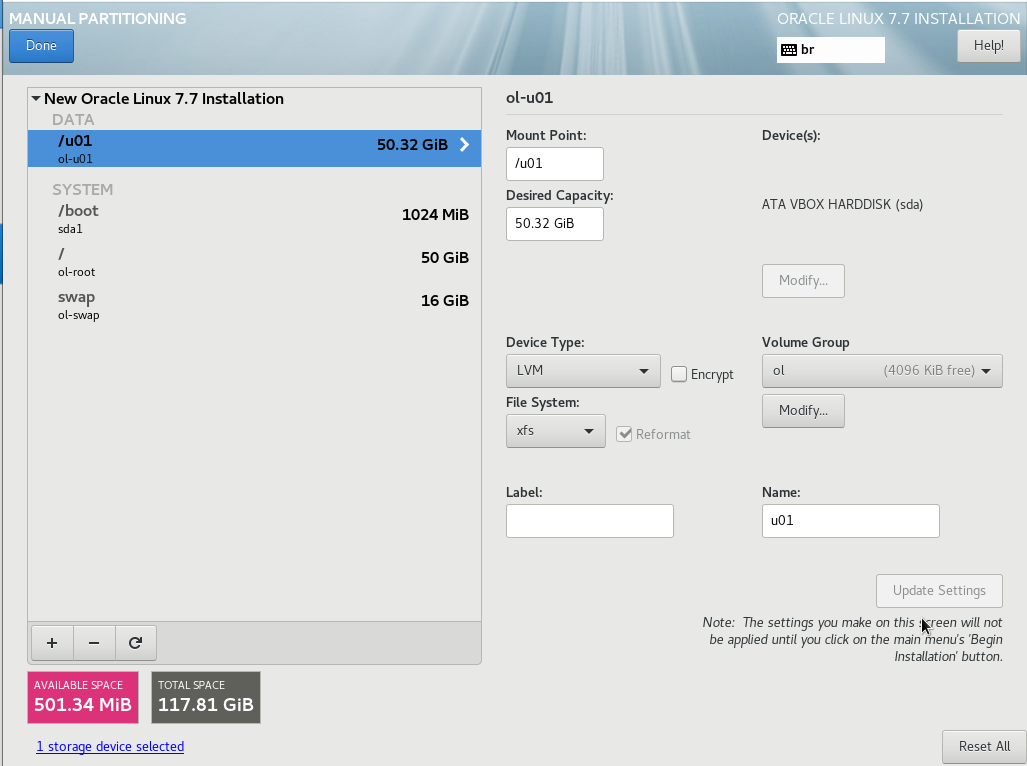
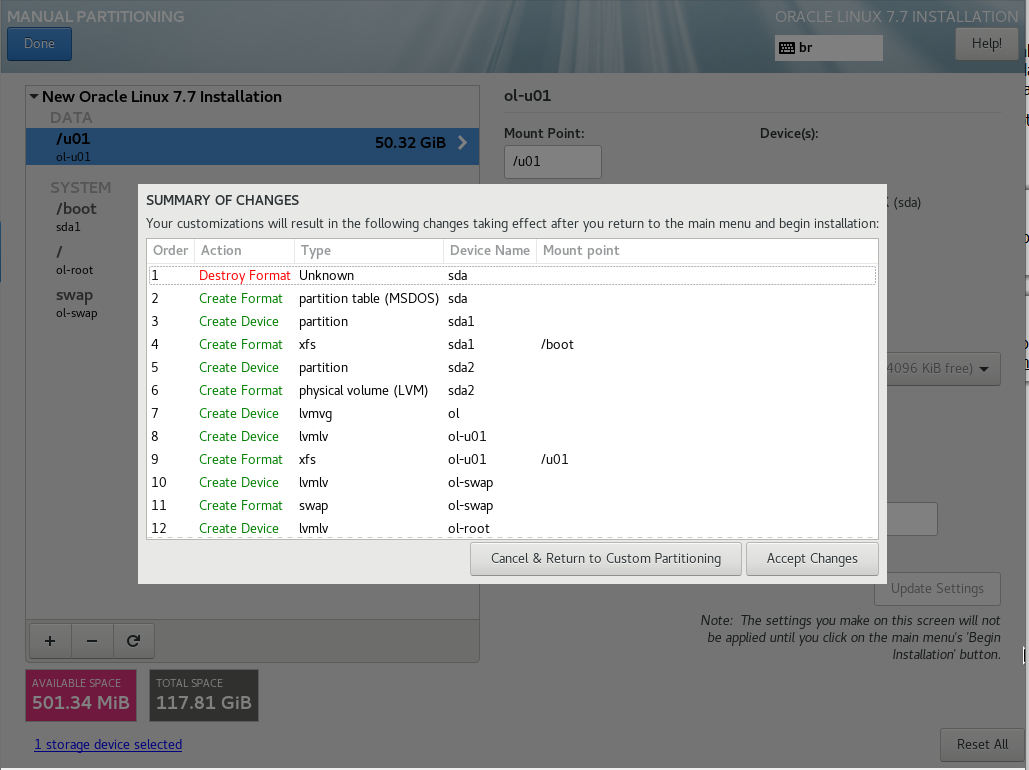
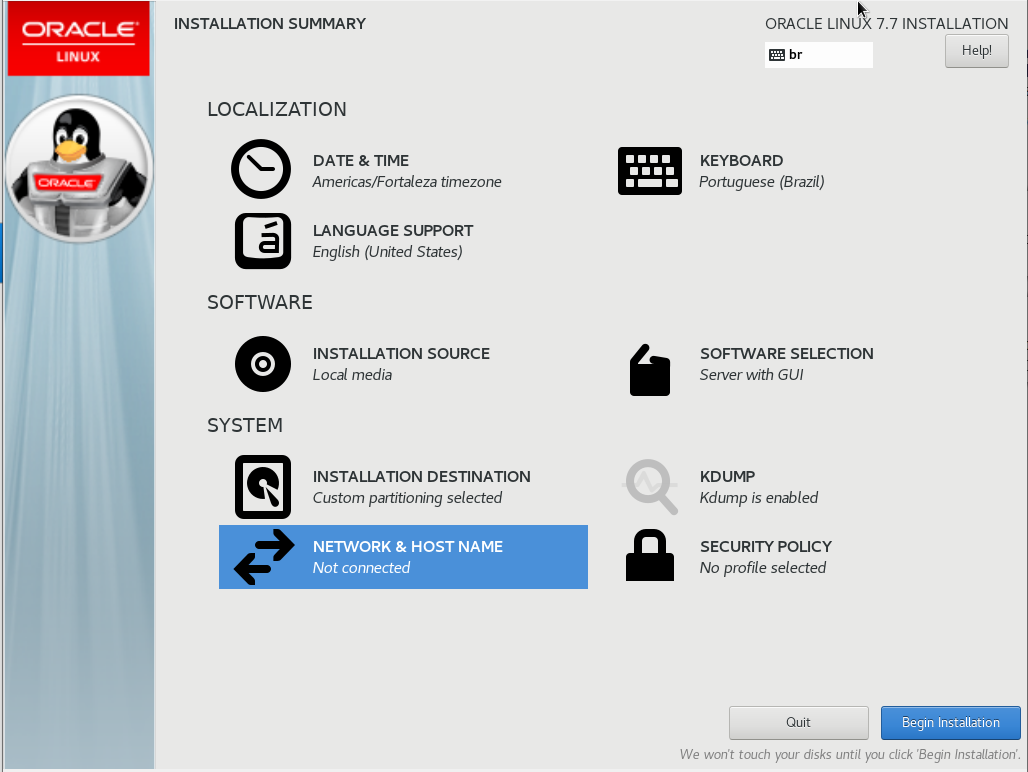
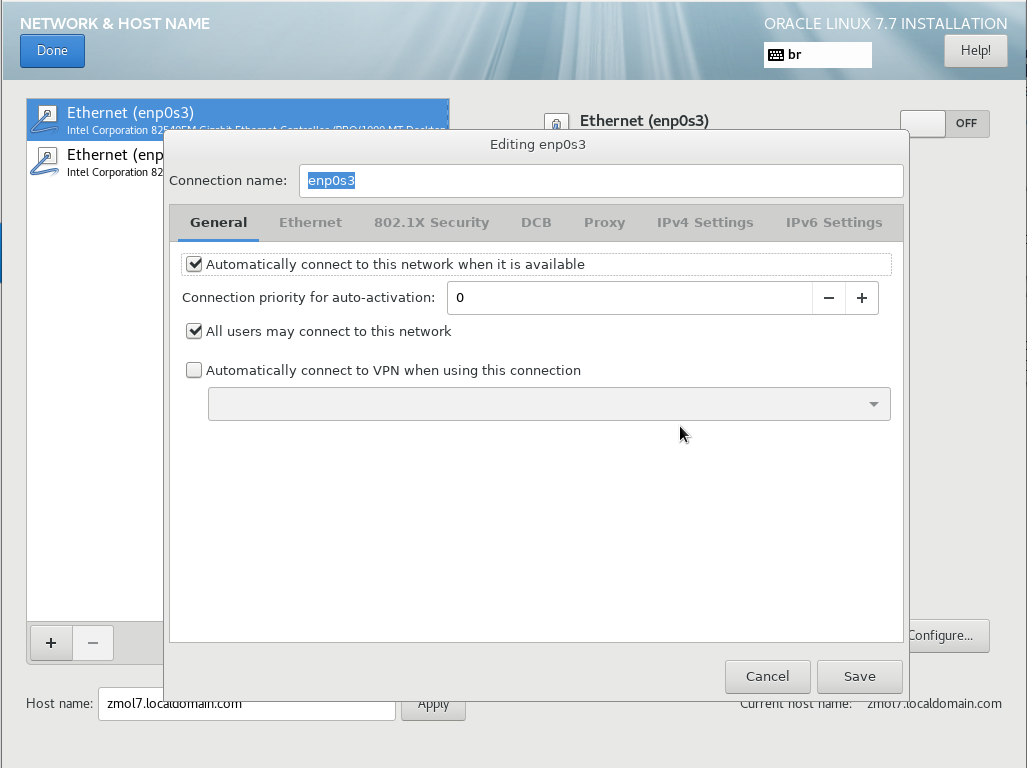
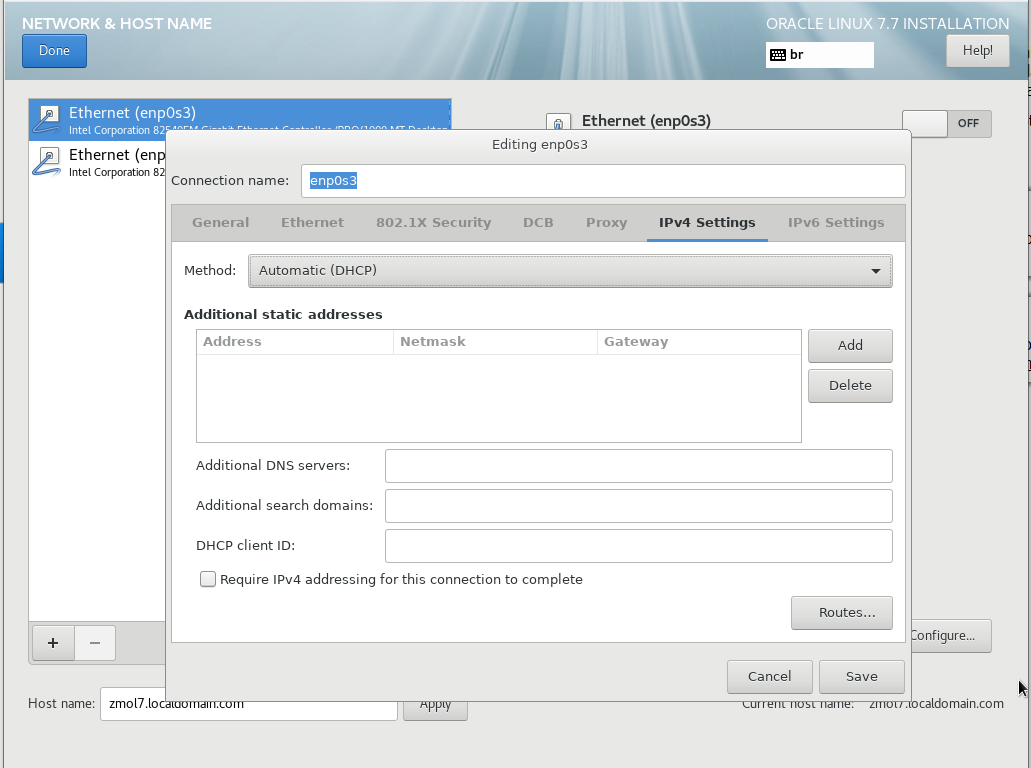
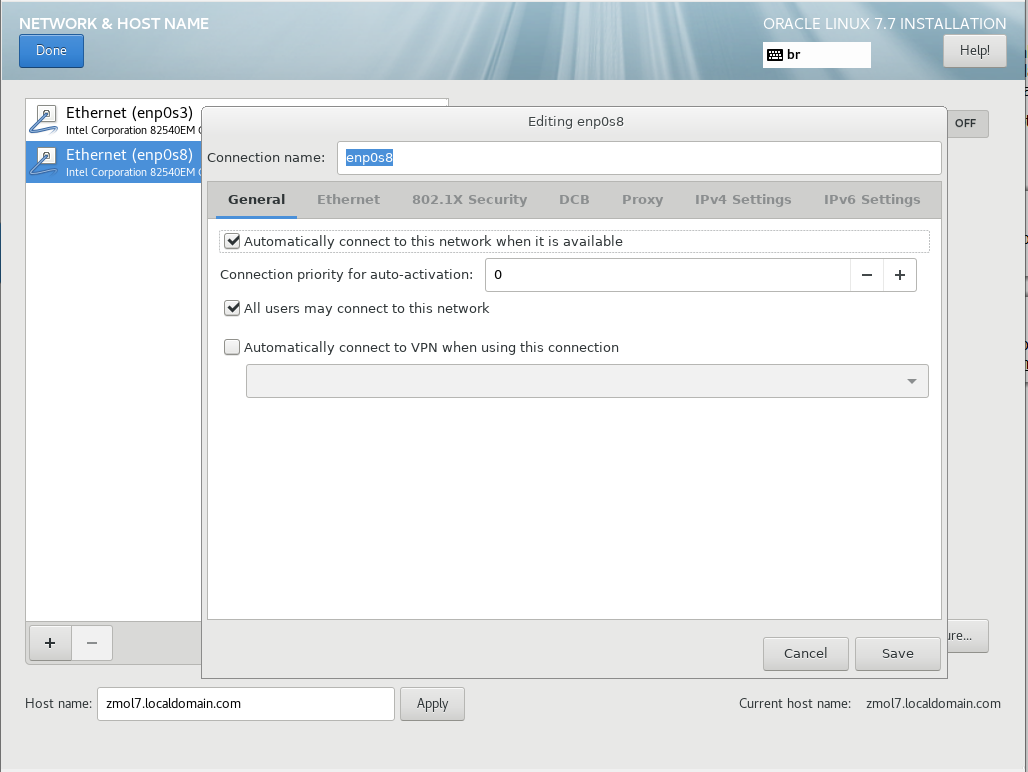
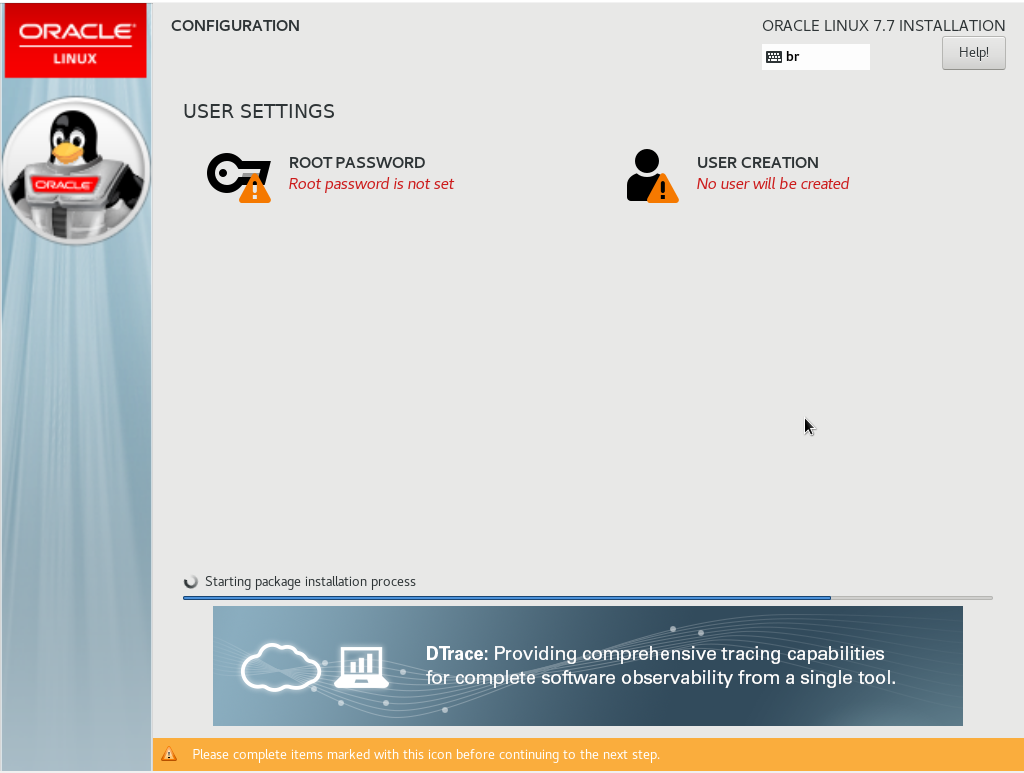
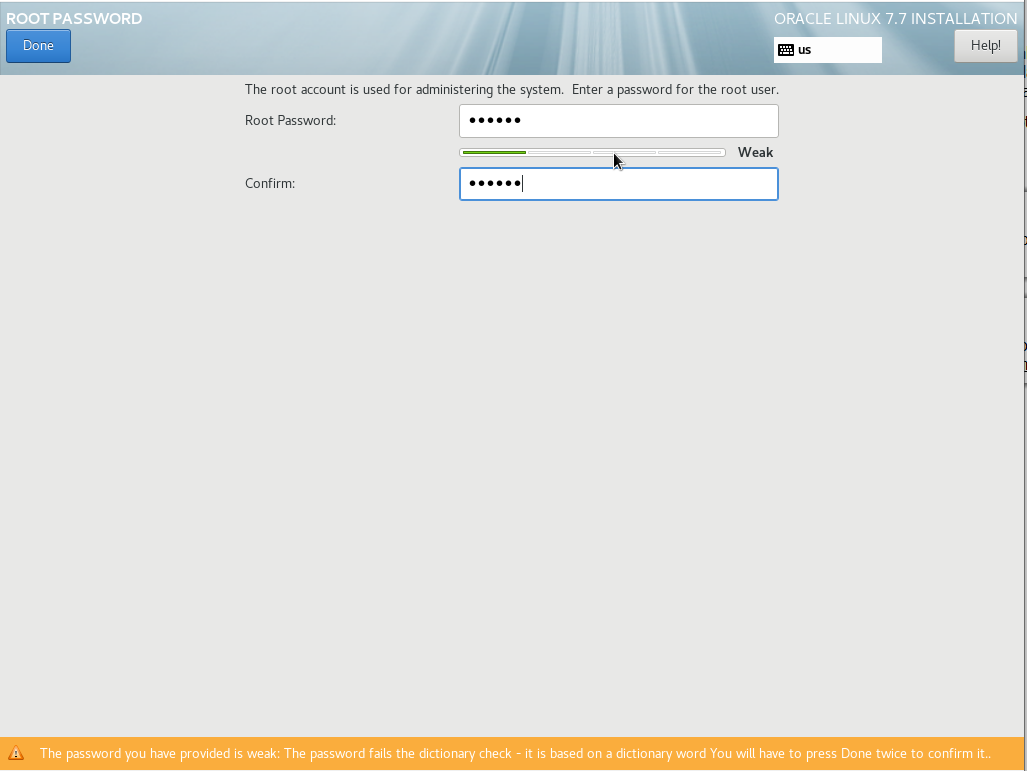
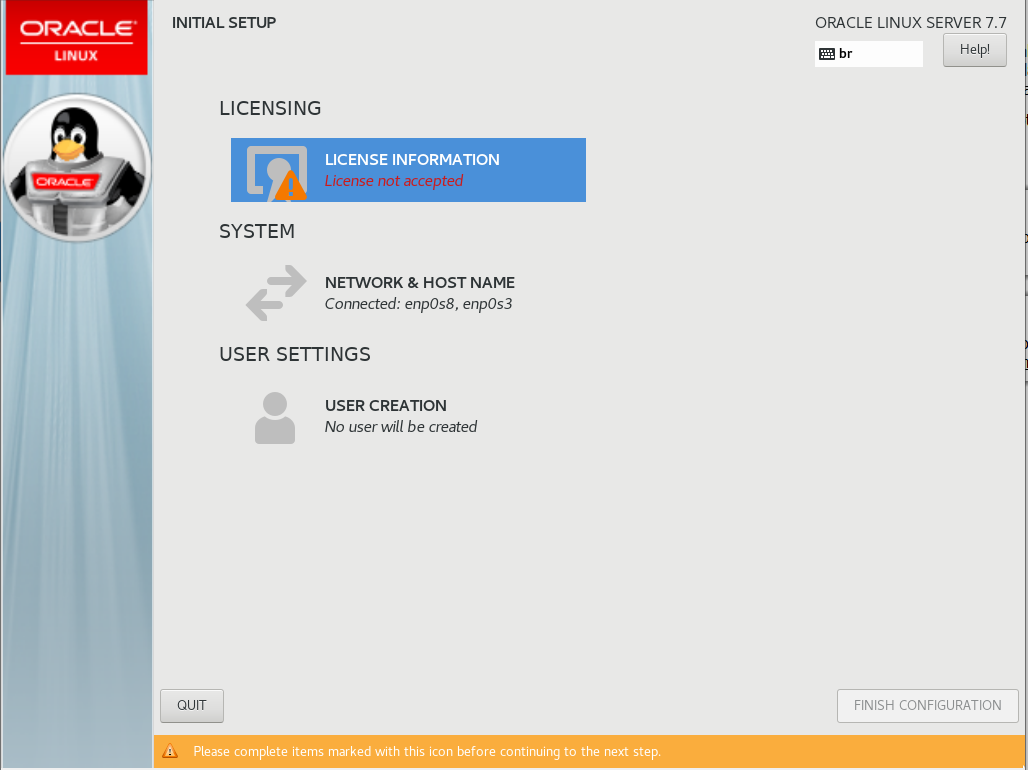
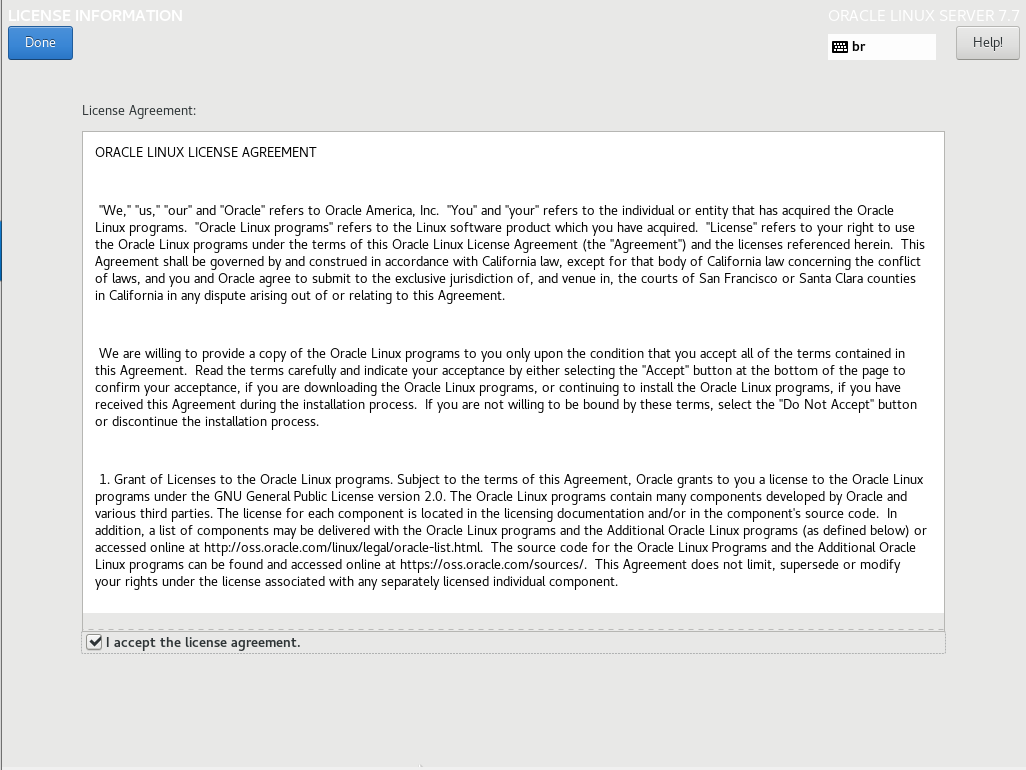
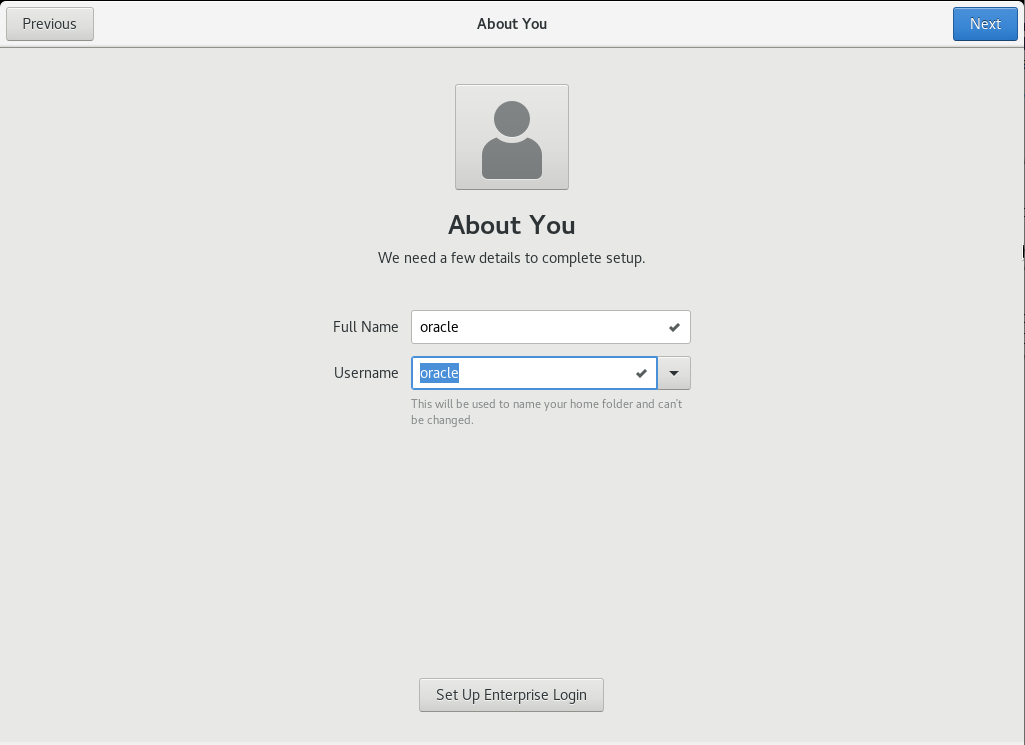
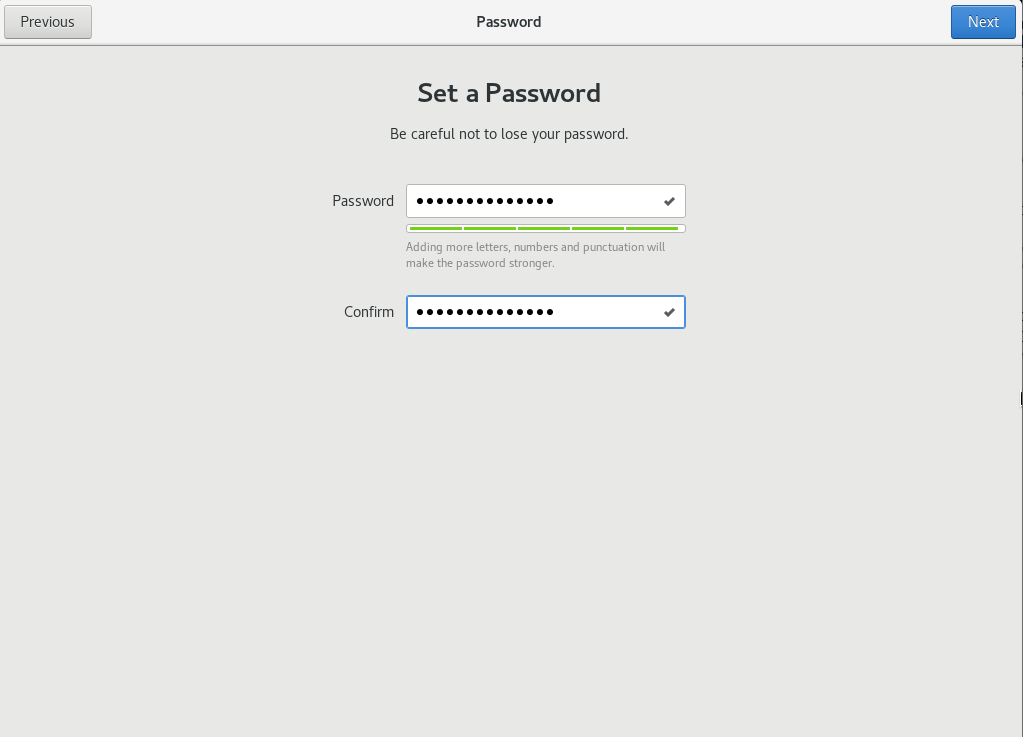

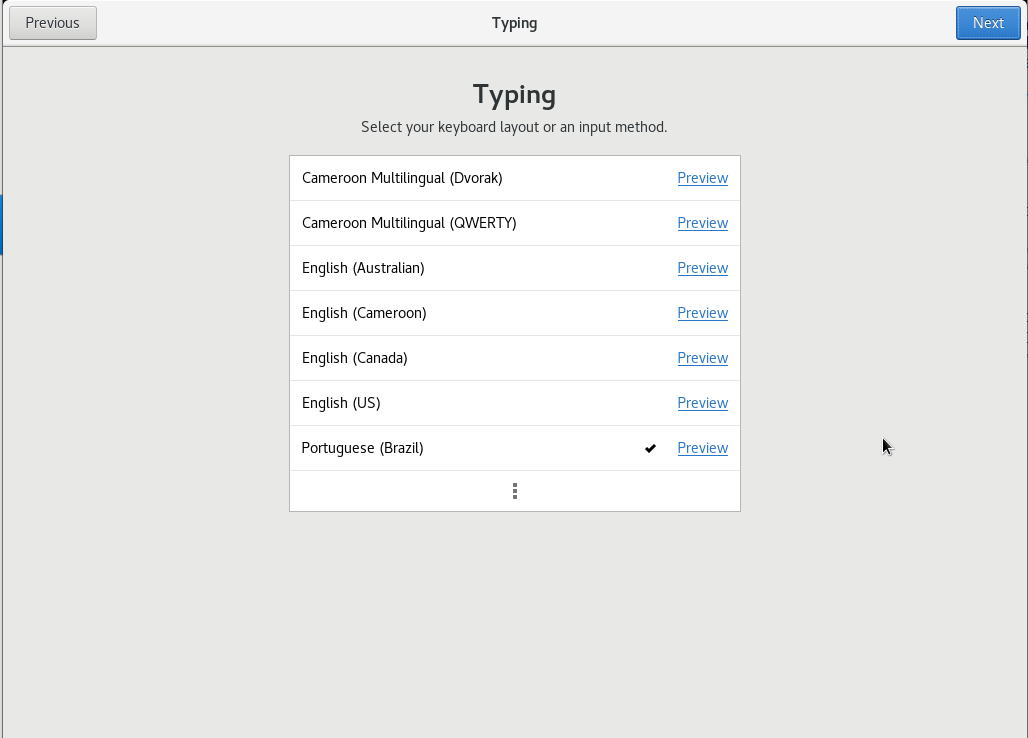
[collapse]
Vamos instalar os pacotes:
yum -y update
yum -y install oracle-database-preinstall-19c.x86_64
yum -y install unzip wget screen gcc #
yum -y install https://dl.fedoraproject.org/pub/epel/epel-release-latest-7.noarch.rpm #
yum -y install oracleasm-support gcc gcc-c++ make
yum -y update # yum -y install rlwrap
yum install tigervnc-server
yum install -y bc
yum install -y binutils
yum install -y compat-libcap1
yum install -y compat-libstdc++-33
yum install -y dtrace-modules
yum install -y dtrace-modules-headers
yum install -y dtrace-modules-provider-headers
yum install -y dtrace-utils
yum install -y elfutils-libelf
yum install -y elfutils-libelf-devel
yum install -y fontconfig-devel
yum install -y glibc
yum install -y glibc-devel
yum install -y ksh
yum install -y libaio
yum install -y libaio-devel
yum install -y libdtrace-ctf-devel
yum install -y libXrender
yum install -y libXrender-devel
yum install -y libX11
yum install -y libXau
yum install -y libXi
yum install -y libXtst
yum install -y libgcc
yum install -y librdmacm-devel
yum install -y libstdc++
yum install -y libstdc++-devel
yum install -y libxcb
yum install -y make
yum install -y net-tools # Clusterware
yum install -y nfs-utils # ACFS
yum install -y python # ACFS
yum install -y python-configshell # ACFS
yum install -y python-rtslib # ACFS
yum install -y python-six # ACFS
yum install -y targetcli # ACFS
yum install -y smartmontools
yum install -y sysstat
yum install -y unixODBC

wget http://download.oracle.com/otn_software/asmlib/oracleasmlib-2.0.12-1.el7.x86_64.rpm
rpm -Uvh oracleasmlib-2.0.12-1.el7.x86_64.rpm
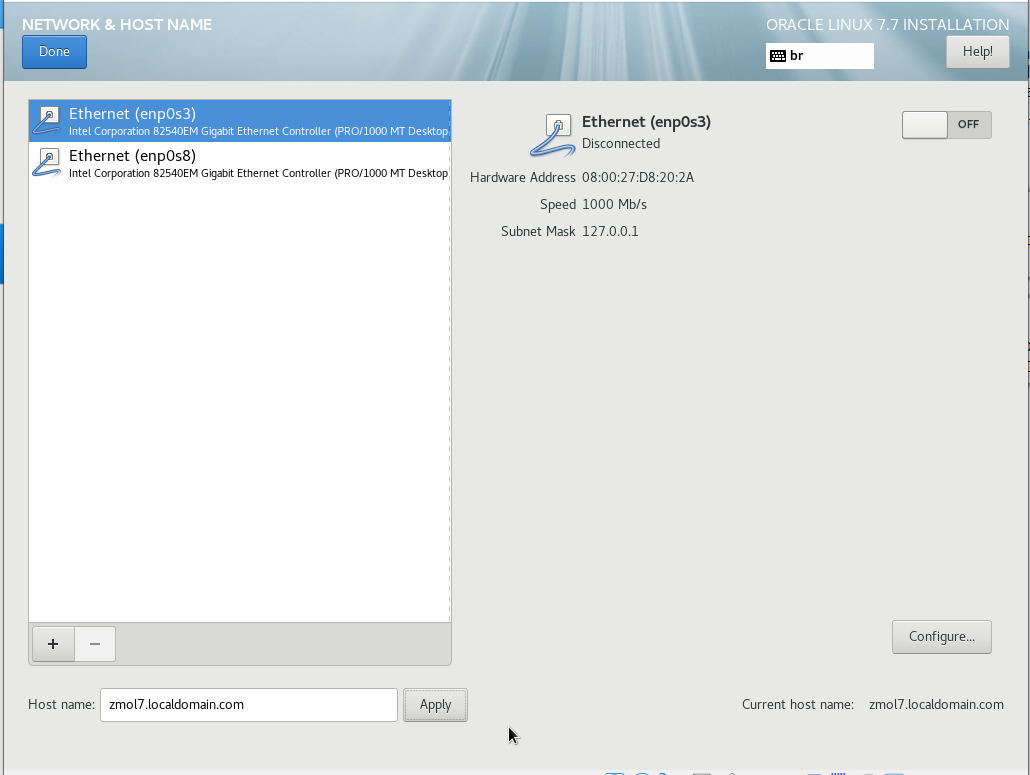
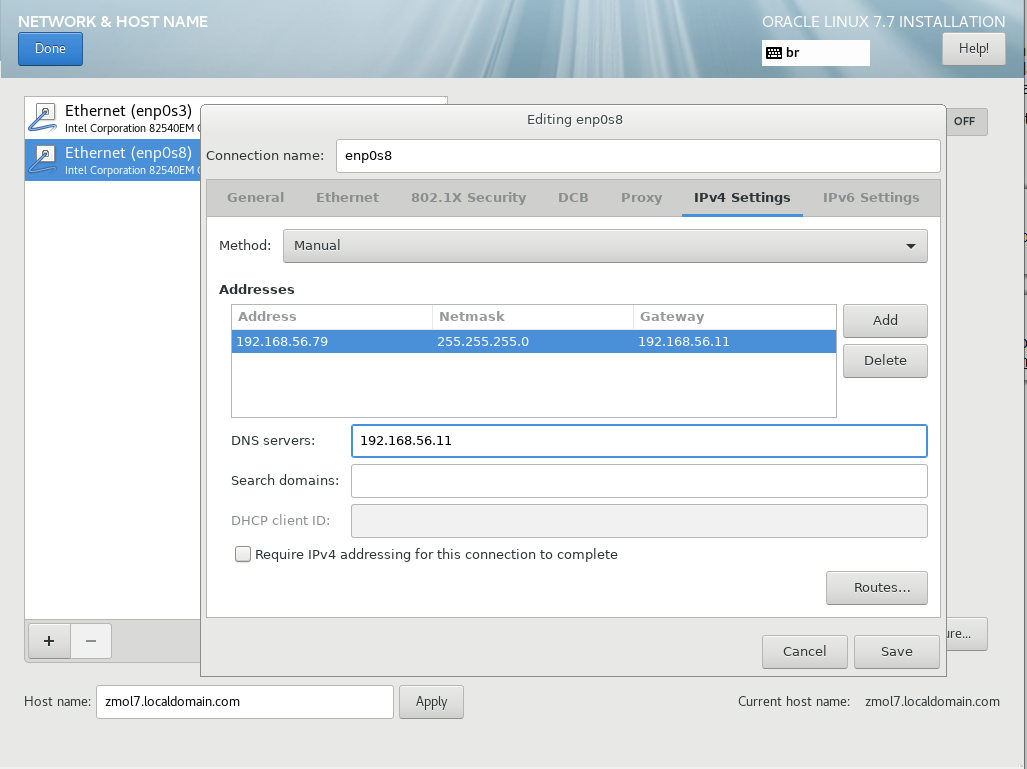
Configure o arquivo /etc/hosts:
127.0.0.1 localhost localhost.localdomain

192.168.56.79  zmol7.localdomain zmol7
Configure o Usuario Oracle
groupadd asmadmin

groupadd asmdba

groupadd asmoper

usermod -g oinstall -G dba,oper,asmadmin,asmdba,asmoper oracle
Criei os diretorios
mkdir -p /u01/app/oracle

mkdir -p /u01/app/oracle/product/19.3.0.0/grid

chown -R  oracle:oinstall /u01/app/

chmod -R 775 /u01/

mkdir -p /u01/app/oracle/product/19.3.0.0/db_1

chown oracle:oinstall /u01/app/oracle/product/19.3.0.0/db_1

chmod -R 775 /u01/
desabilite o firewall, o avahi e o chronyd. #
systemctl disable firewalld

systemctl disable avahi-daemon

systemctl enable chronyd
altere o SELinux para o modo permissive.
vi /etc/selinux/config ...

SELINUX=permissive
adicione um novo disco
Novo Disco
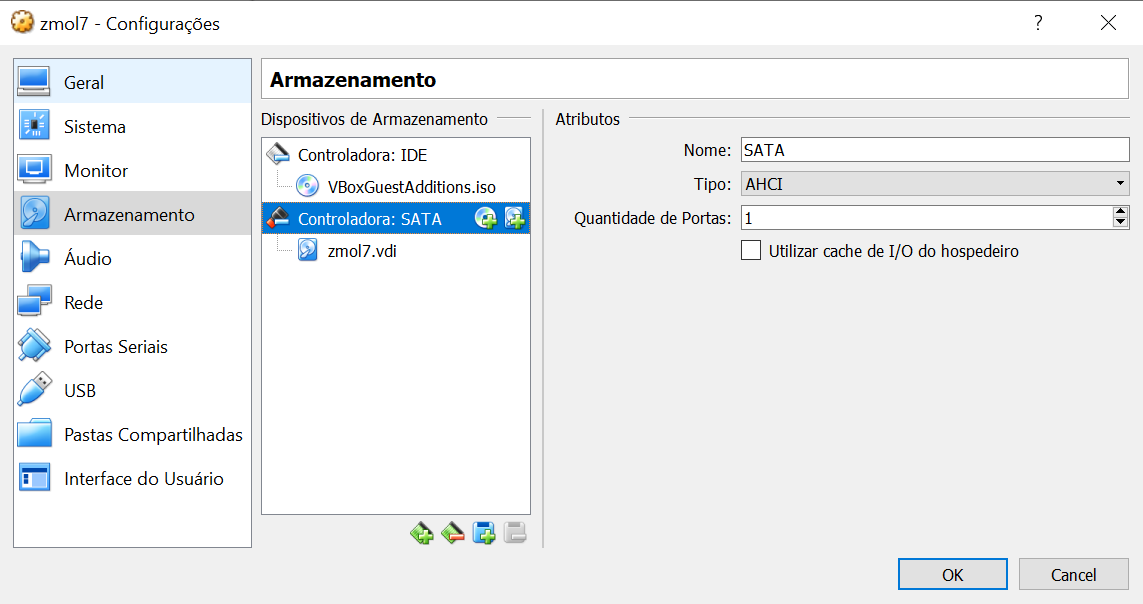
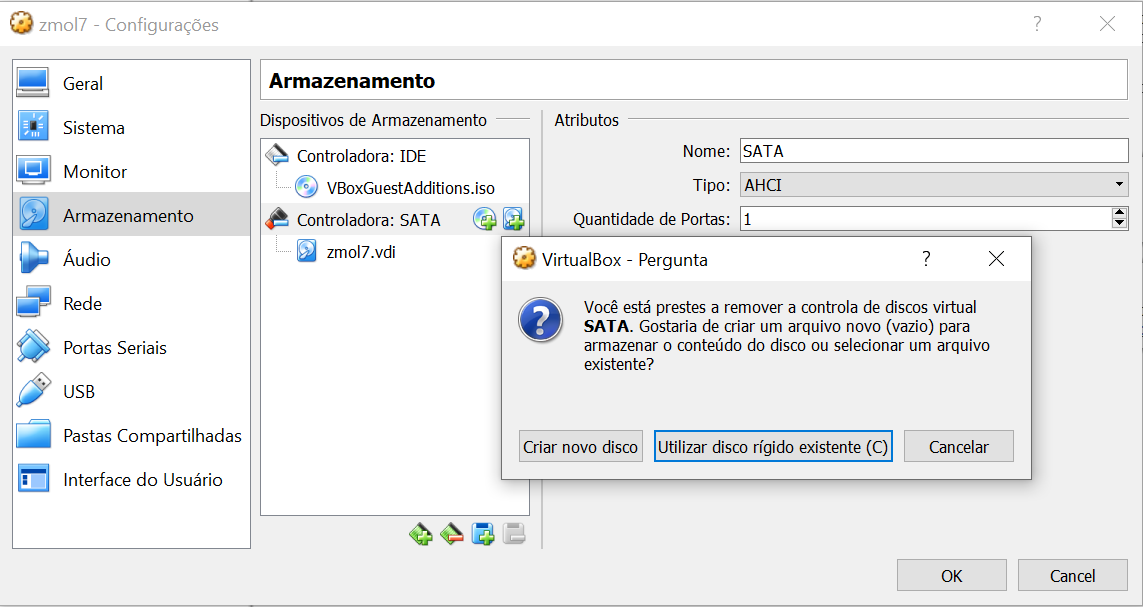
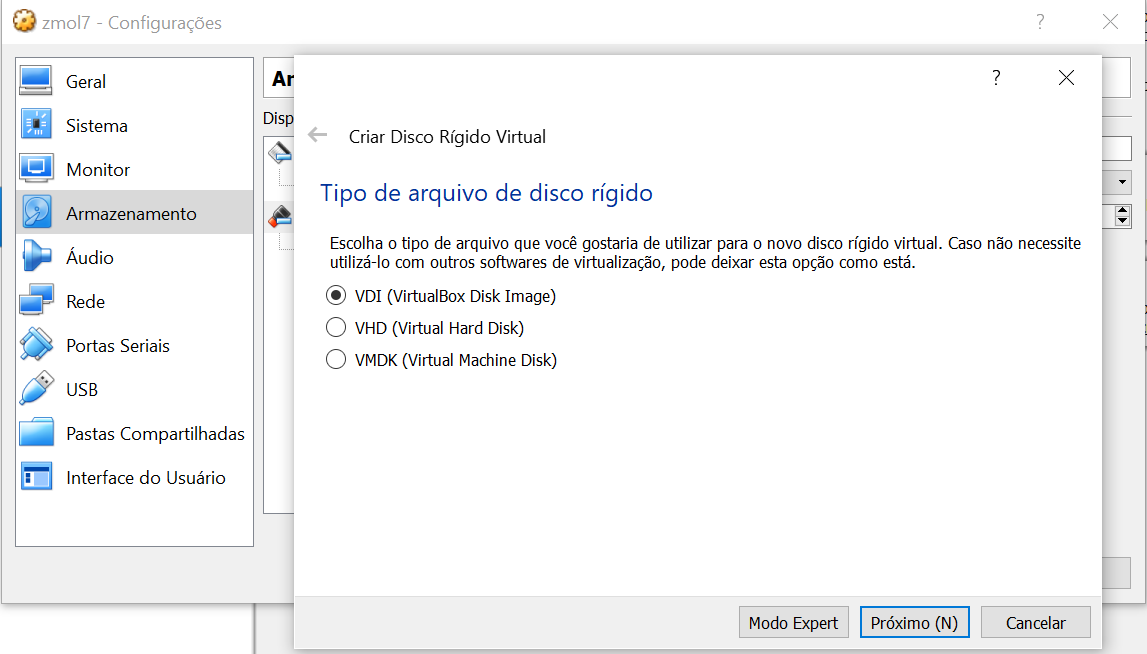
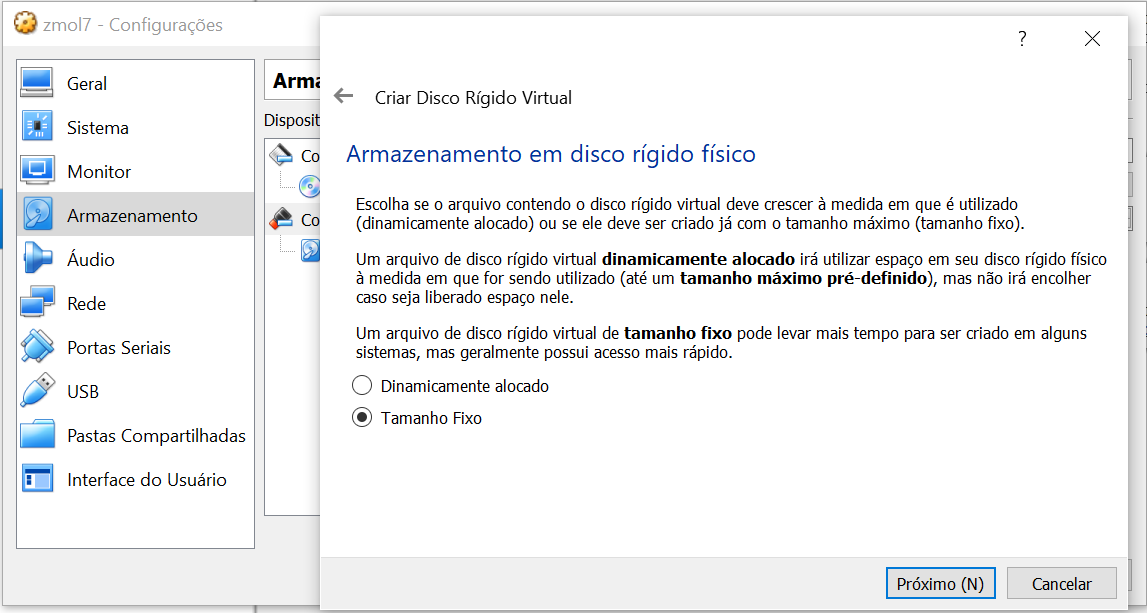
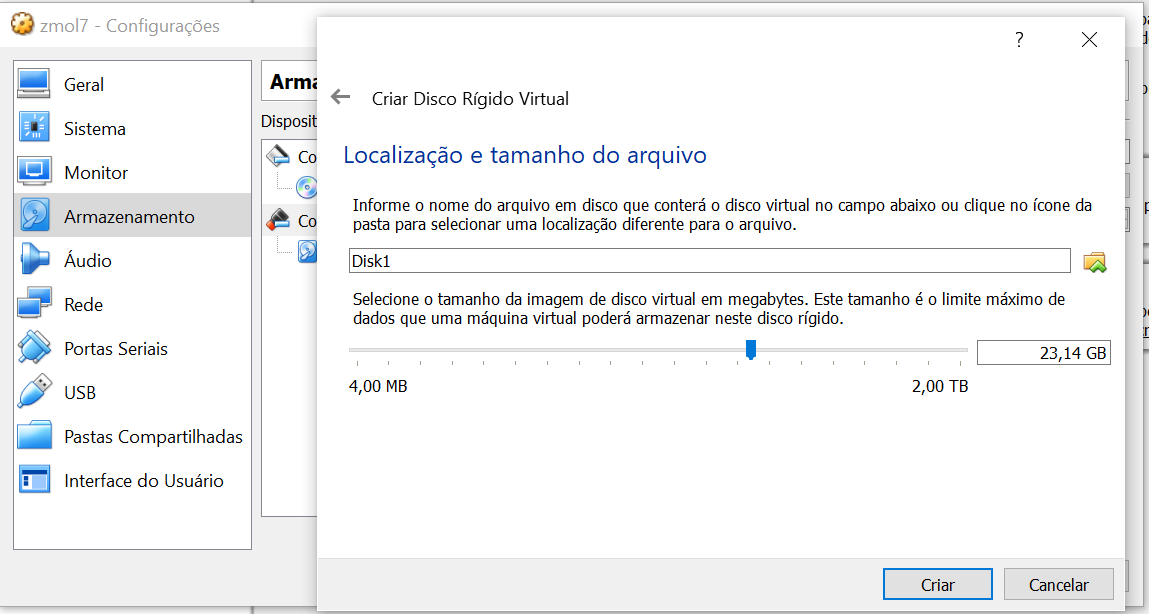

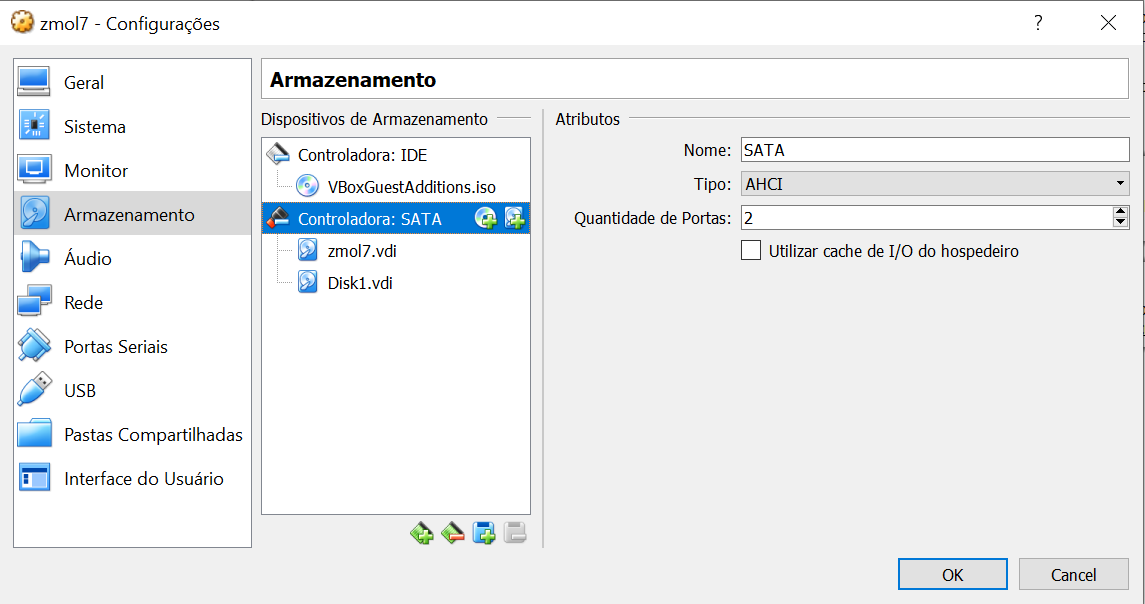
[collapse]
Acesse o terminal e execute os comando abaixo:
fdisk -l

Disk /dev/sdb: 24.8 GB, 24843845632 bytes, 48523136 sectors
Units = sectors of 1 * 512 = 512 bytes
Sector size (logical/physical): 512 bytes / 512 bytes
I/O size (minimum/optimal): 512 bytes / 512 bytes

Command (m for help): n
Partition type:
p primary (0 primary, 0 extended, 4 free)
e extended
Select (default p): p
Partition number (1-4, default 1): 1
First sector (2048-48523135, default 2048):
Using default value 2048
Last sector, +sectors or +size{K,M,G} (2048-48523135, default 48523135):
Using default value 48523135
Partition 1 of type Linux and of size 23.1 GiB is set

Command (m for help): w
The partition table has been altered!

Calling ioctl() to re-read partition table.
Syncing disks.
[root@zmol7 ~]#
Configurando 0 ASM
/etc/init.d/oracleasm configure

[root@zmol7 ~]# oracleasm configure -i

Configuring the Oracle ASM library driver.


This will configure the on-boot properties of the Oracle ASM library

driver.  The following questions will determine whether the driver is

loaded on boot and what permissions it will have.  The current values

will be shown in brackets ('[]').  Hitting <ENTER> without typing an

answer will keep that current value.  Ctrl-C will abort.


Default user to own the driver interface []:

Default user to own the driver interface []: oracle

Default group to own the driver interface []: asmadmin

Start Oracle ASM library driver on boot (y/n) [n]: y

Scan for Oracle ASM disks on boot (y/n) [y]: y

Writing Oracle ASM library driver configuration: done


[root@zmol7 ~]# oracleasm init

Creating /dev/oracleasm mount point: /dev/oracleasm

Loading module "oracleasm": oracleasm

Configuring "oracleasm" to use device physical block size

Mounting ASMlib driver filesystem: /dev/oracleasm


[root@zmol7 ~]# oracleasm status

Checking if ASM is loaded: yes

Checking if /dev/oracleasm is mounted: yes

[root@zmol7 ~]#
Criando o disco ASM
[root@zmol7 ~]# oracleasm createdisk DISK01 /dev/sdb1

Writing disk header: done

Instantiating disk: done


[root@zmol7 ~]# oracleasm scandisks

Reloading disk partitions: done

Cleaning any stale ASM disks...

Scanning system for ASM disks...

[root@zmol7 ~]# oracleasm listdisks

DISK01

[root@zmol7 ~]#
Instalando o Grid
Instalando o Grid

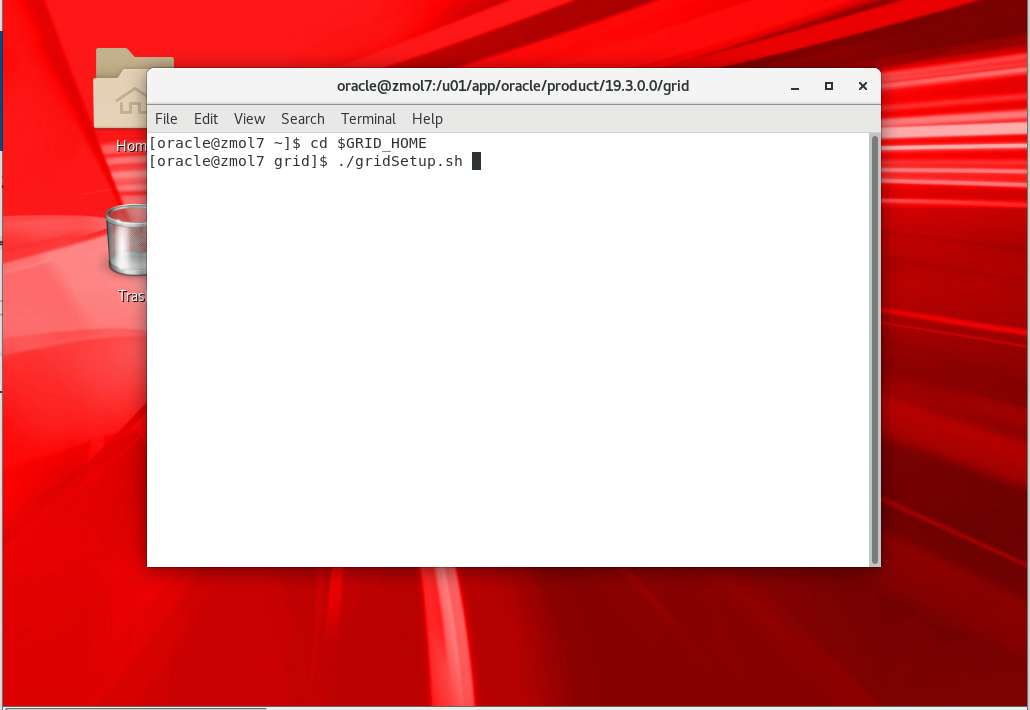
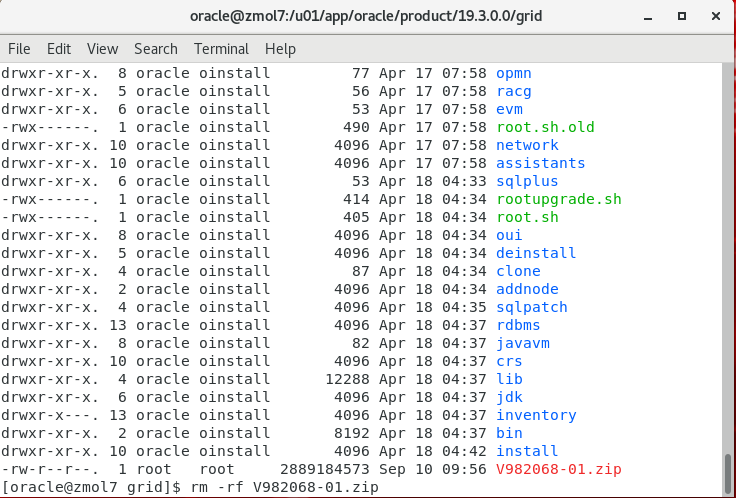
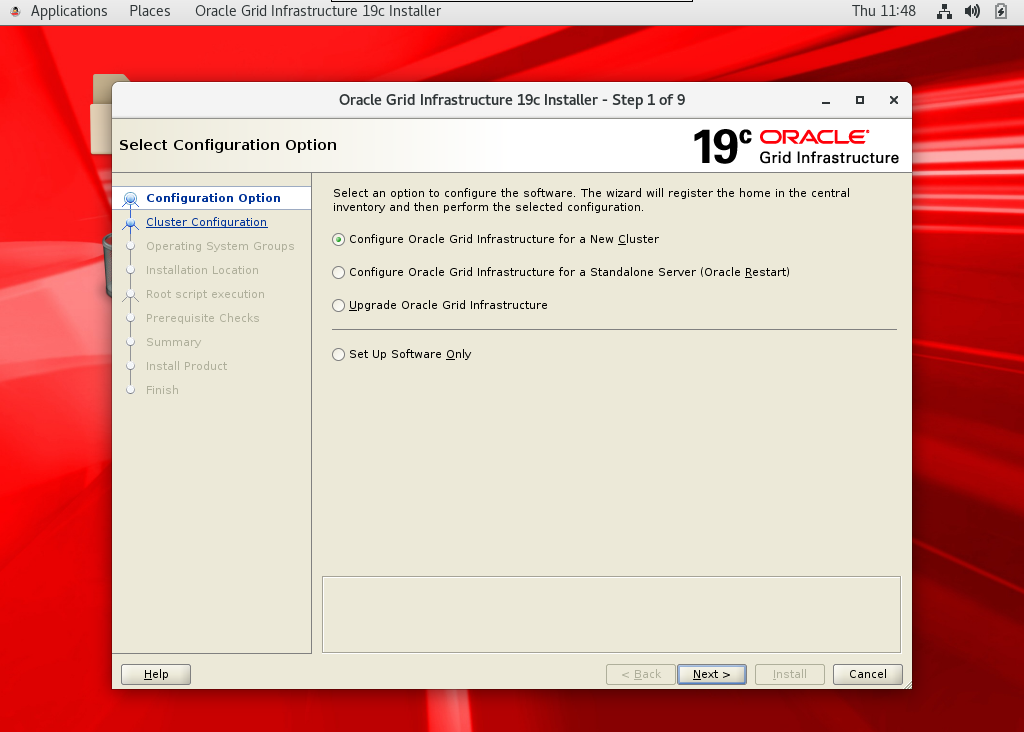

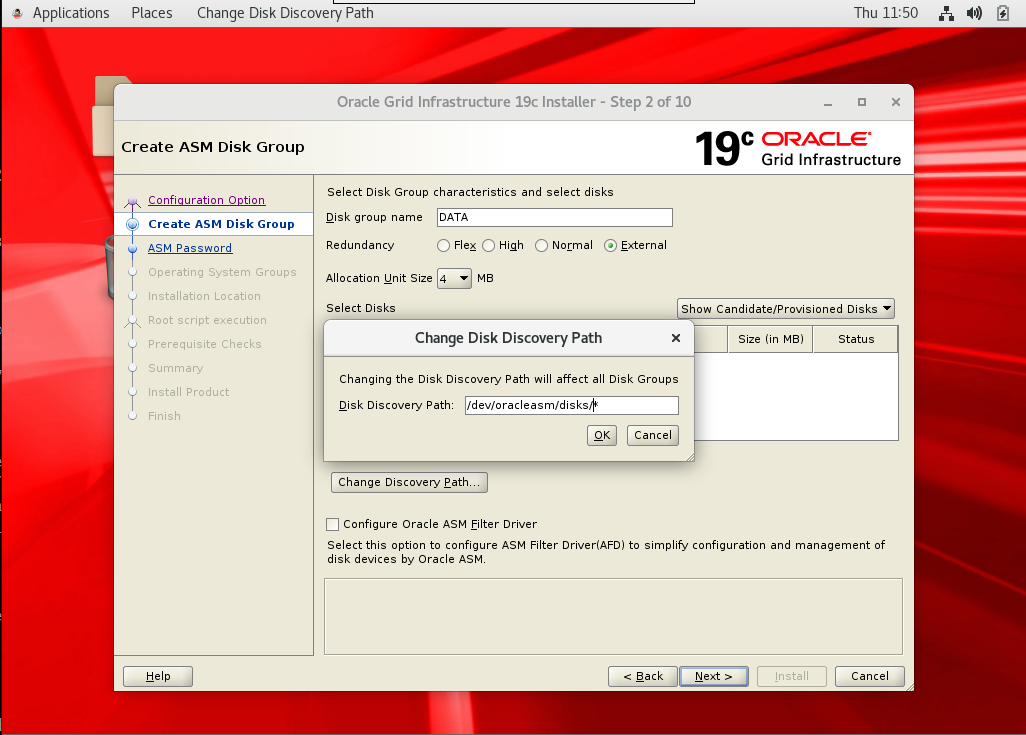
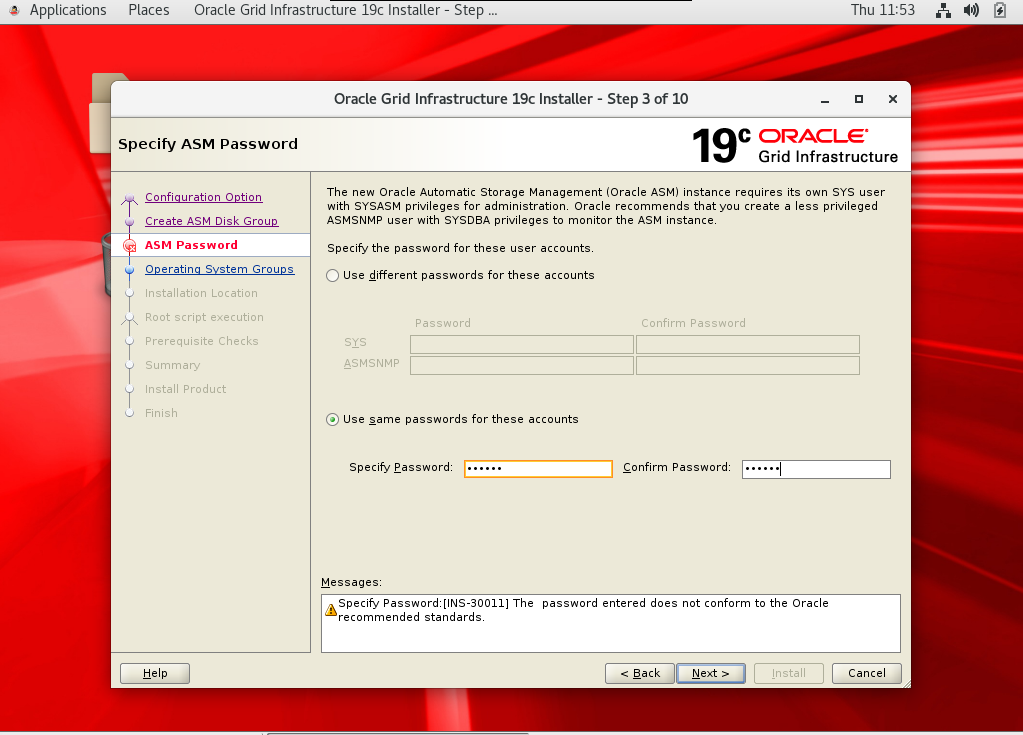


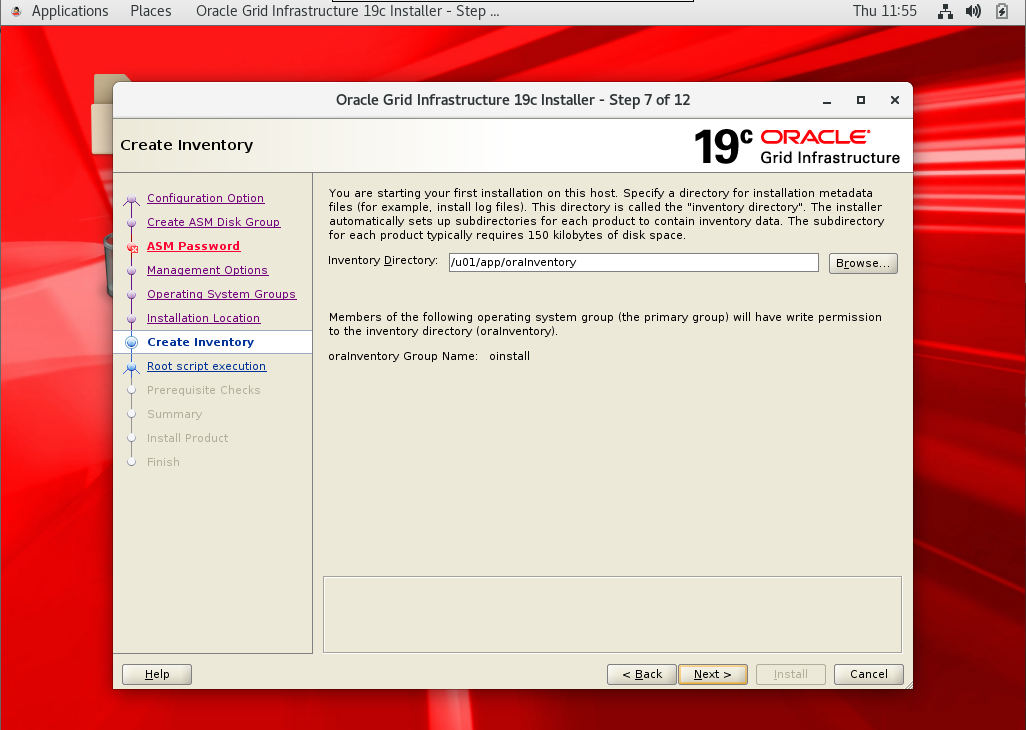
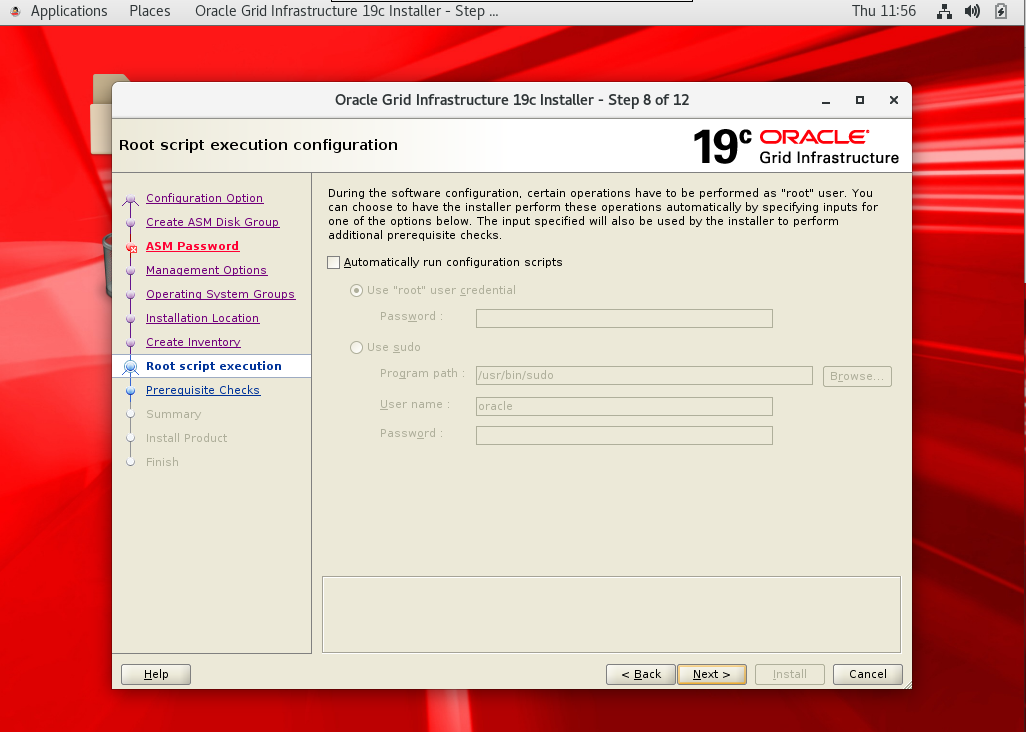
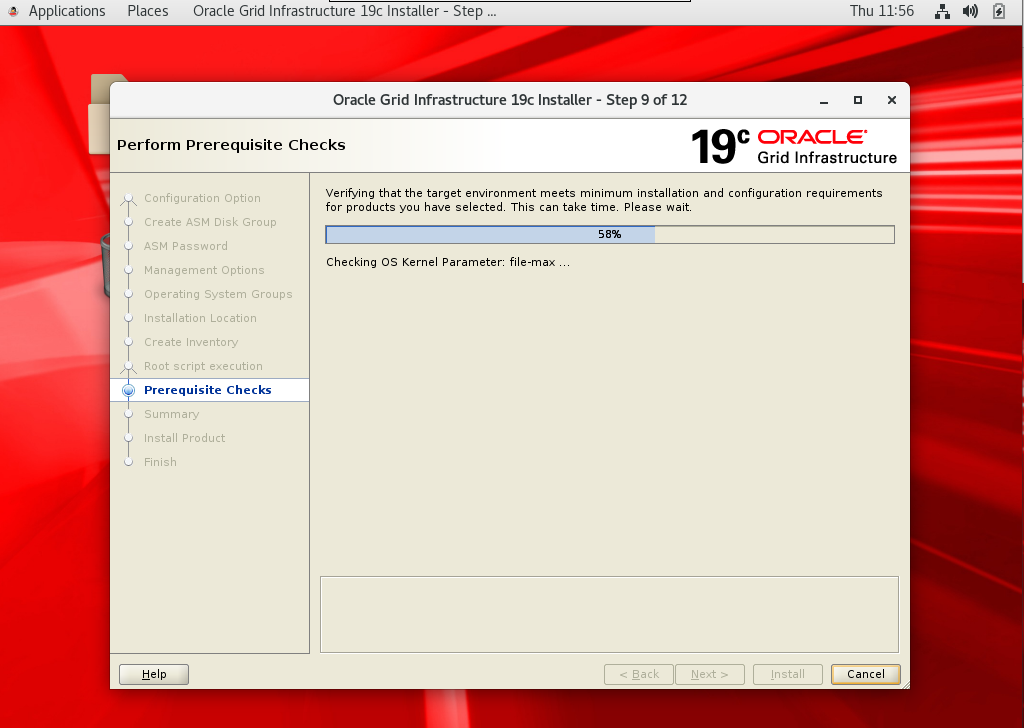
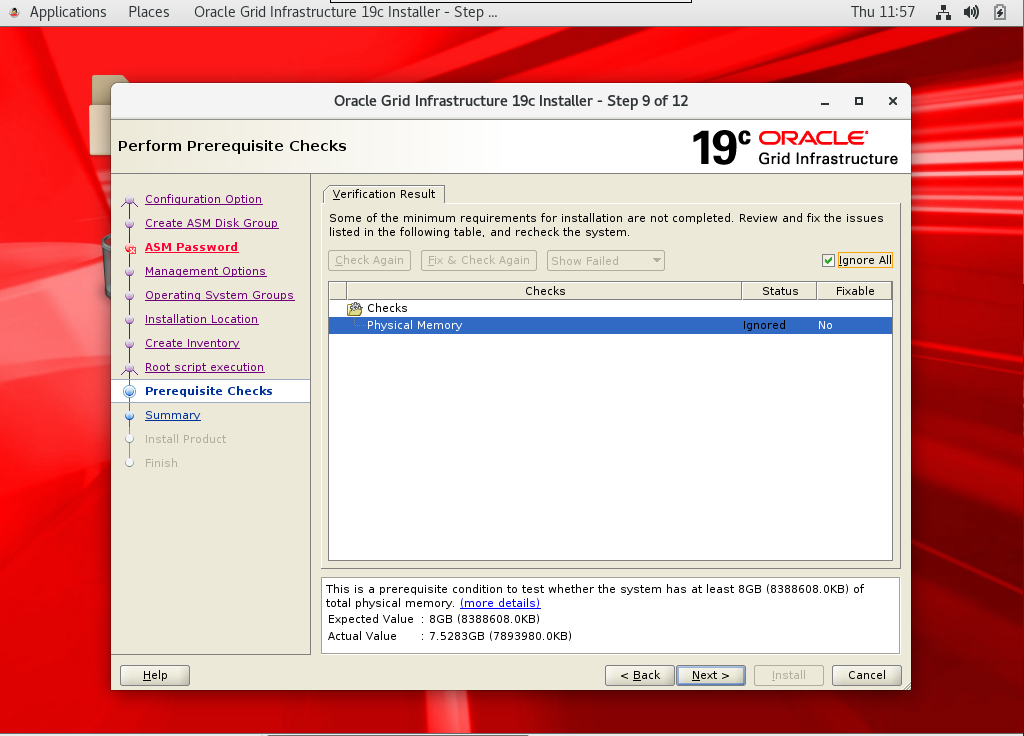
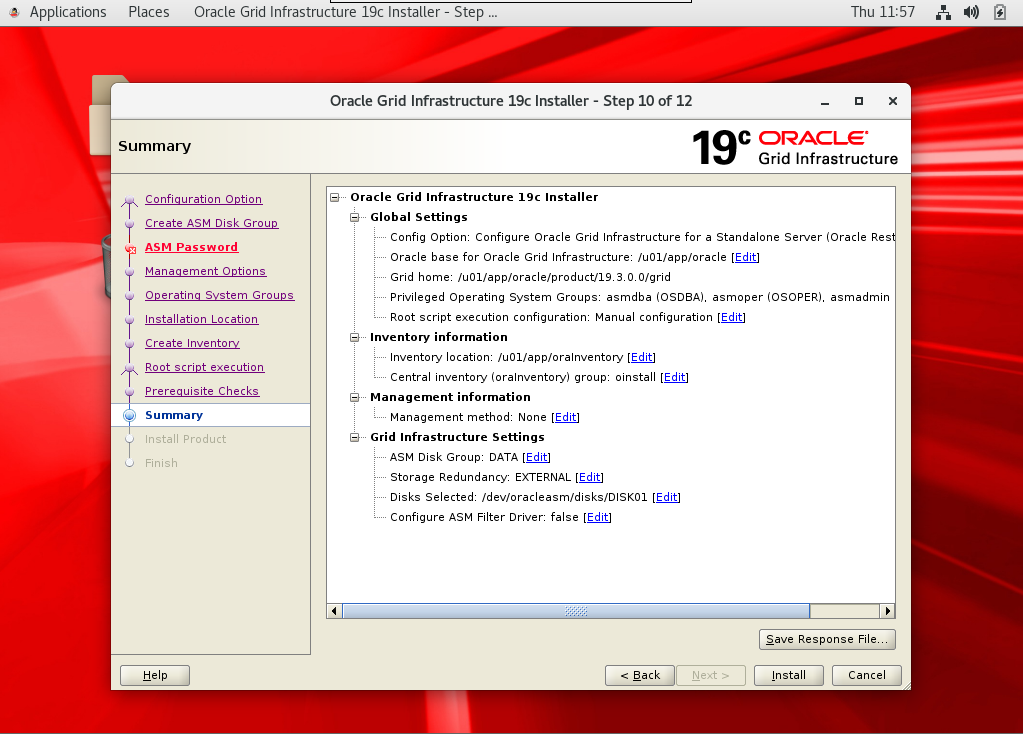
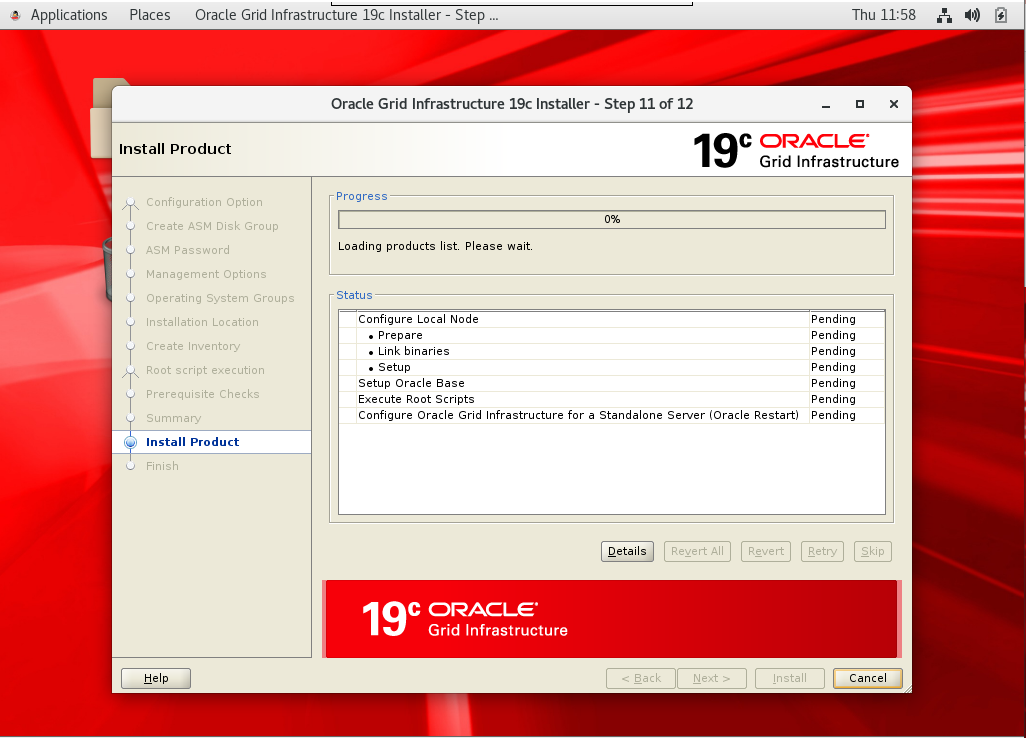
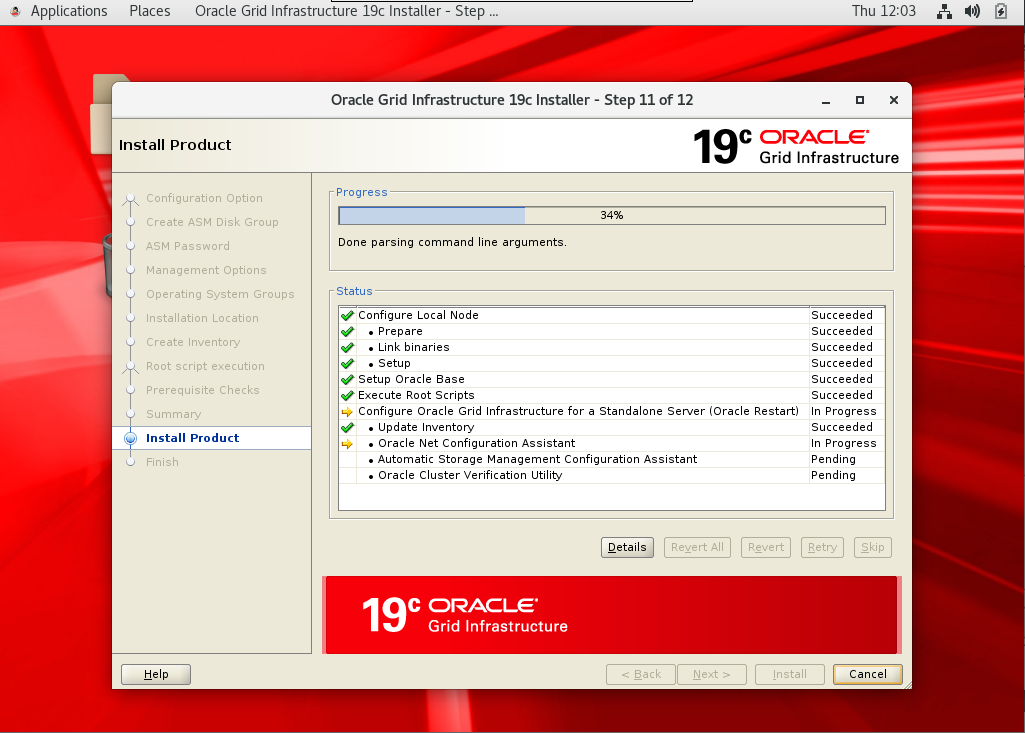
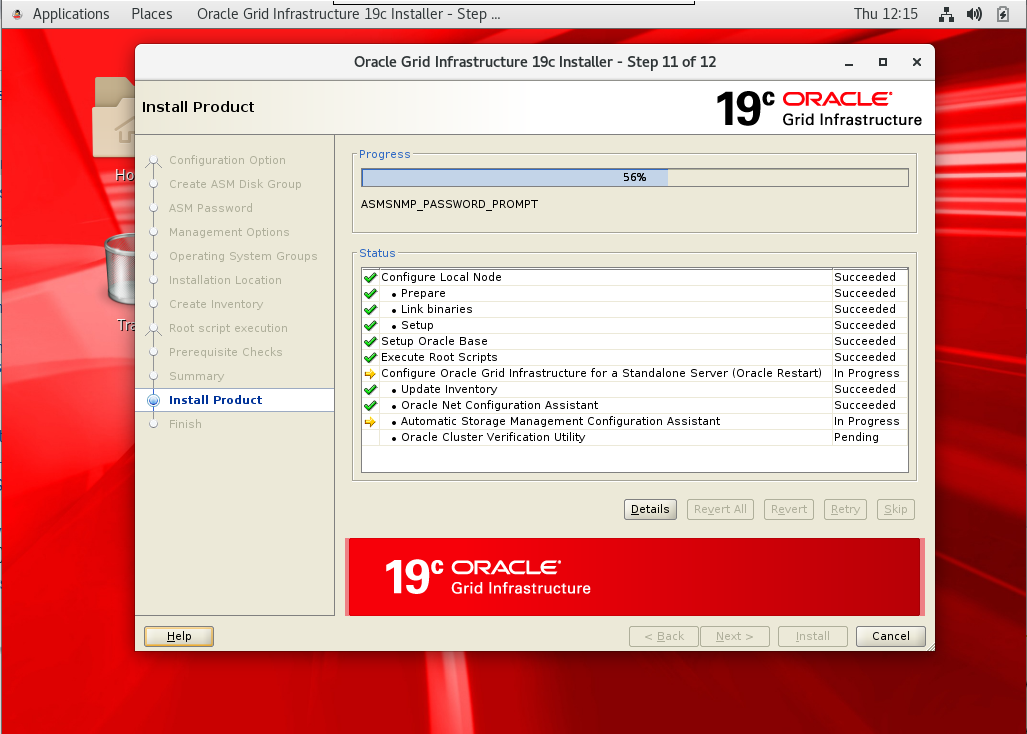
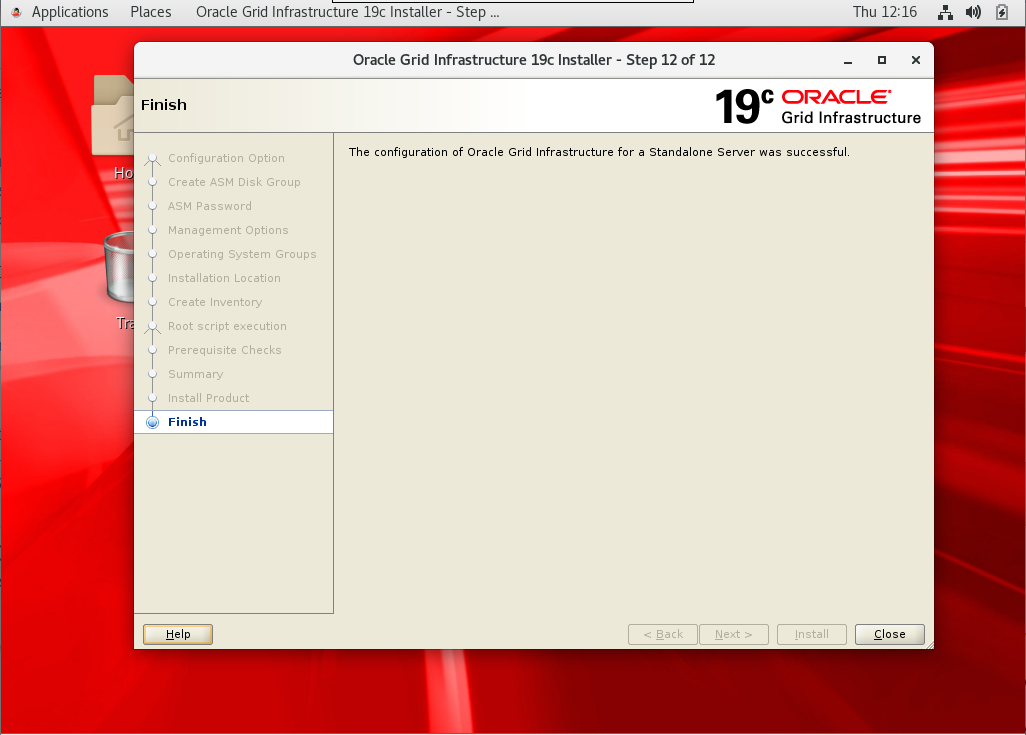
[collapse]
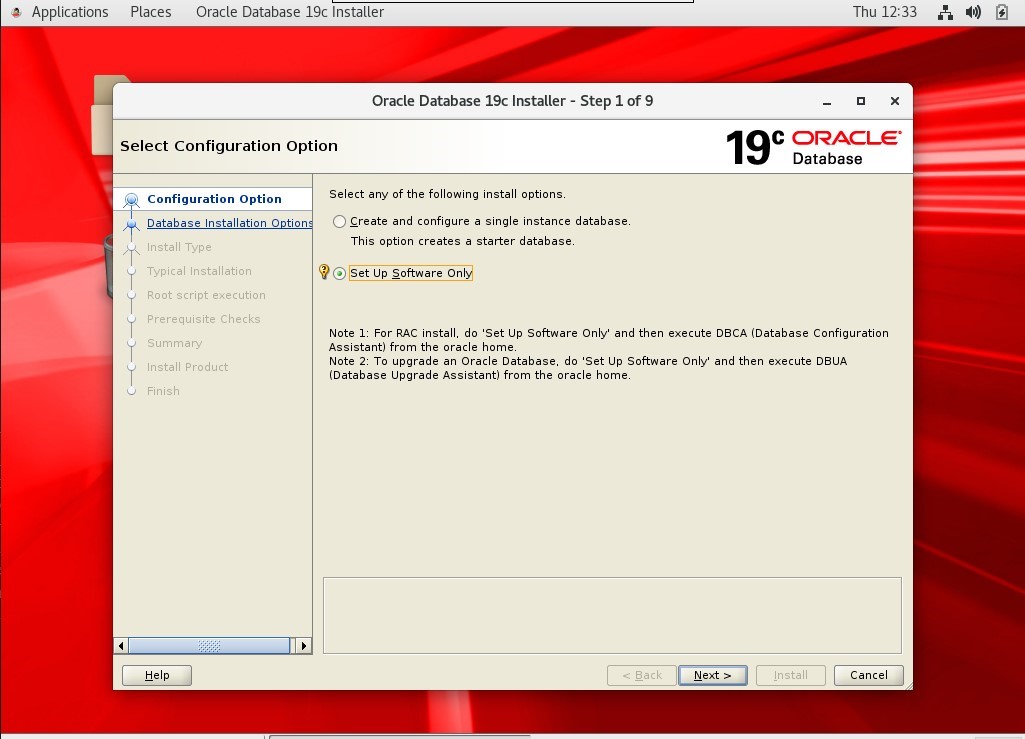
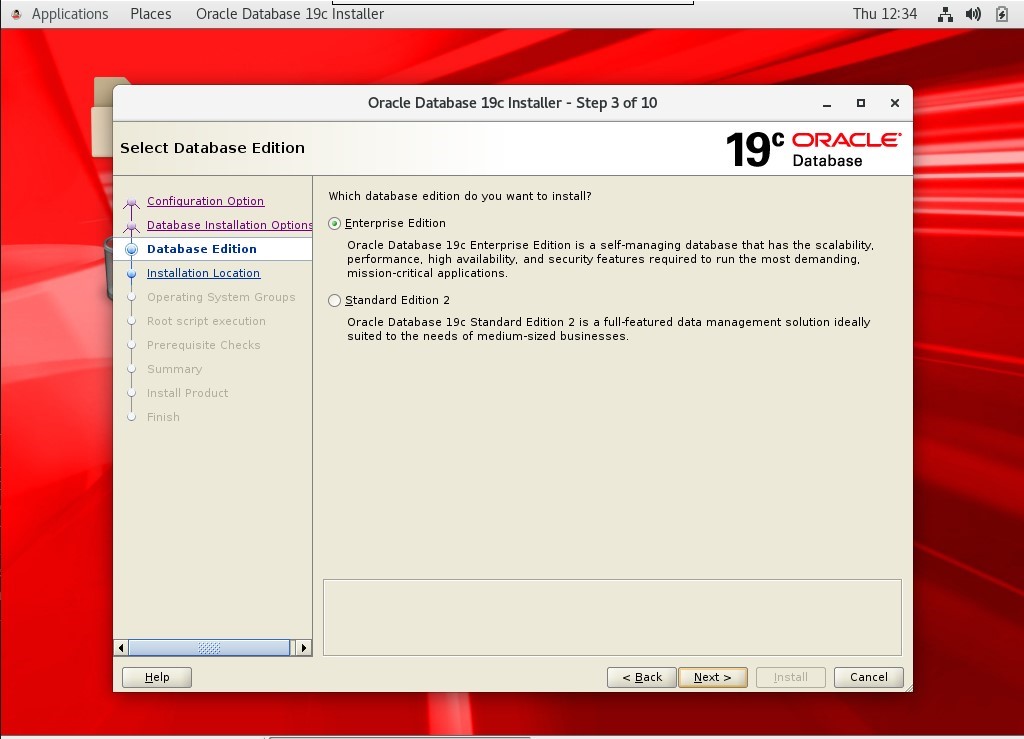
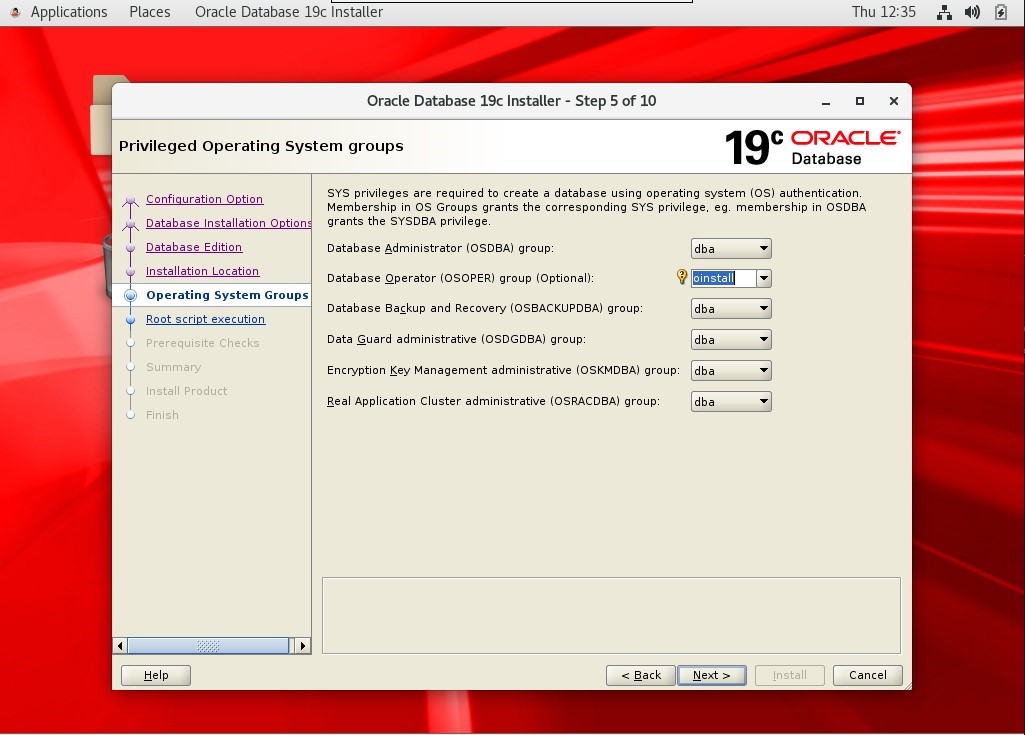
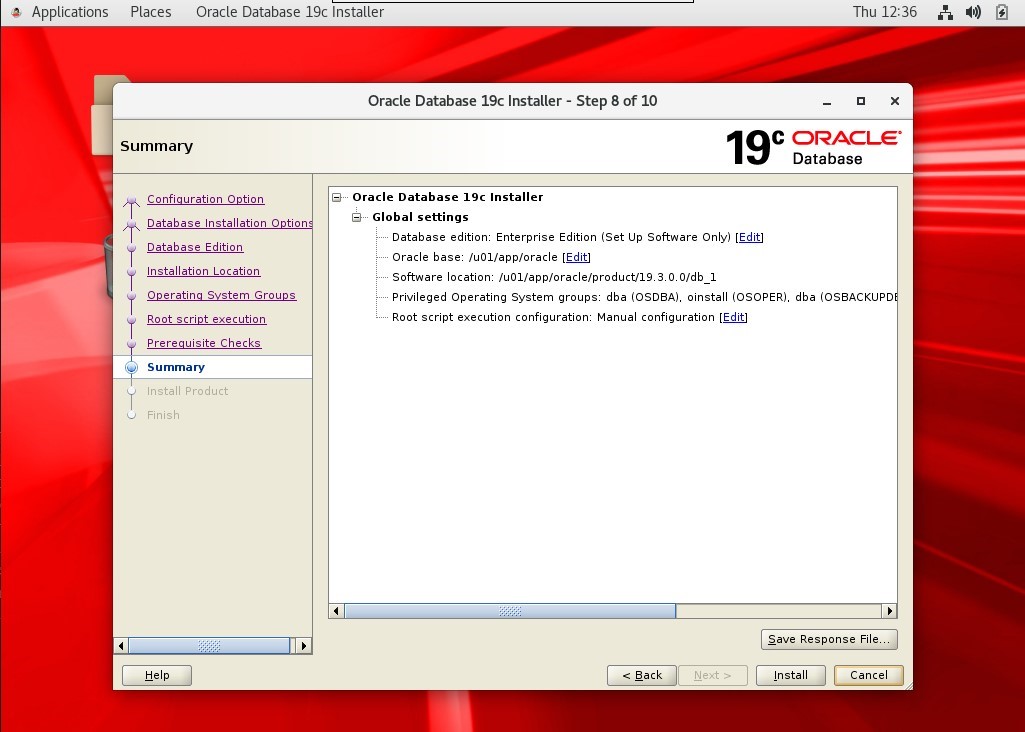
Instalando o RDBMS
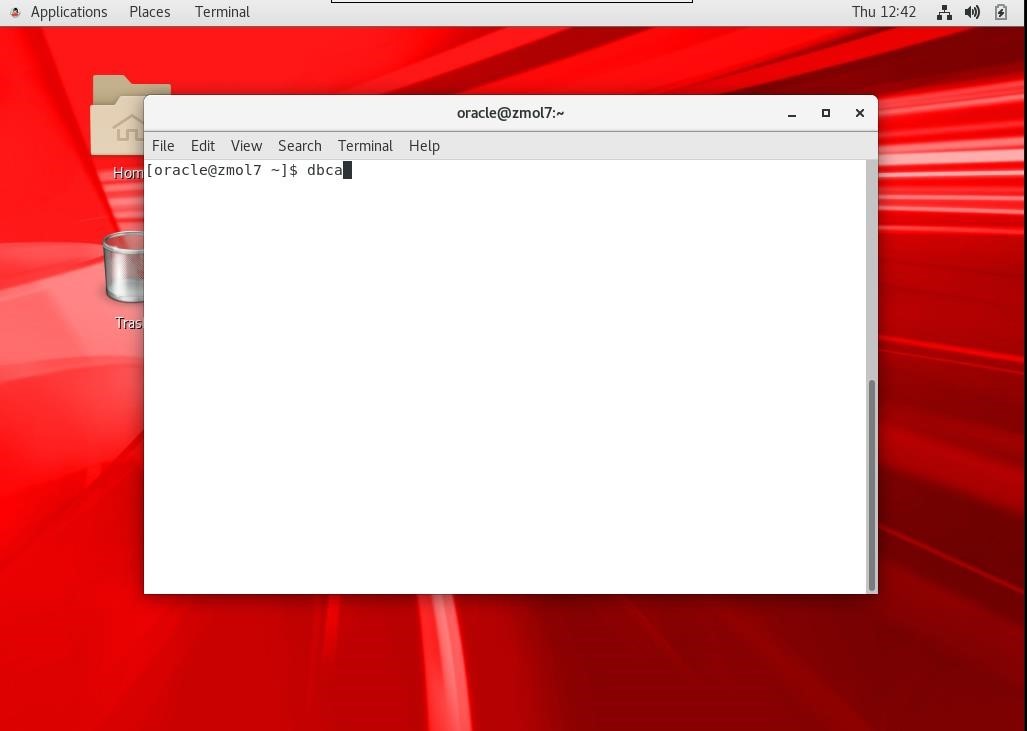
Entre com o Usuário Oracle
Instalando o RDBMS
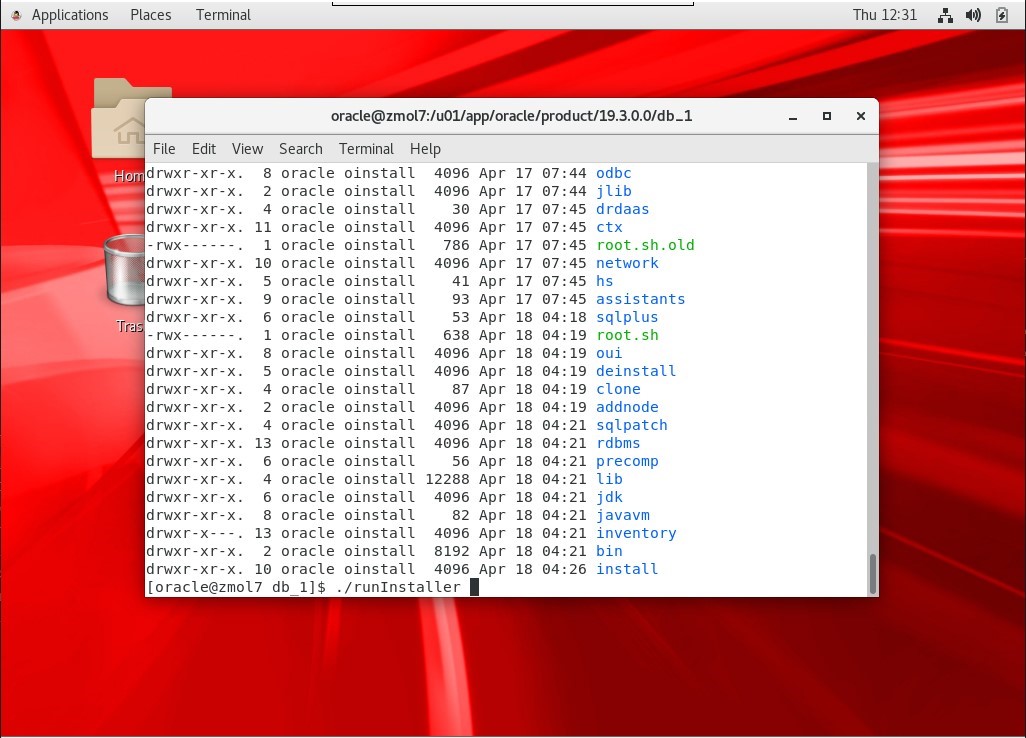


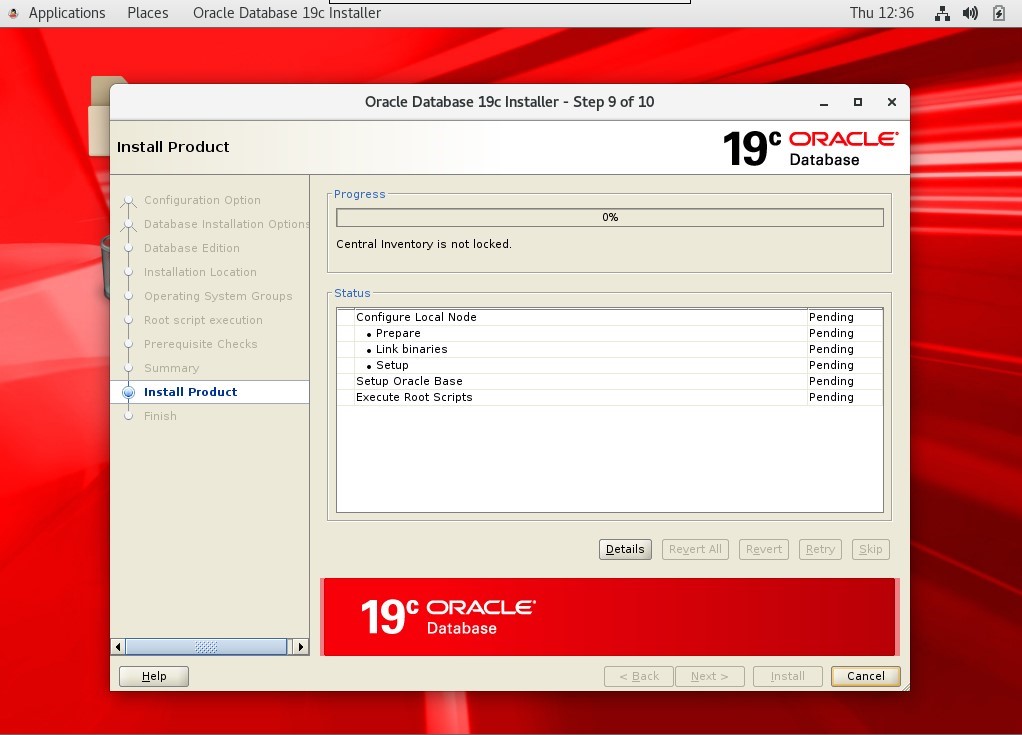
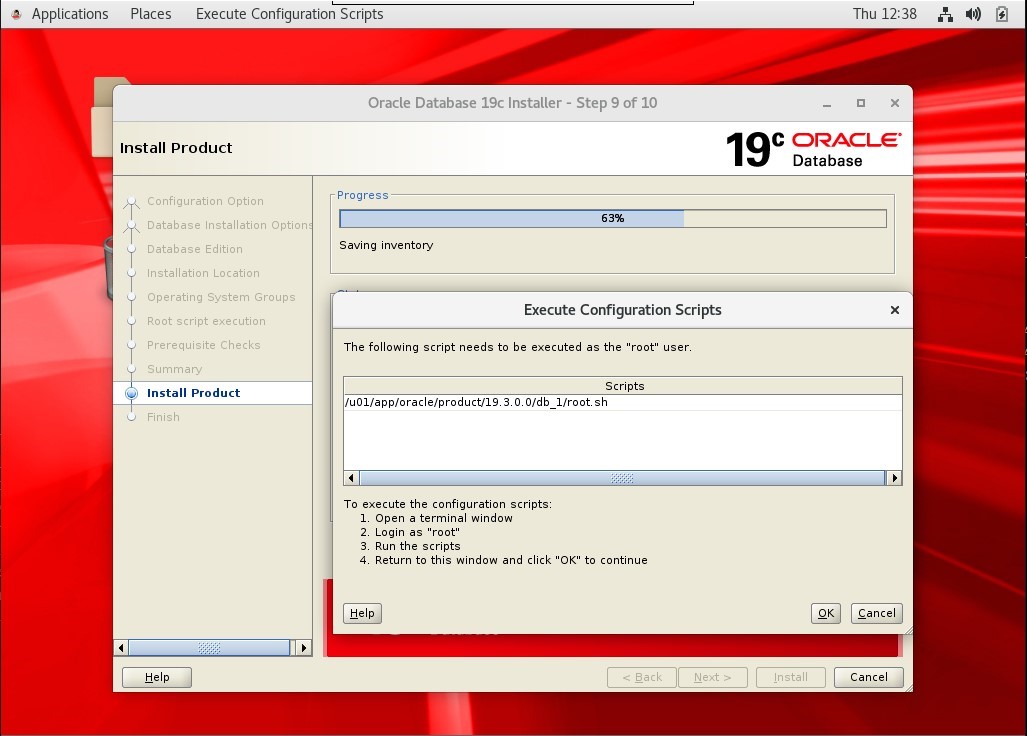
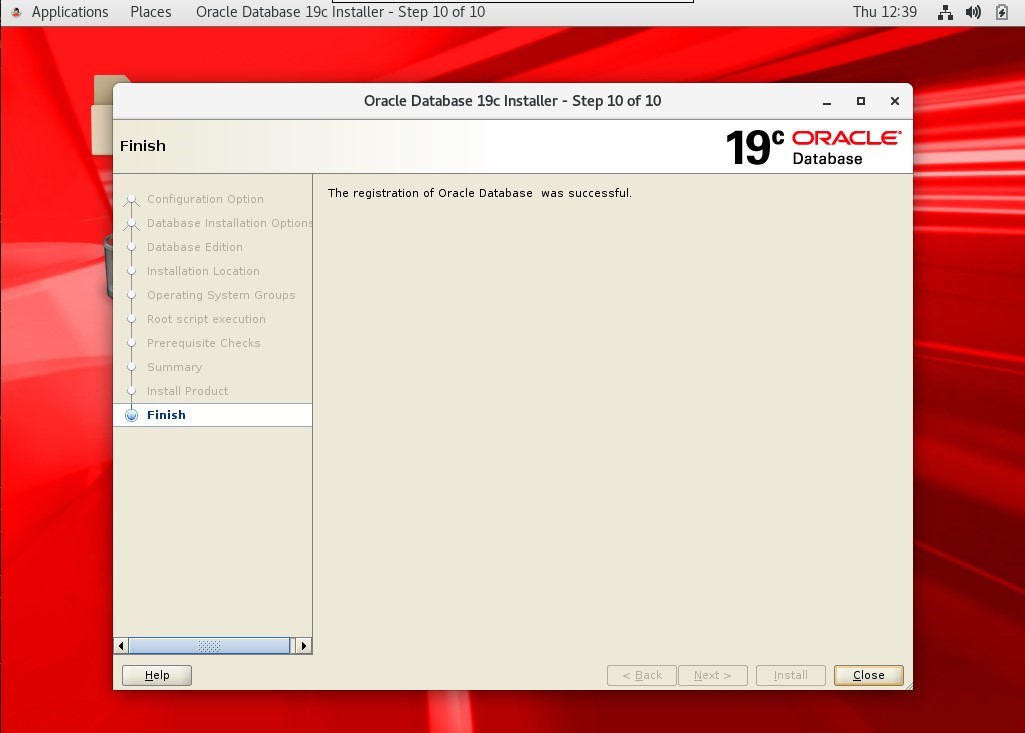
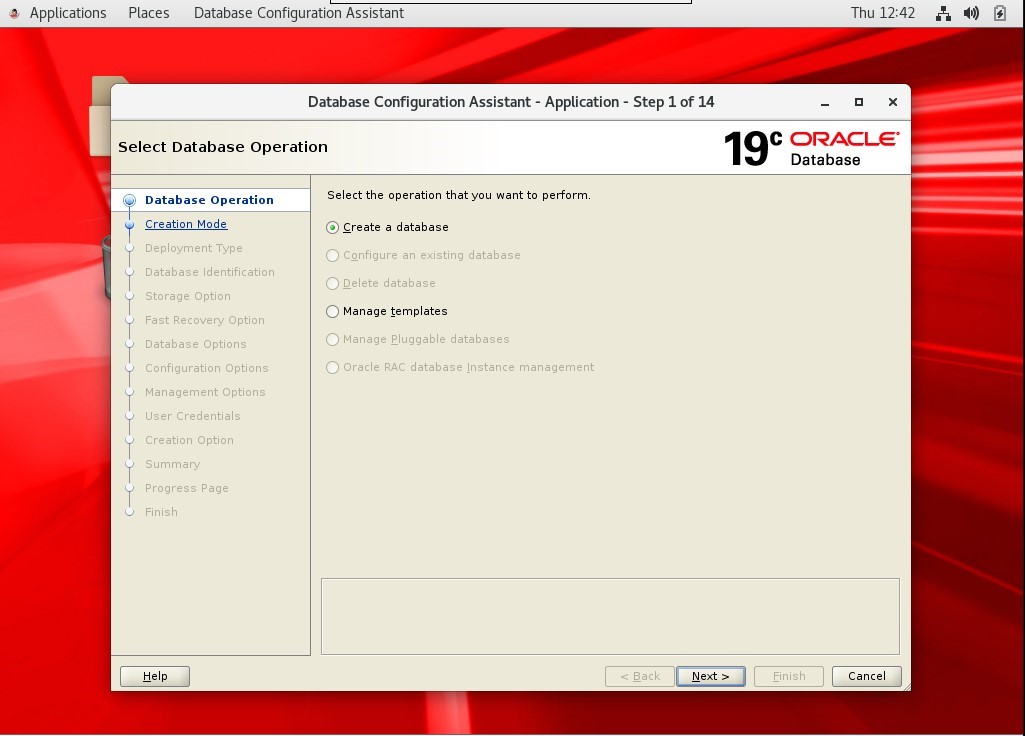
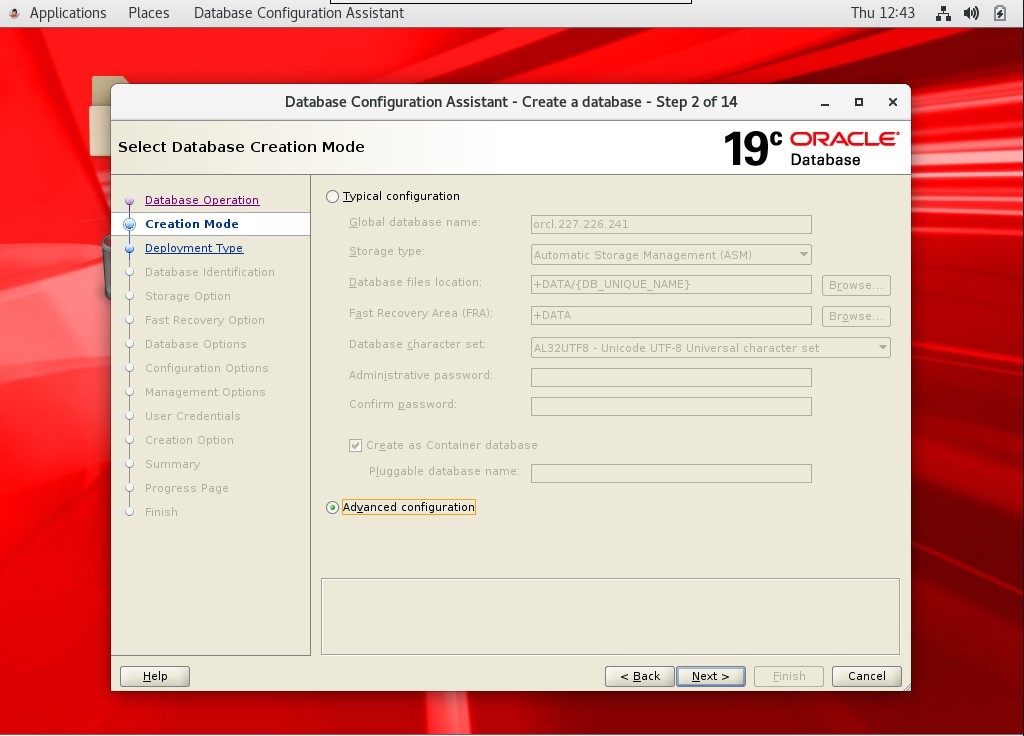
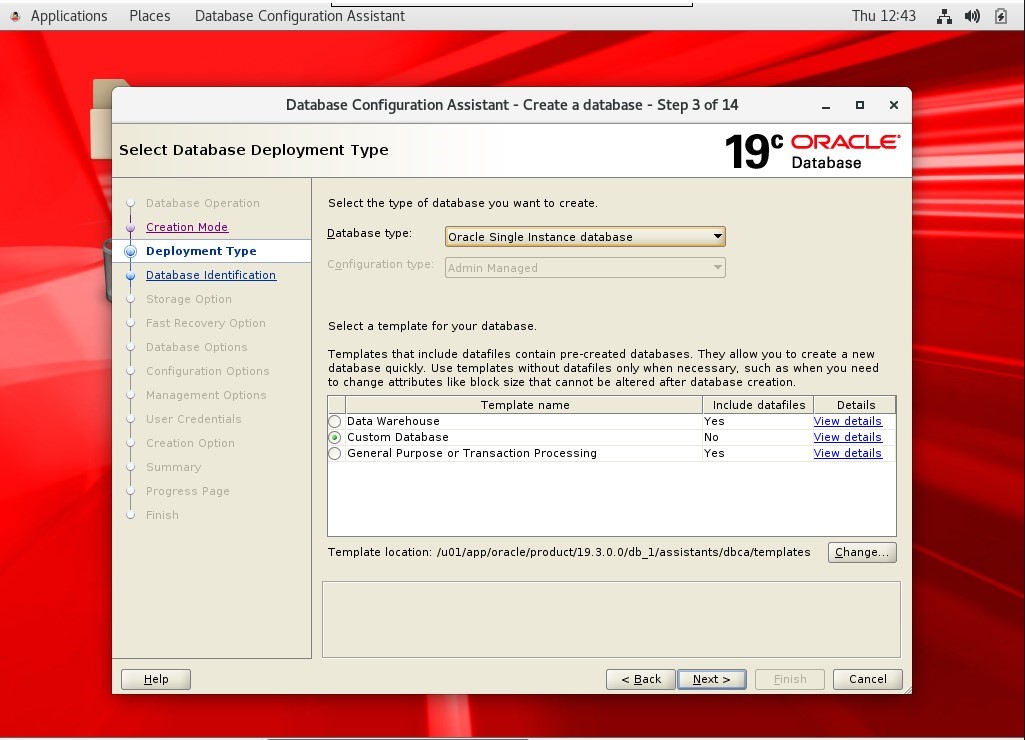
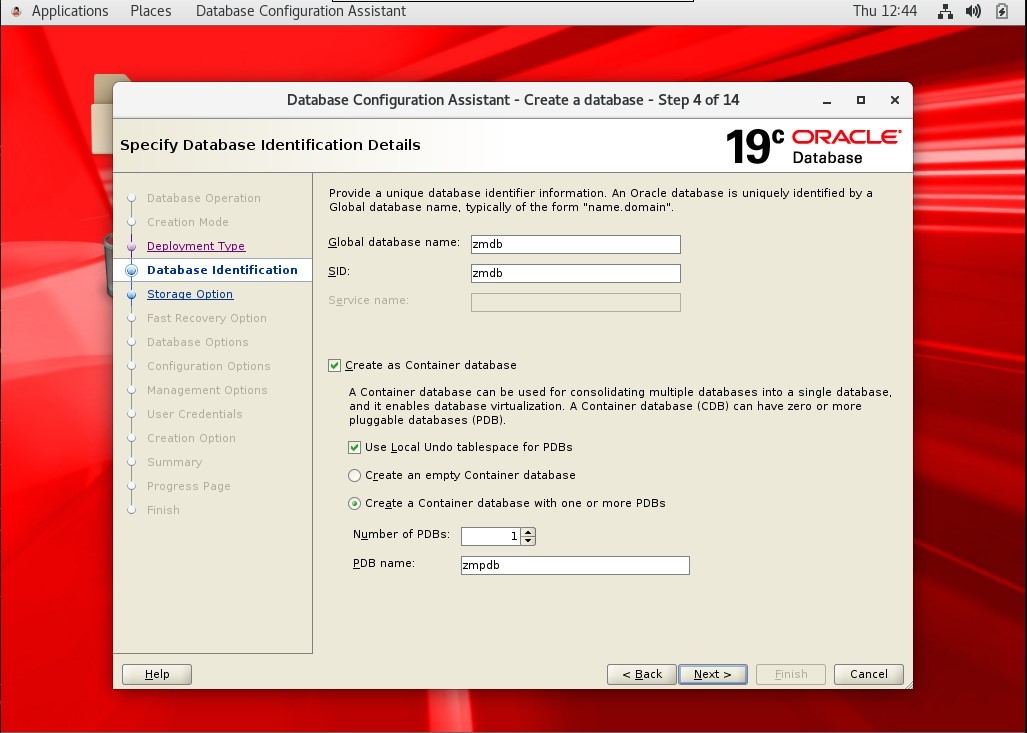


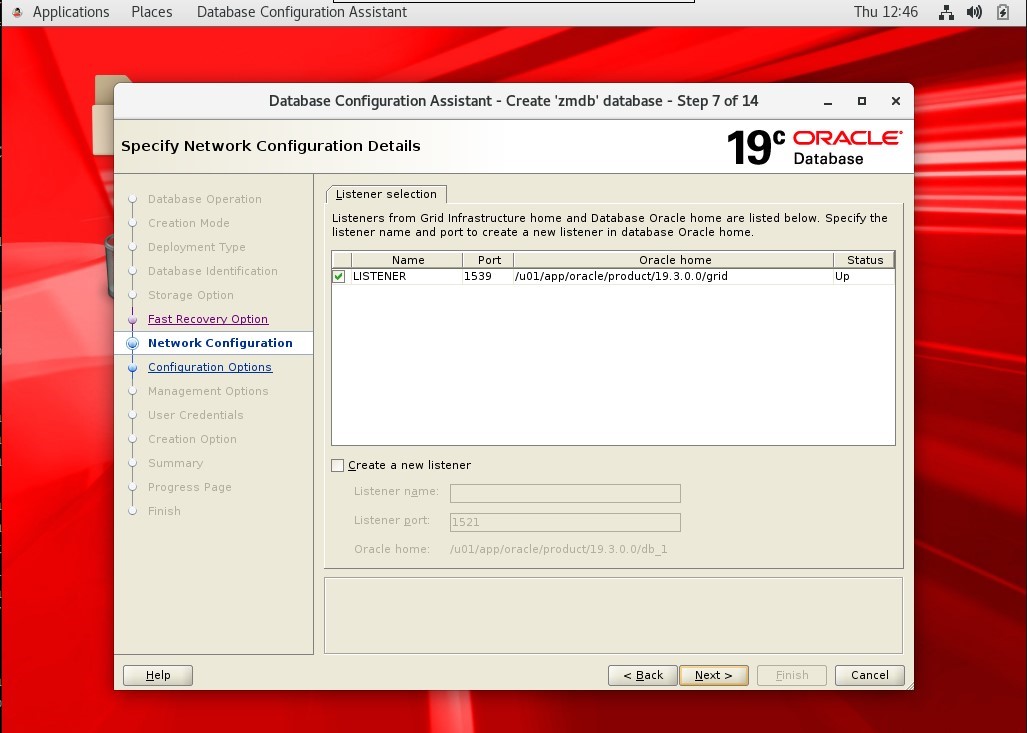
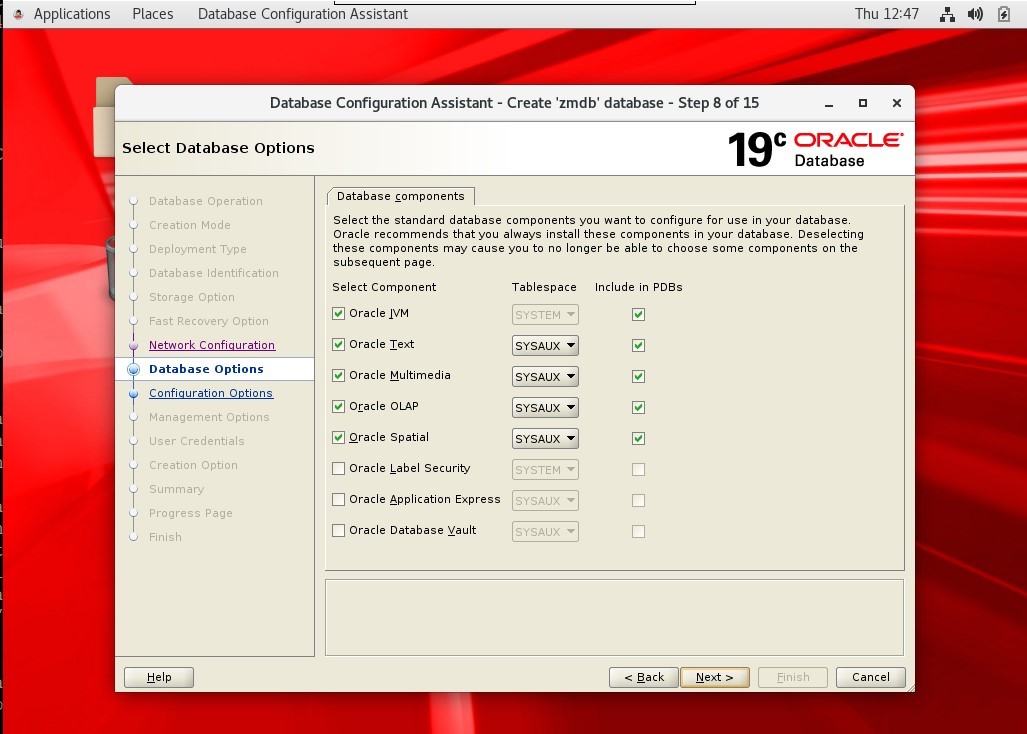


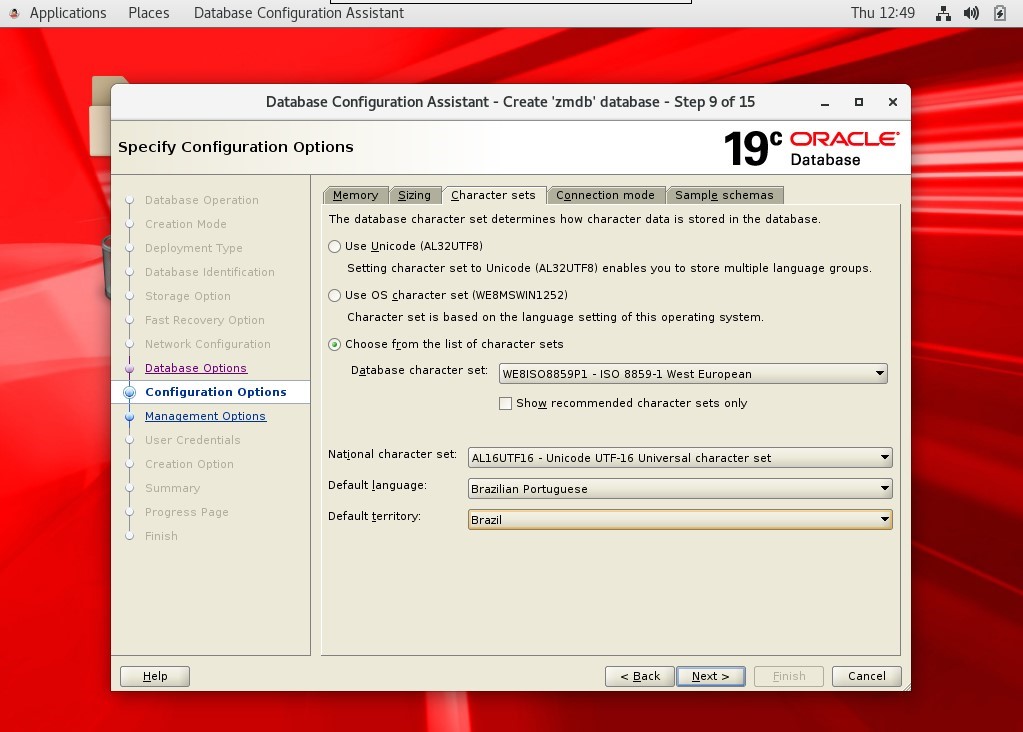
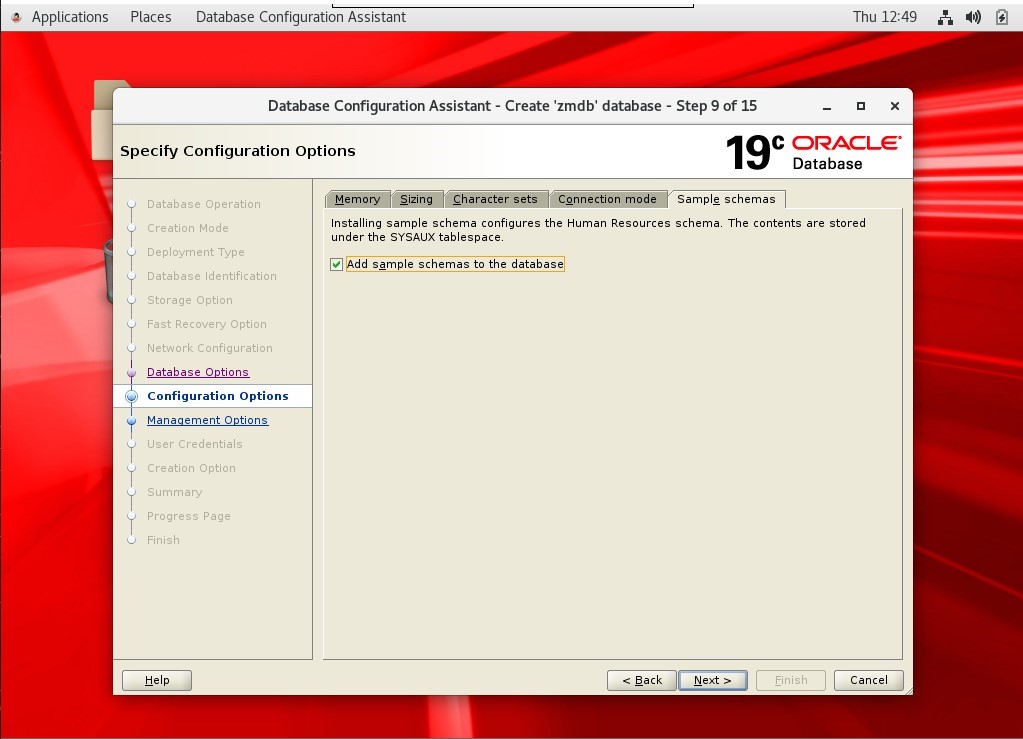
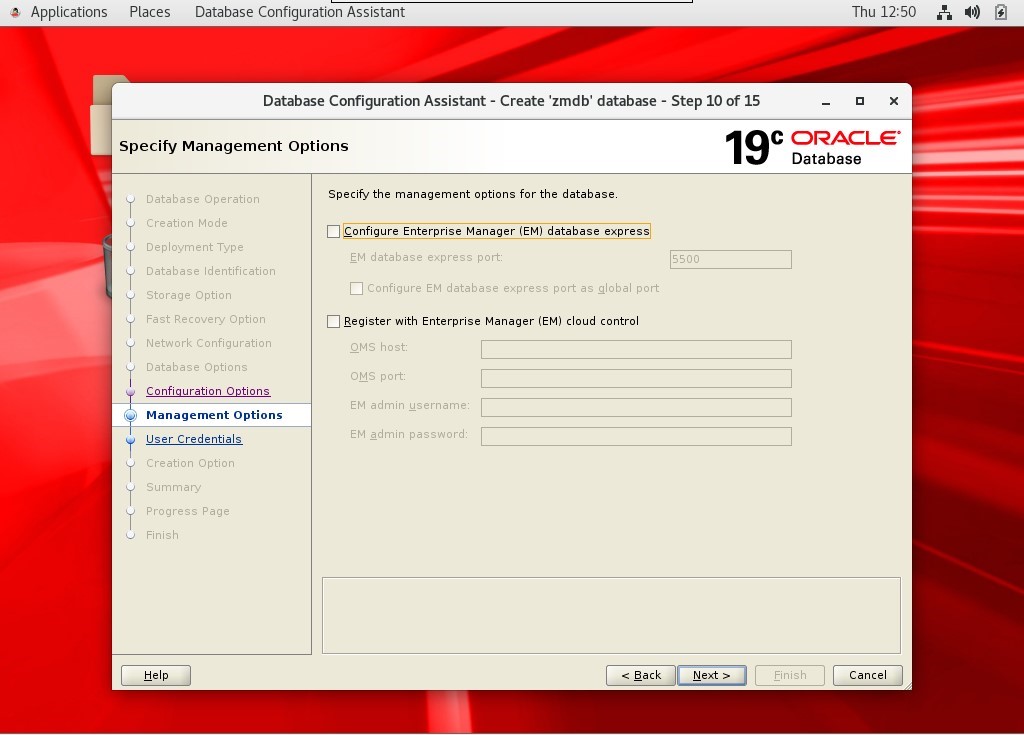
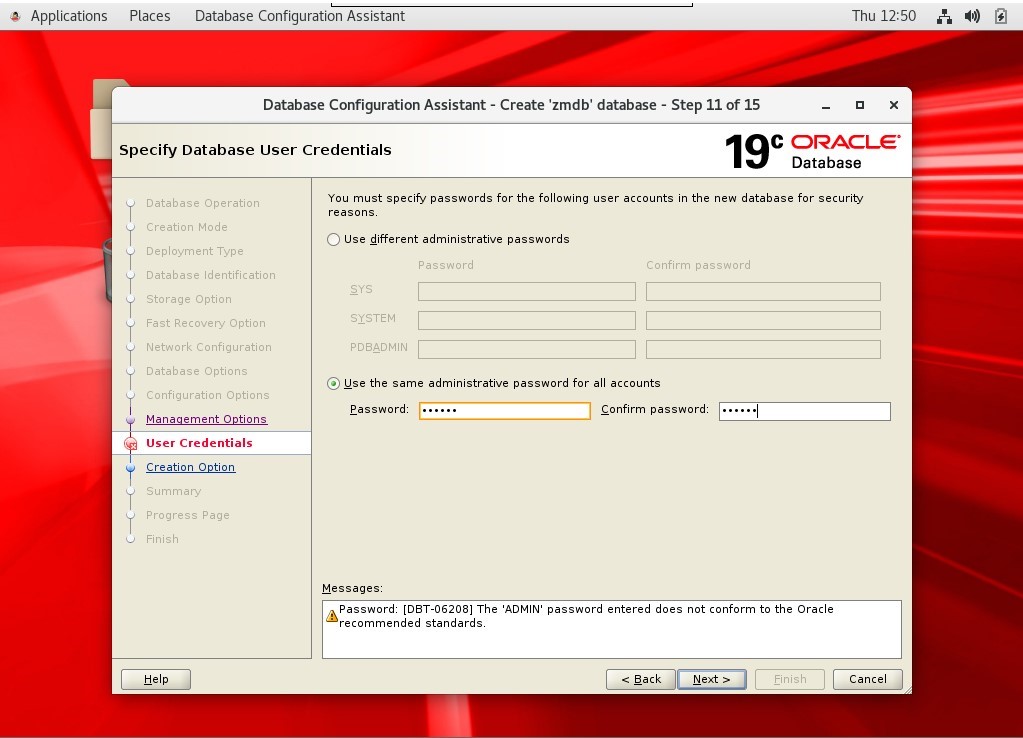
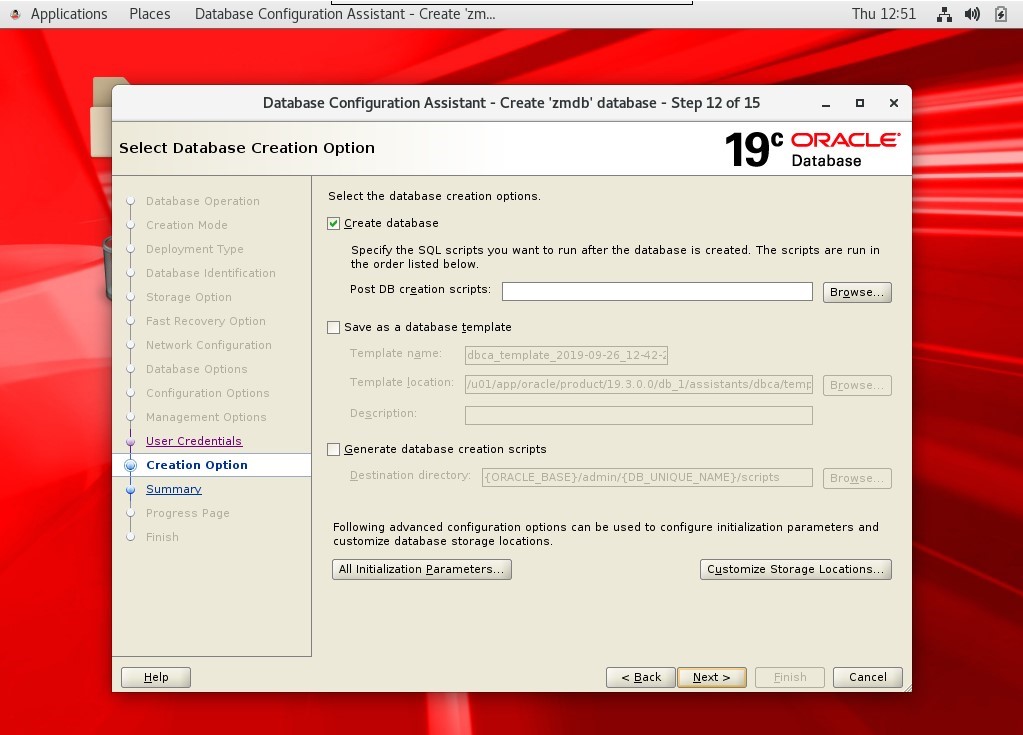
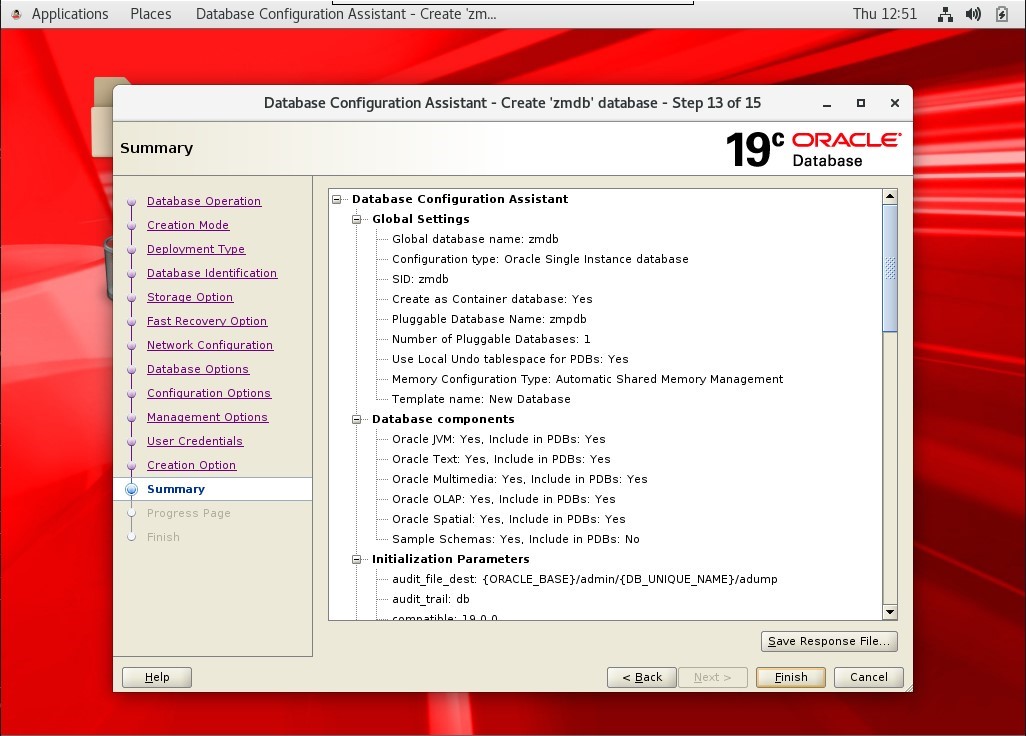
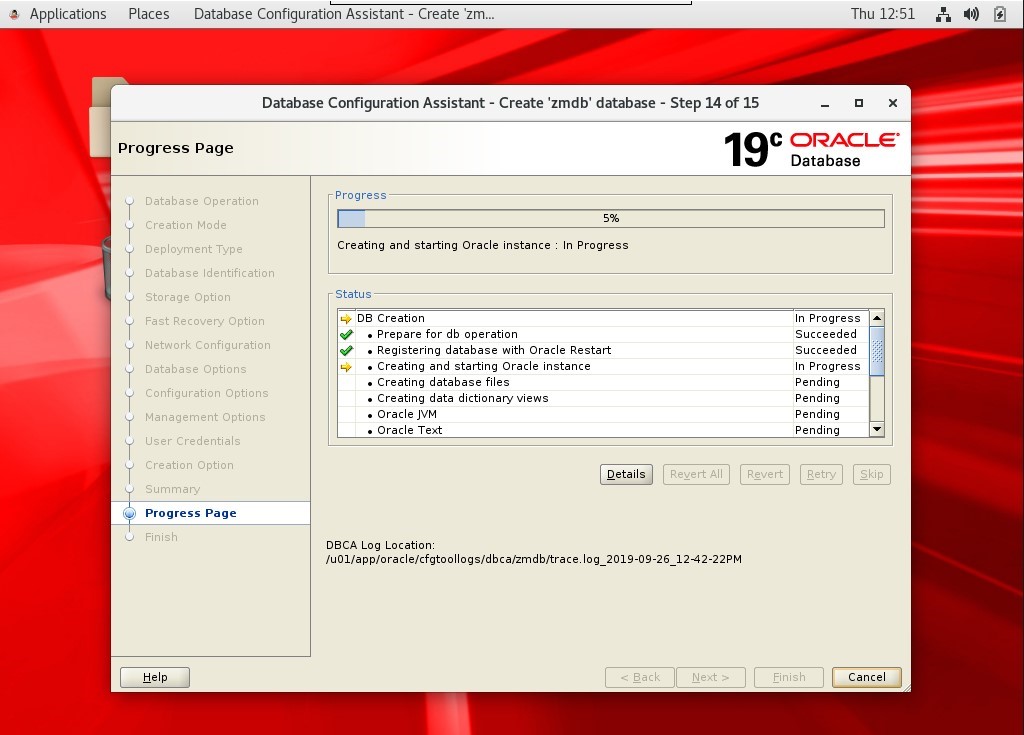

[collapse]