Neste artigo vamos instalar o Oracle RAC 12c (12.1) no Oracle Linux 6 Usando VirtualBox 5, preferi iniciar pelo Oracle 12.1, para podermos realizar a migração para o Oracle 12.2 em um novo artigo.
Para começar vamos baixar os instaladores do Oracle.
Oracle Database 12c Release 1 (12.1.0.2.0) for Linux x86-64
http://www.oracle.com/technetwork/database/enterprise-edition/downloads/index.html
Oracle Database 12c Release 1 Grid Infrastructure (12.1.0.2.0) for Linux x86-64
http://www.oracle.com/technetwork/database/enterprise-edition/downloads/database12c-linux-download-2240591.html
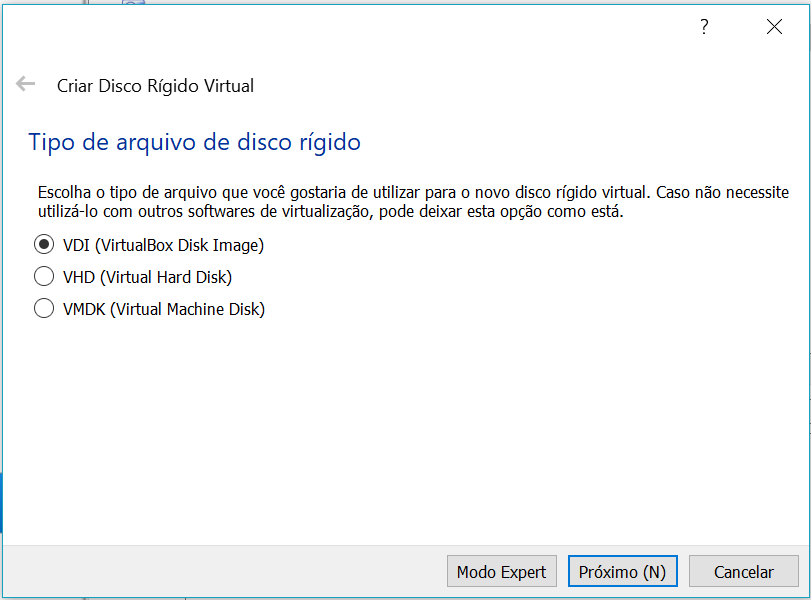
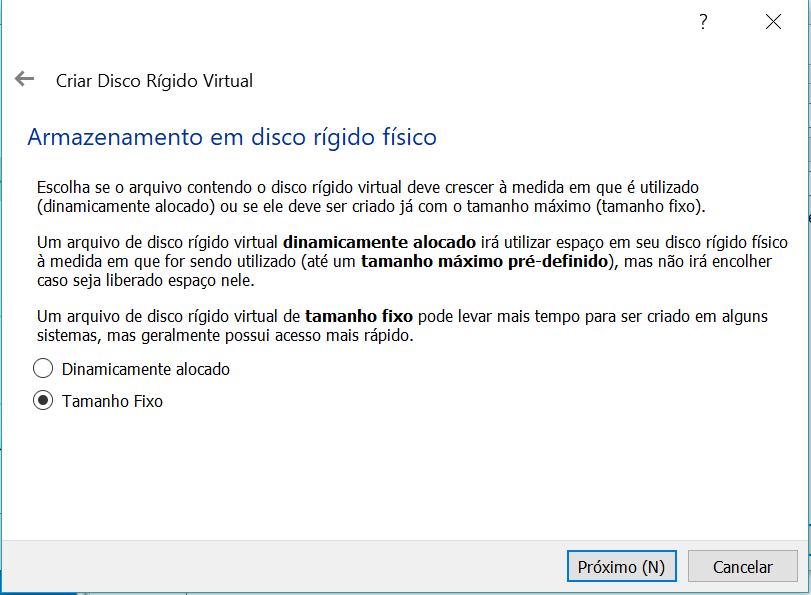
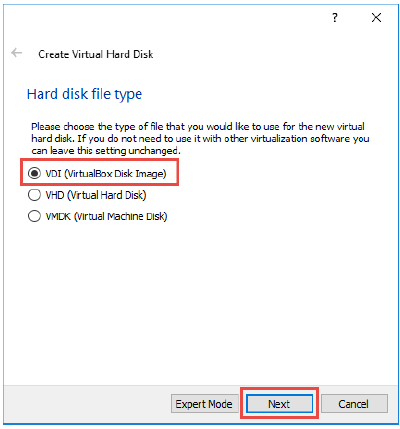
Criando a Máquina Virtual
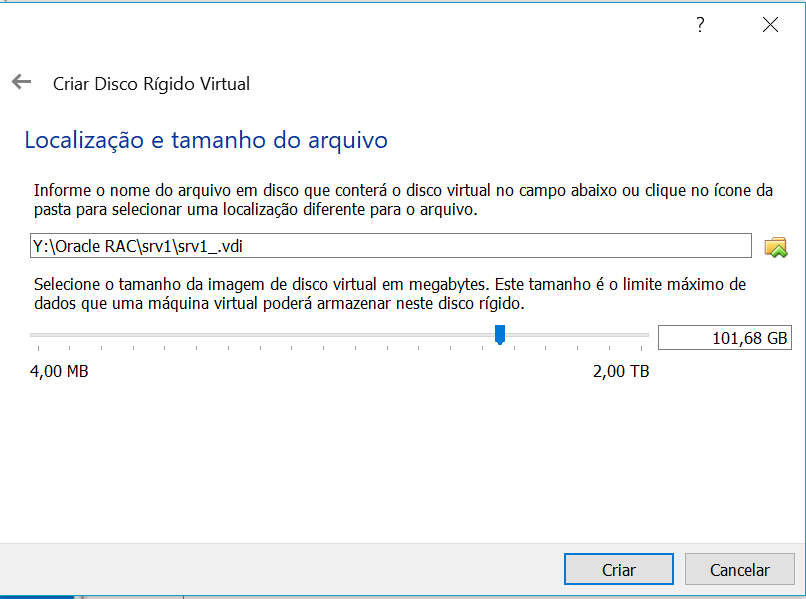
Antes de iniciar, crie uma pasta com o nome de Oracle Rac , após crie uma subpasta chamado srv1, nela será salvo a primeira máquina virtual.


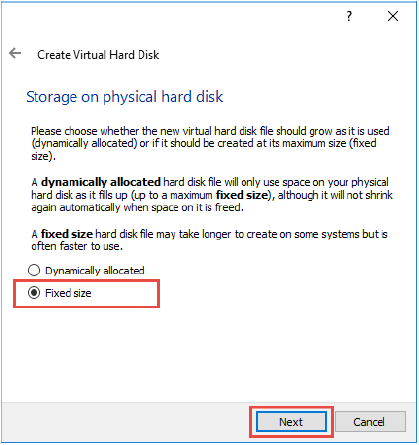
Adicione 100GB de espaço
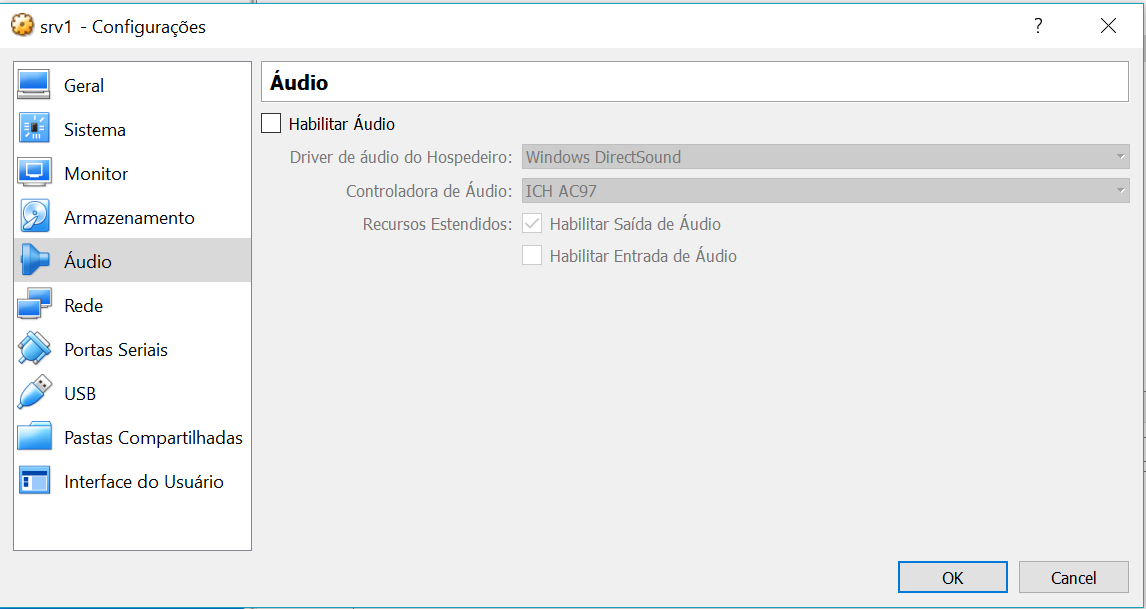
Desmarque a opção do disquete
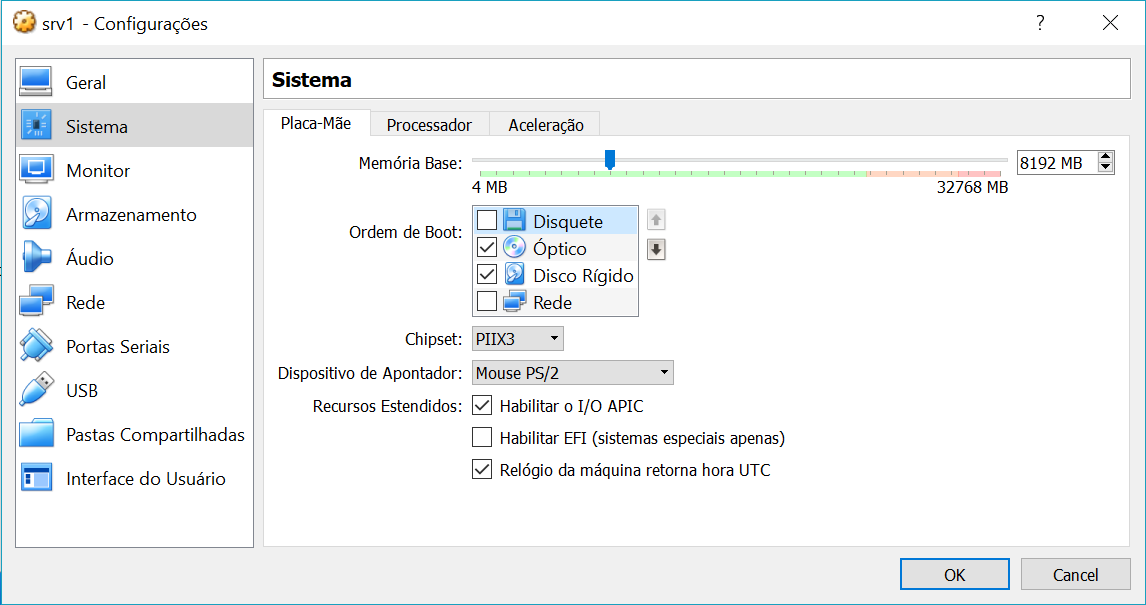
Melhore o processamento da máquina

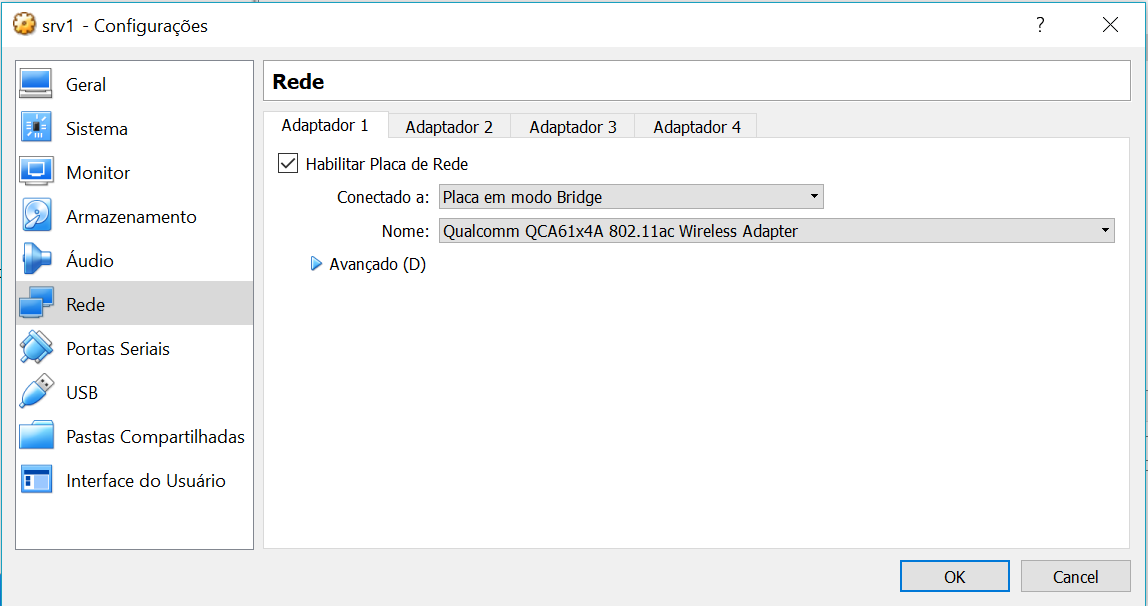
Configure a primeira placa no modo Brige
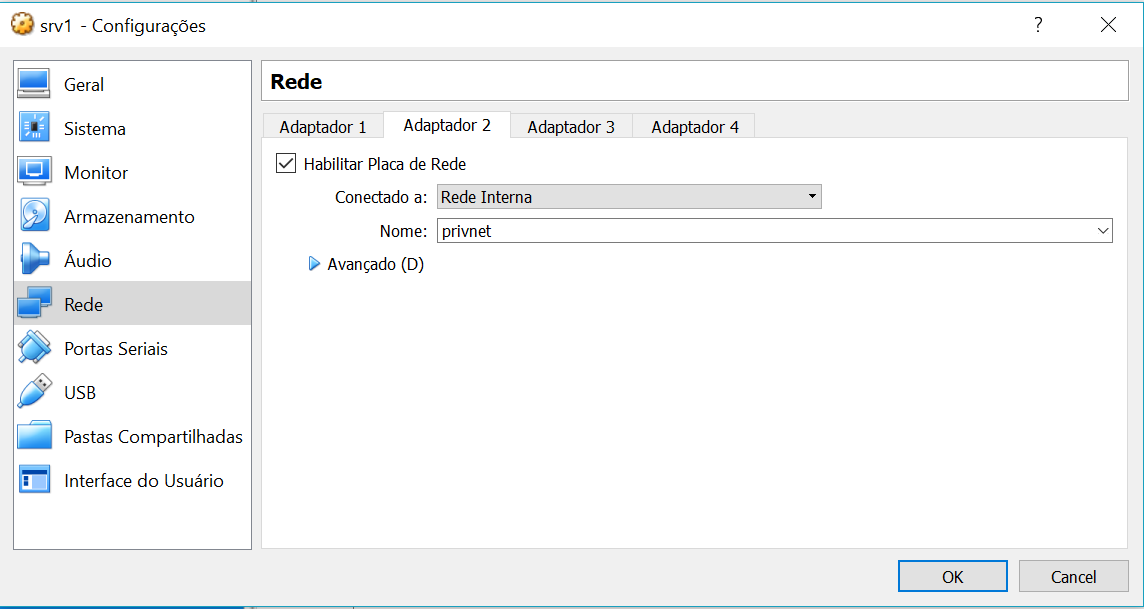
Configure a segunda placa como privnet
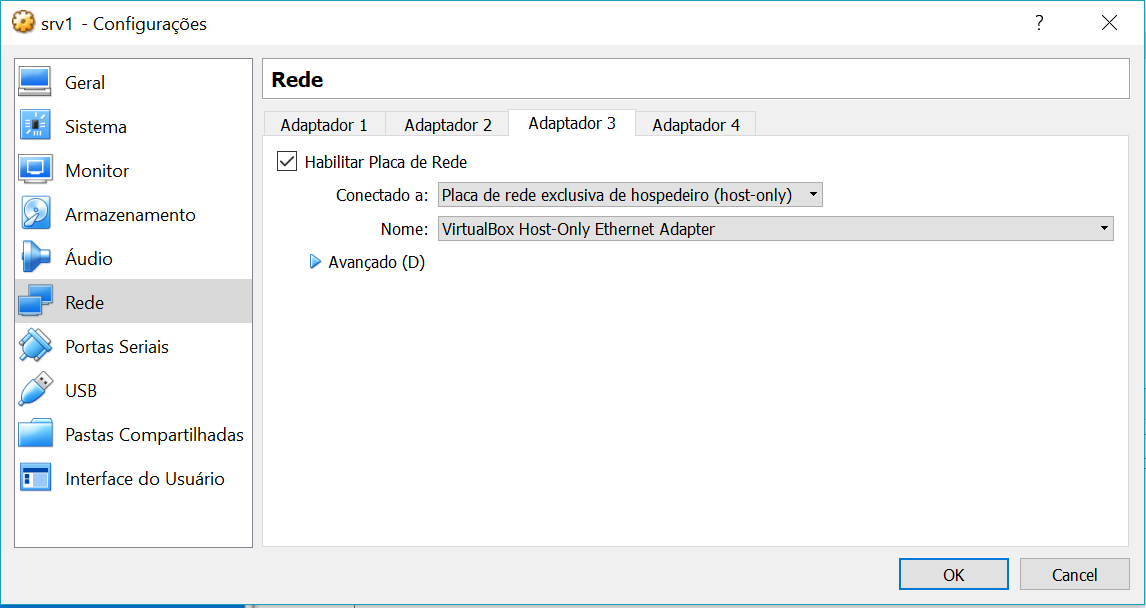
Configure a terceira como placa de rede exclusiva de hospedeiro


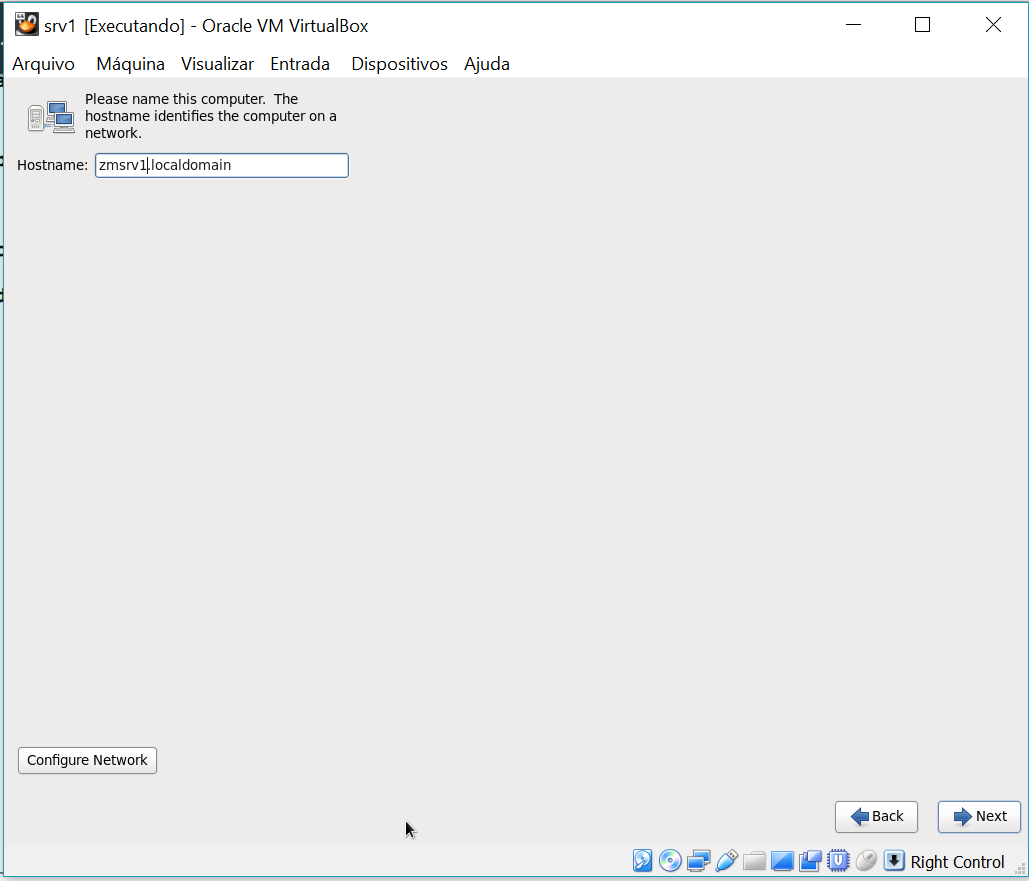
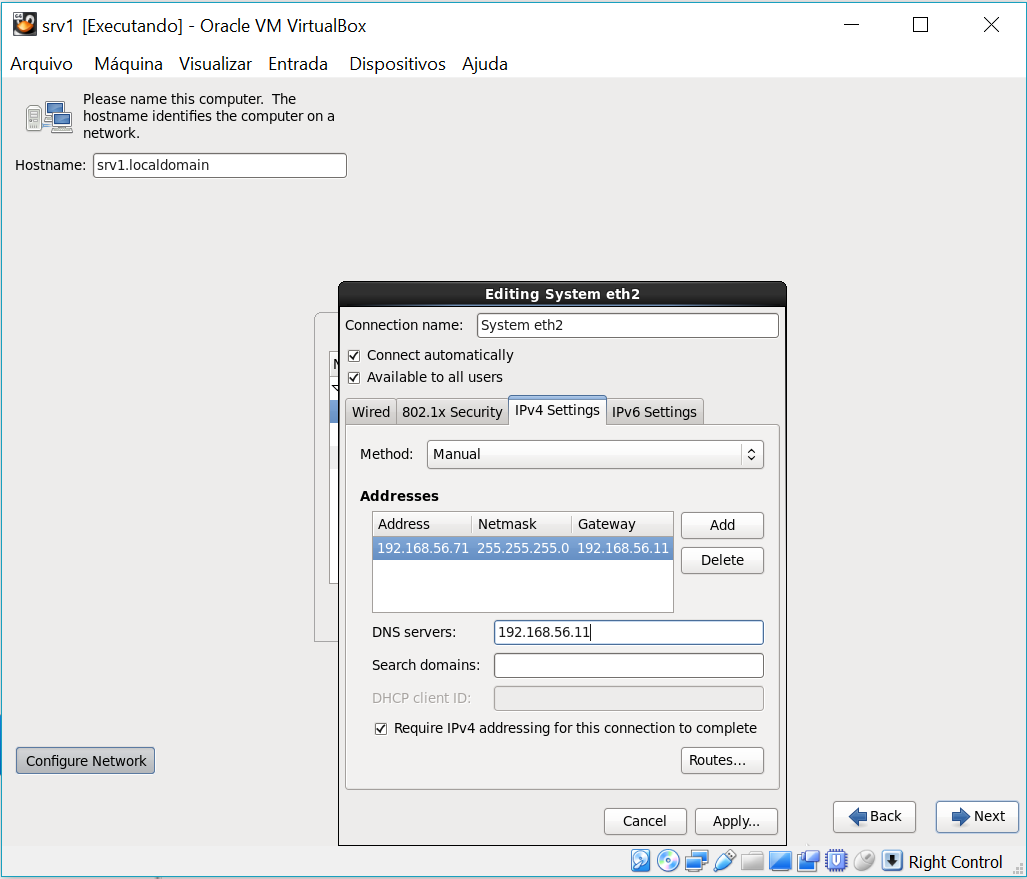
Hostname :zmsrv1.localdomain
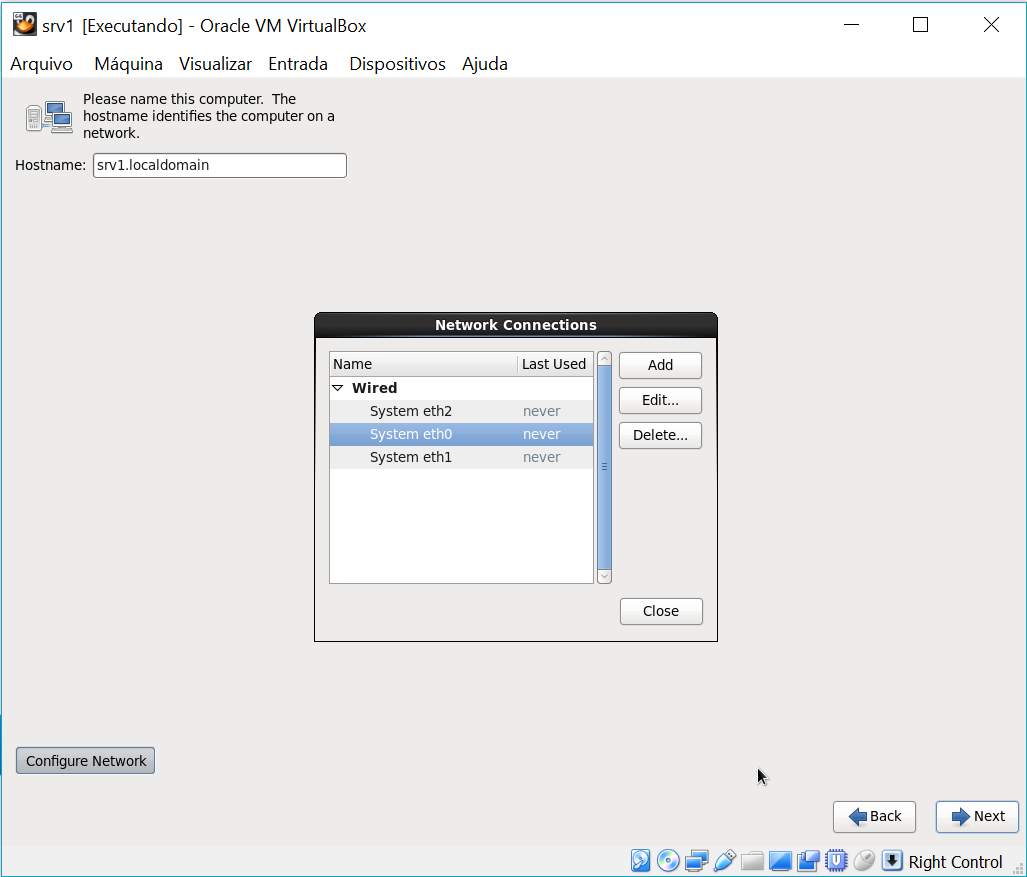
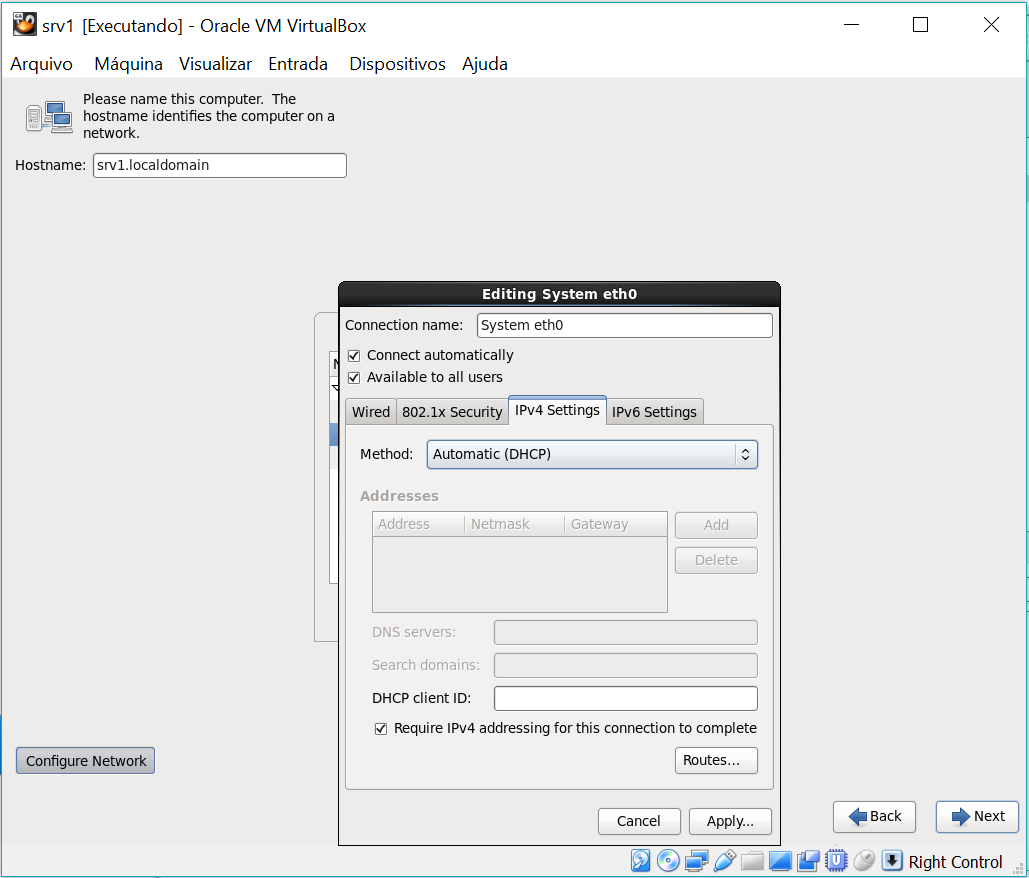
Na maquina zmsrv1 adicione os ips:
Adicione o IP: eth0 na maquina zmsrv1: 192.168.56.71
Adicione o IP: eth1 na maquina zmsrv1: 192.168.10.1
Na maquina zmsrv2 adicione os ips:
Adicione o IP: eth0 na maquina zmsrv2: 192.168.56.72
Adicione o IP: eth1 na maquina zmsrv2: 192.168.10.2


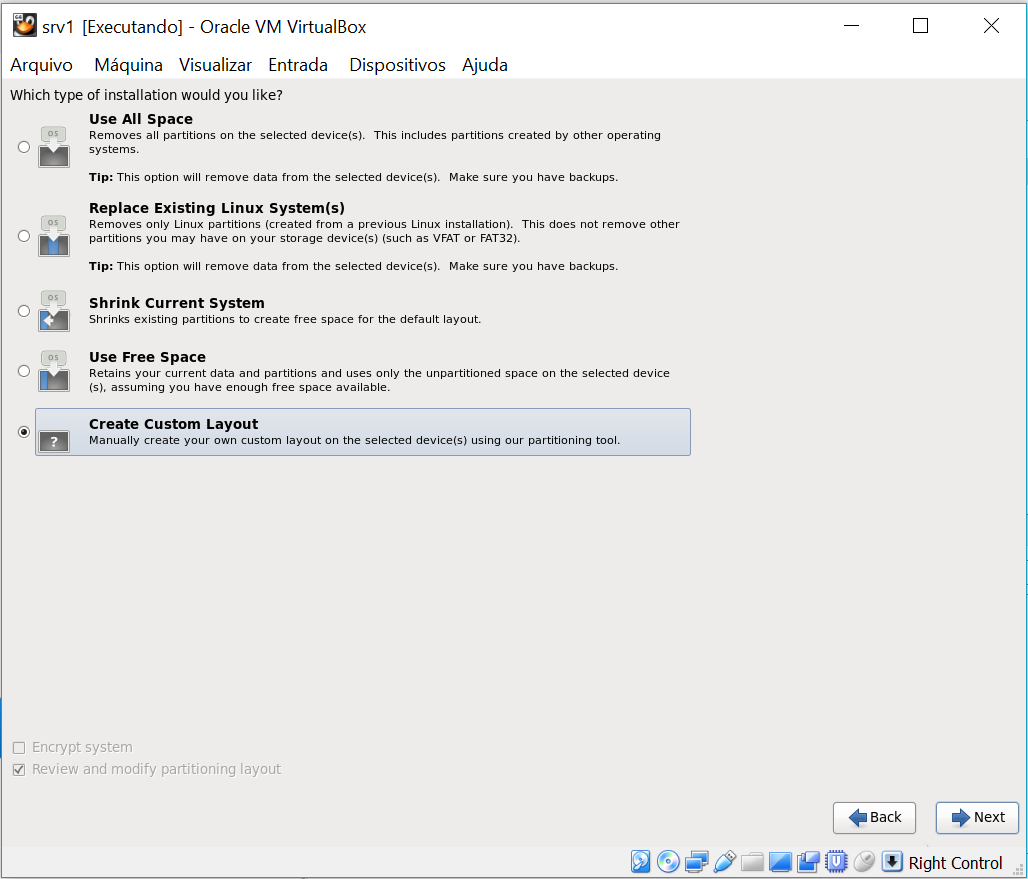
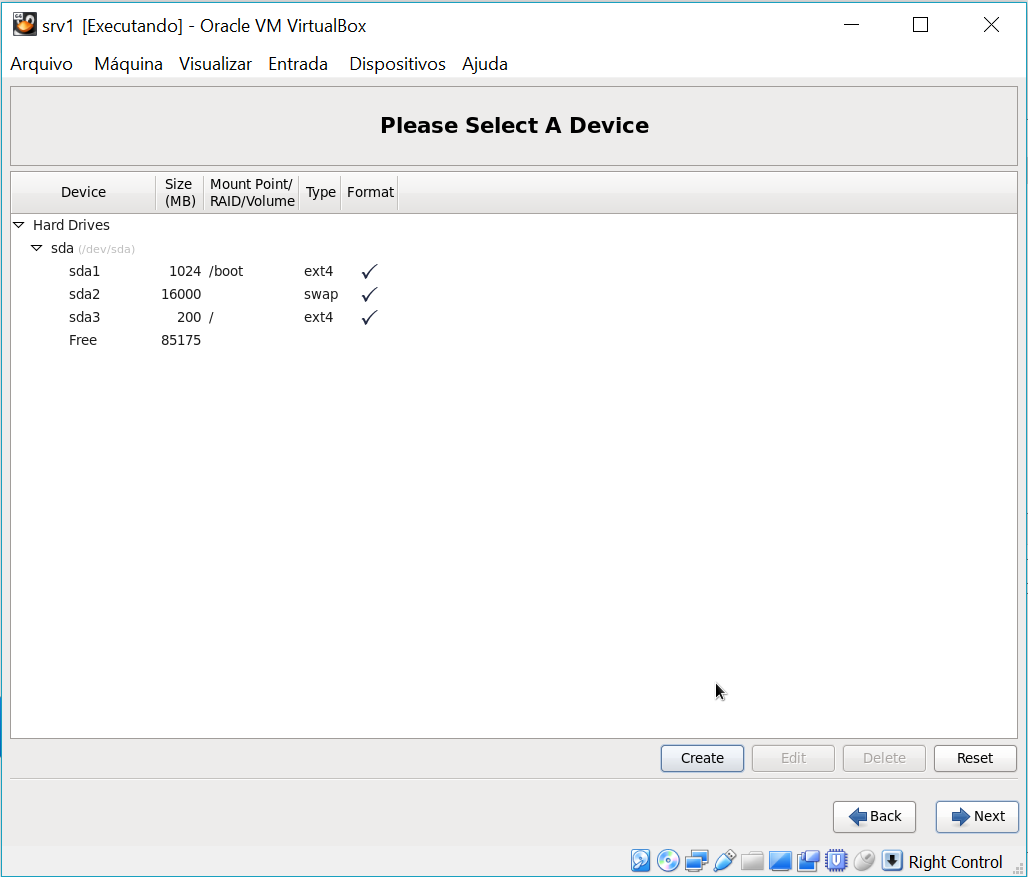
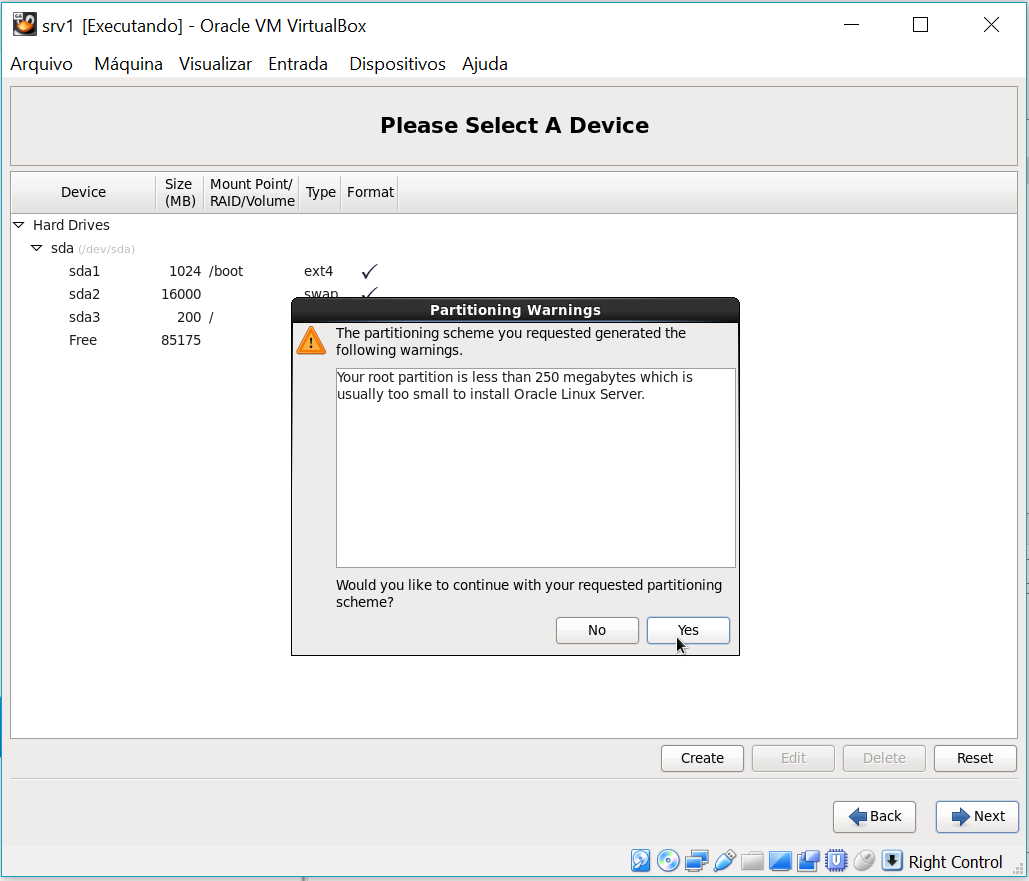
Adicione três partições
1- /boot com 1024
2-swap com 16gb
3- / com todo o resto do espaço disponível.
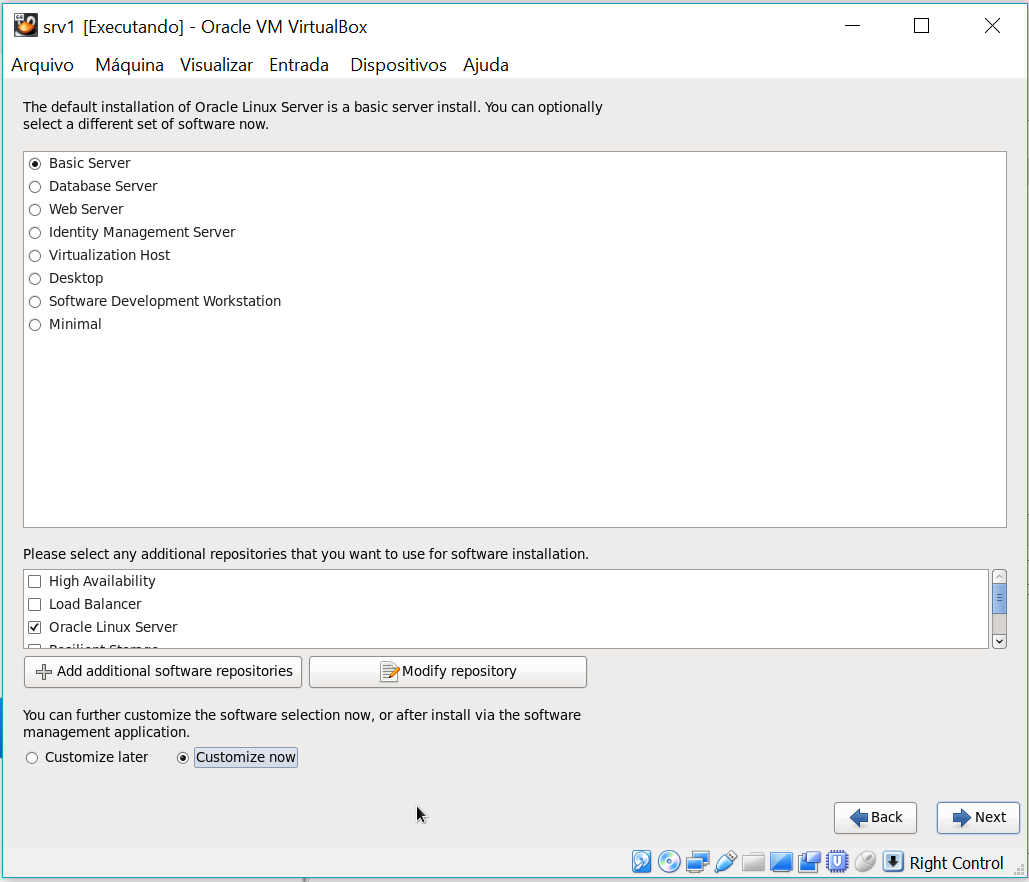
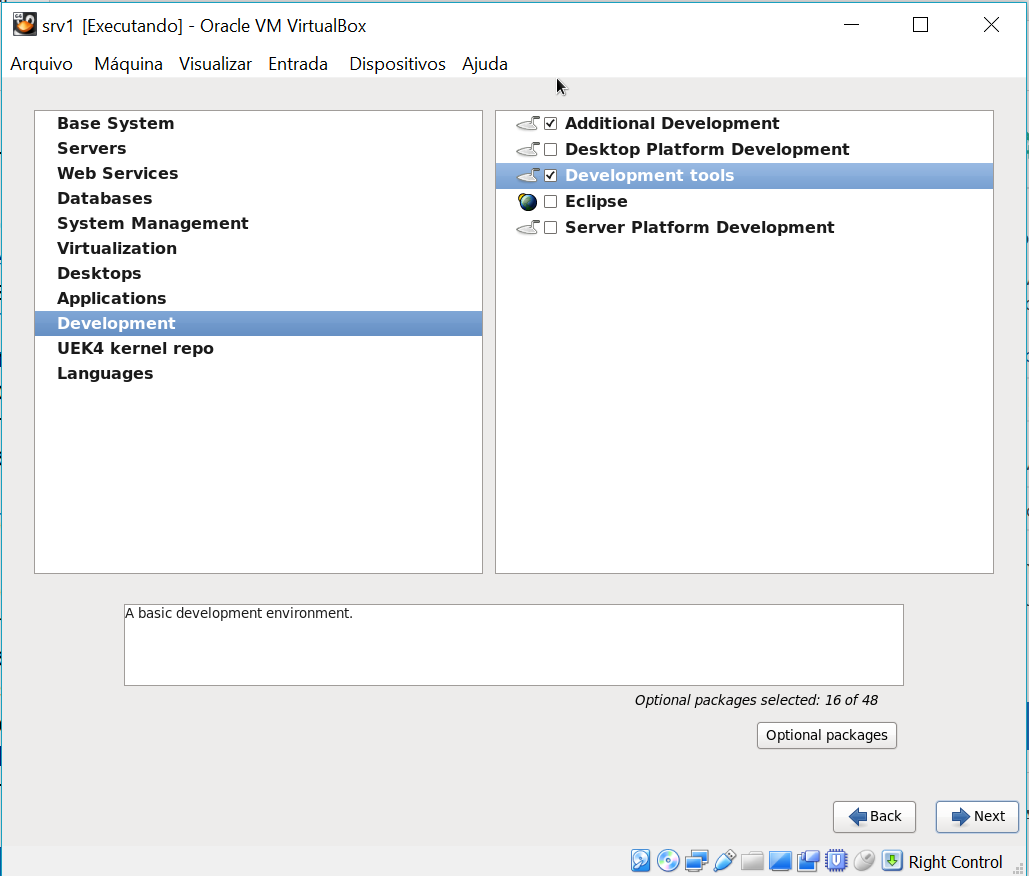
Linux : Pacotes Necessários:
Base System > Base
Base System > Client management tools
Base System > Compatibility libraries
Base System > Hardware monitoring utilities
Base System > Large Systems Performance
Base System > Network file system client
Base System > Performance Tools
Base System > Perl Support
Servers > Server Platform
Servers > System administration tools
Desktops > Desktop
Desktops > Desktop Platform
Desktops > Fonts
Desktops > General Purpose Desktop
Desktops > Graphical Administration Tools
Desktops > Input Methods
Desktops > X Window System
Applications > Internet Browser
Development > Additional Development
Development > Development Tools


Instalando os pacotes necessários.
yum install binutils -y
yum install compat-libstdc++-33 -y
yum install compat-libstdc++-33.i686 -y
yum install gcc -y
yum install gcc-c++ -y
yum install glibc -y
yum install glibc.i686 -y
yum install glibc-devel -y
yum install glibc-devel.i686 -y
yum install ksh -y
yum install libgcc -y
yum install libgcc.i686 -y
yum install libstdc++ -y
yum install libstdc++.i686 -y
yum install libstdc++-devel -y
yum install libstdc++-devel.i686 -y
yum install libaio -y
yum install libaio.i686 -y
yum install libaio-devel -y
yum install libaio-devel.i686 -y
yum install libXext -y
yum install libXext.i686 -y
yum install libXtst -y
yum install libXtst.i686 -y
yum install libX11 -y
yum install libX11.i686 -y
yum install libXau -y
yum install libXau.i686 -y
yum install libxcb -y
yum install libxcb.i686 -y
yum install libXi -y
yum install libXi.i686 -y
yum install make -y
yum install sysstat -y
yum install unixODBC -y
yum install unixODBC-devel -y
yum install zlib-devel –y
yum install zlib-devel.i686 -y
yum -y install unixODBC unixODBC.i686 unixODBC-devel unixODBC-devel.i686
yum -y install oracleasm-support
wget http://download.oracle.com/otn_software/asmlib/oracleasmlib-2.0.4-1.el6.x86_64.rpm
rpm -Uvh oracleasmlib-2.0.4-1.el6.x86_64.rpm
Preparing...                ########################################### [100%]
1:oracleasmlib           ########################################### [100%]
Edite o Arquivo sysctl.conf
vi  /etc/sysctl.conf

####zmsolution
fs.file-max = 6815744
kernel.sem = 250 32000 100 128
kernel.shmmni = 4096
kernel.shmall = 2097152
kernel.shmmax = 4294967295
net.core.rmem_default = 262144
net.core.rmem_max = 4194304
net.core.wmem_default = 262144
net.core.wmem_max = 1048576
fs.aio-max-nr = 1048576
net.ipv4.ip_local_port_range = 9000 65500
# Recommended value for kernel.panic_on_oops
kernel.panic_on_oops = 1
/sbin/sysctl -p
Adicione as linhas no arquivo “/etc/security/limits.conf”.
vi /etc/security/limits.conf

@oinstall soft nproc 16384
@oinstall hard nproc 16384
@oinstall soft nofile 8192
@oinstall hard nofile 65536
@oinstall soft stack 10240
@oinstall hard stack 32768


@root soft nproc 4096
@root hard nproc 16384
@root soft nofile 8192
@root hard nofile 65536
Criando usuários e grupos:
groupadd -g 1000 oinstall
groupadd -g 1200 asmadmin
groupadd -g 1201 asmdba
groupadd -g 1202 asmoper
groupadd -g 1300 dba
groupadd -g 1301 oper

useradd -m -u 1101 -g oinstall -G dba,oper,asmdba,asmadmin,asmoper  -d /home/oracle -s /bin/bash   oracle
useradd -u 1100 -g oinstall -G asmadmin,asmdba,asmoper  grid
passwd oracle
passwd grid
usermod -a -G asmdba oracle
usermod -a -G vboxsf oracle
usermod -a -G vboxsf grid
Criando os Diretórios:
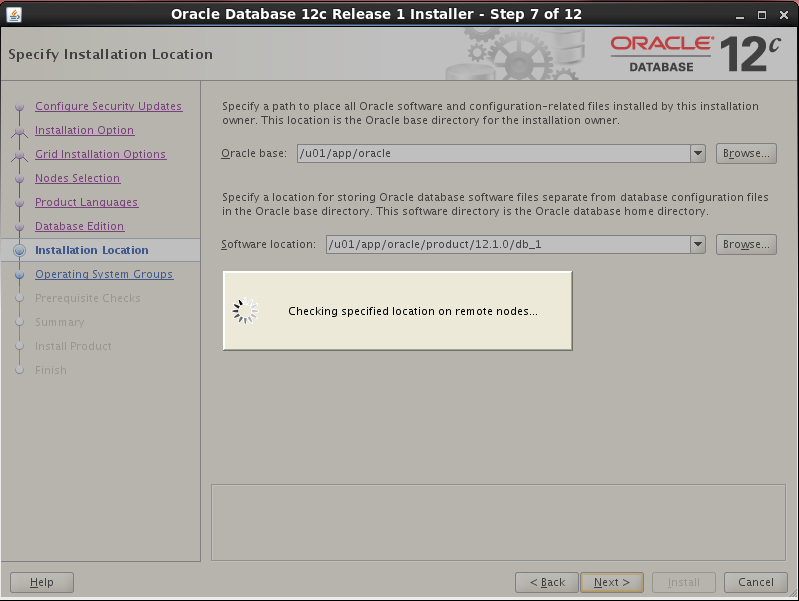
mkdir -p /u01/app/oracle/product
chown -R oracle:oinstall /u01
chmod -R 775 /u01
mkdir -p /u01/app/grid
mkdir -p /u01/app/12.1.0/grid
chown -R grid:oinstall /u01/app/grid
chown -R grid:oinstall /u01/app/12.1.0/grid
chmod -R 775 /u01
Na máquina altere o SELinux de “enforcing” para “permissive”.
vi /etc/selinux/config
Desabilite o firewall.
chkconfig iptables off
chkconfig ip6tables off
Edite o Arquivo 90-nproc.conf
vi /etc/security/limits.d/90-nproc.conf
* soft  nproc  2048
Edite o Arquivo hosts.conf
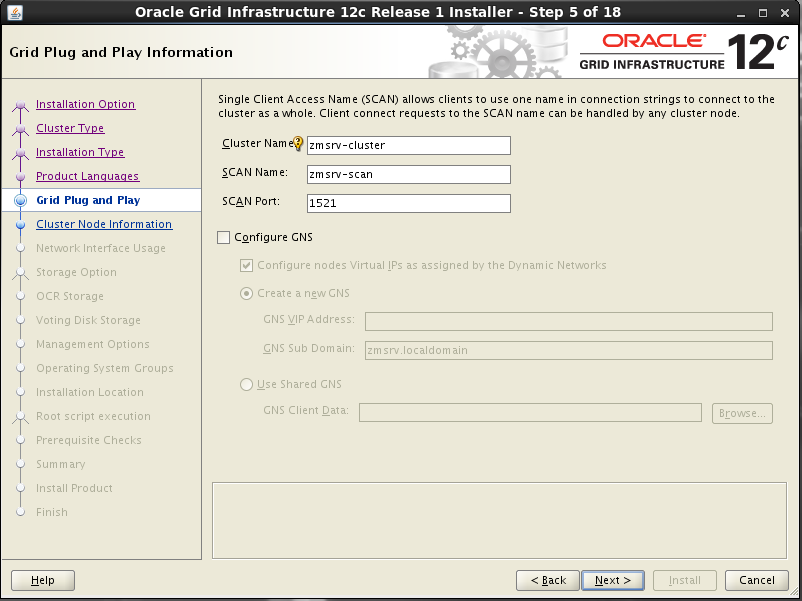
vi /etc/hosts

127.0.0.1 localhost.localdomain localhost
# Public
192.168.56.71 zmsrv1.localdomain zmsrv1
192.168.56.72 zmsrv2.localdomain zmsrv2
# Private
192.168.10.1 zmsrv1-priv.localdomain zmsrv1-priv
192.168.10.2 zmsrv2-priv.localdomain zmsrv2-priv
# Virtual
192.168.56.81 zmsrv1-vip.localdomain zmsrv1-vip
192.168.56.82 zmsrv2-vip.localdomain zmsrv2-vip
# SCAN (in production this should be configured in DNS)
192.168.56.91 zmsrv-scan.localdomain zmsrv-scan
192.168.56.92 zmsrv-scan.localdomain zmsrv-scan
192.168.56.93 zmsrv-scan.localdomain zmsrv-scan
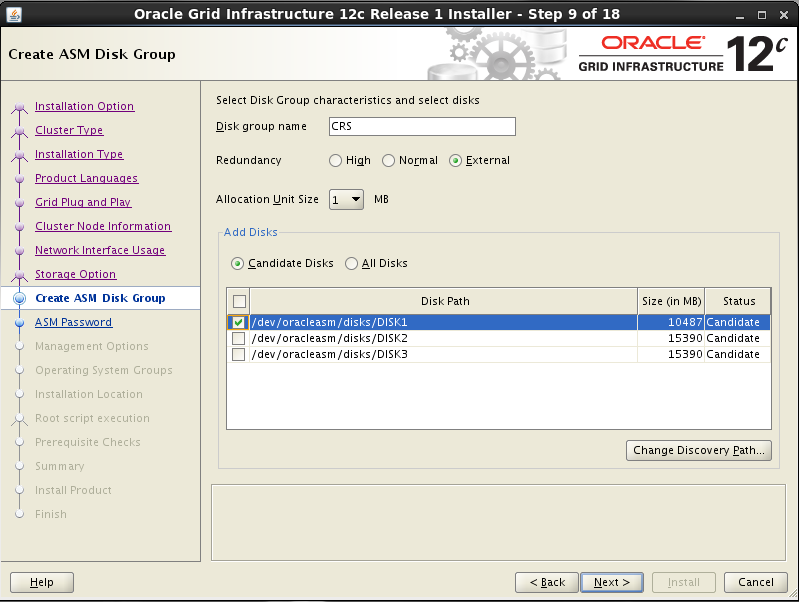
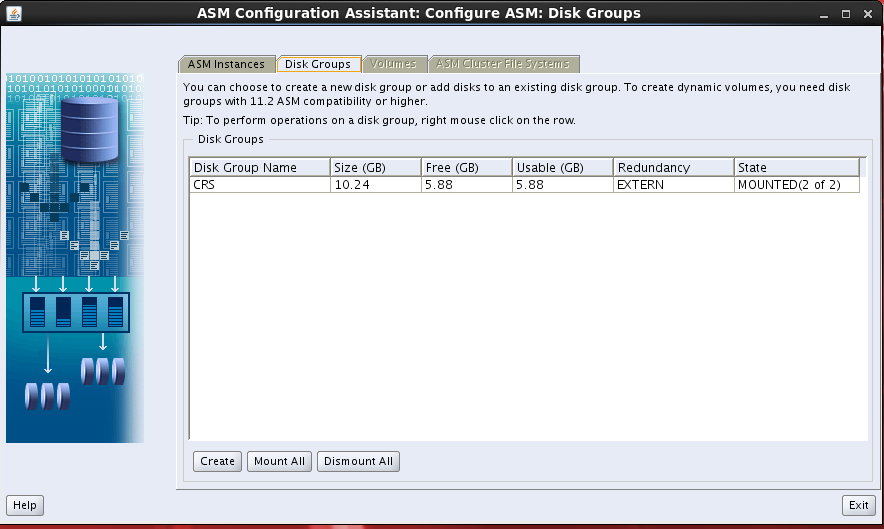
Configurando o ASM
/etc/init.d/oracleasm configure
Configuring the Oracle ASM library driver.
This will configure the on-boot properties of the Oracle ASM library
driver.  The following questions will determine whether the driver is
loaded on boot and what permissions it will have.  The current values
will be shown in brackets ('[]').  Hitting <ENTER> without typing an
answer will keep that current value.  Ctrl-C will abort.
Default user to own the driver interface []: grid
Default group to own the driver interface []: oinstall
Start Oracle ASM library driver on boot (y/n) [n]: y
Scan for Oracle ASM disks on boot (y/n) [y]: y
Writing Oracle ASM library driver configuration: done
Initializing the Oracle ASMLib driver:                     [  OK  ]
Scanning the system for Oracle ASMLib disks:               [  OK  ]
/usr/sbin/oracleasm init
Creating /dev/oracleasm mount point: /dev/oracleasm
Loading module "oracleasm": oracleasm
Configuring "oracleasm" to use device physical block size
Mounting ASMlib driver filesystem: /dev/oracleasm
Desabilite o NTP service.
service ntpd status
chkconfig ntpd off
mv /etc/ntp.conf /etc/ntp.conf.orig
rm /var/run/ntpd.pid
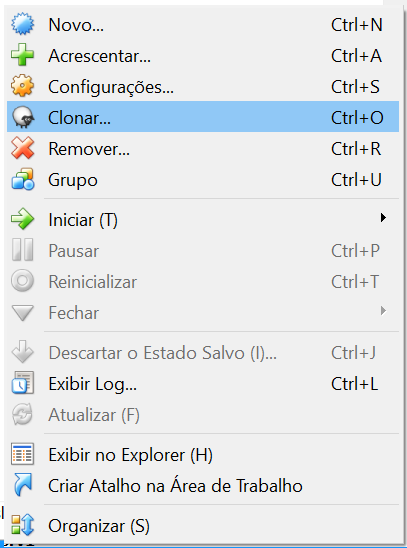
Desligue a máquina virtual e realize um Clone da máquina.


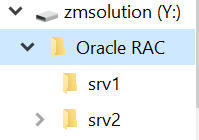
Mova a pasta onde está o Clone da máquina srv1 para dentro do diretório Oracle RAC
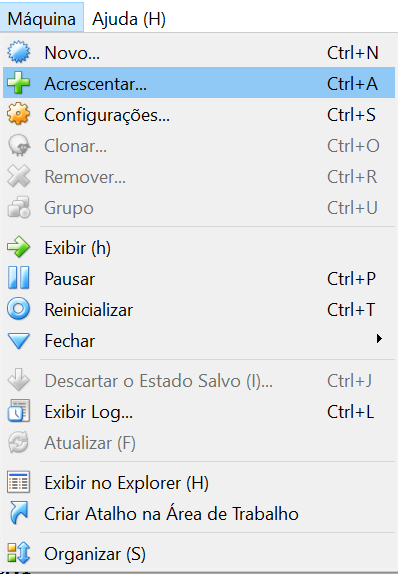
Adicione novamente a máquina virtual
Acesse a máquina zmsrv2 e altere as configurações de rede
vi /etc/udev/rules.d/70-persistent-net.rules
Deixando o arquivo semelhante a configuração abaixo:
altere o valor do campo ATTR{address}== e adicione o valor do mac das placas de rede, o endereço do MAC se encontra nas configurações da máquina virtual
![]()
# This file was automatically generated by the /lib/udev/write_net_rules
# program, run by the persistent-net-generator.rules rules file.
#
# You can modify it, as long as you keep each rule on a single
# line, and change only the value of the NAME= key.

# PCI device 0x8086:0x100e (e1000)
SUBSYSTEM=="net", ACTION=="add", DRIVERS=="?*", ATTR{address}=="08:00:27:8f:b3:06", ATTR{type}=="1", KERNEL=="eth*", NAME="eth0"

# PCI device 0x8086:0x100e (e1000)
SUBSYSTEM=="net", ACTION=="add", DRIVERS=="?*", ATTR{address}=="08:00:27:42:c6:5a", ATTR{type}=="1", KERNEL=="eth*", NAME="eth1"

# PCI device 0x8086:0x100e (e1000)
SUBSYSTEM=="net", ACTION=="add", DRIVERS=="?*", ATTR{address}=="08:00:27:12:60:92", ATTR{type}=="1", KERNEL=="eth*", NAME="eth2"
Edite o arquivo /etc/sysconfig/network-scripts/ifcfg-eth* e altere o MAC das placas
cat /etc/sysconfig/network-scripts/ifcfg-eth0
TYPE=Ethernet
NAME=eth0
BOOTPROTO=none
IPADDR=192.168.56.72
PREFIX=24
DEFROUTE=yes
IPV4_FAILURE_FATAL=yes
IPV6INIT=no
UUID=565ee263-0ba8-4f29-a2b3-c5c2f17b545d
ONBOOT=yes
HWADDR=08:00:27:75:34:38
GATEWAY=192.168.56.1
LAST_CONNECT=1504849110
Após reinicie a máquina
Agora acesse System | Preferences | Network Connections e altere os IPS
eth0:
192.168.56.72
eth1:
192.168.10.2
Altere o nome da máquina:
vi /etc/sysconfig/network

NETWORKING=yes
HOSTNAME=zmsrv2.localdomain
# Recommended value for NOZEROCONF
NOZEROCONF=yes
Reboot zmsrv2
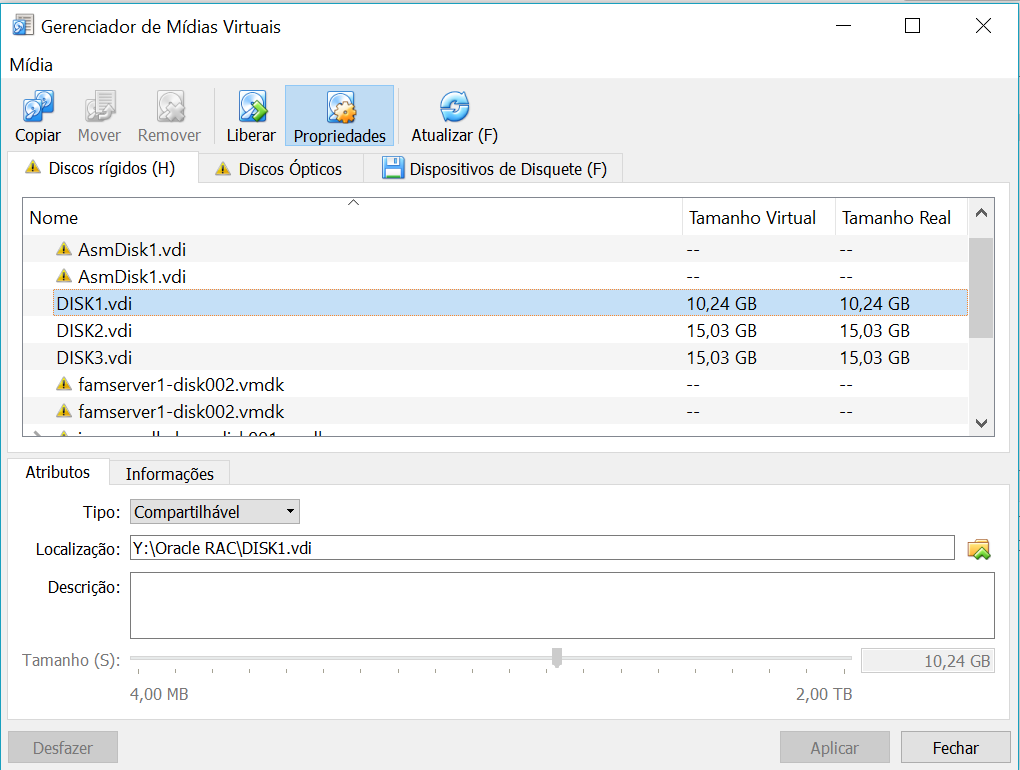
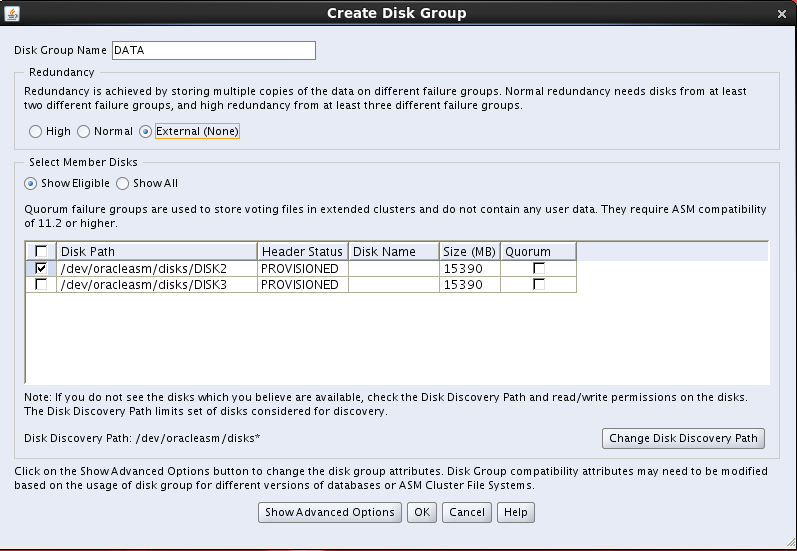
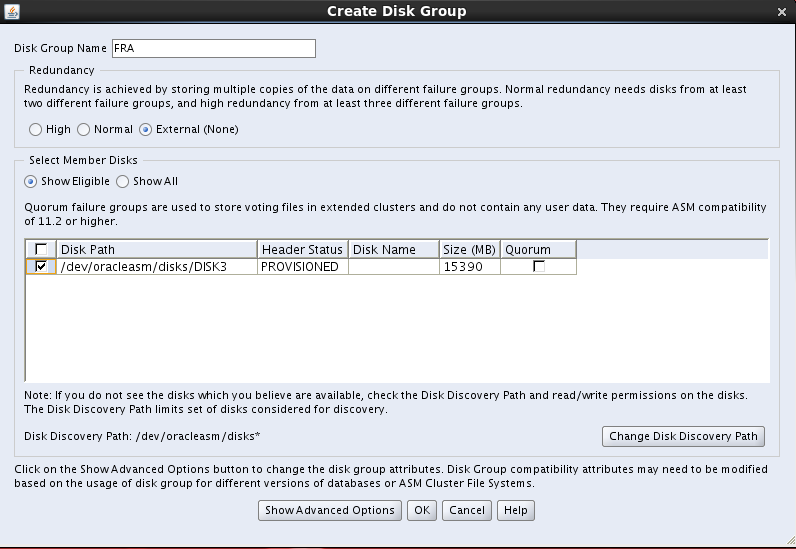
Acesse a máquina zmsrv1 e crie 3 novos discos no diretório Oracle RAC o disco DISK1 com 10GB e os discos DISK2,DISK3 com 15GB.
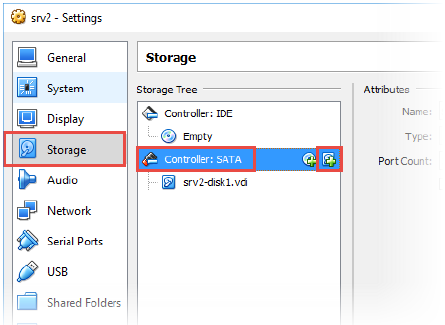


O próximo passo é colocar os discos como compartilhável , com isso os discos poderão ser acessados pelas duas máquinas.

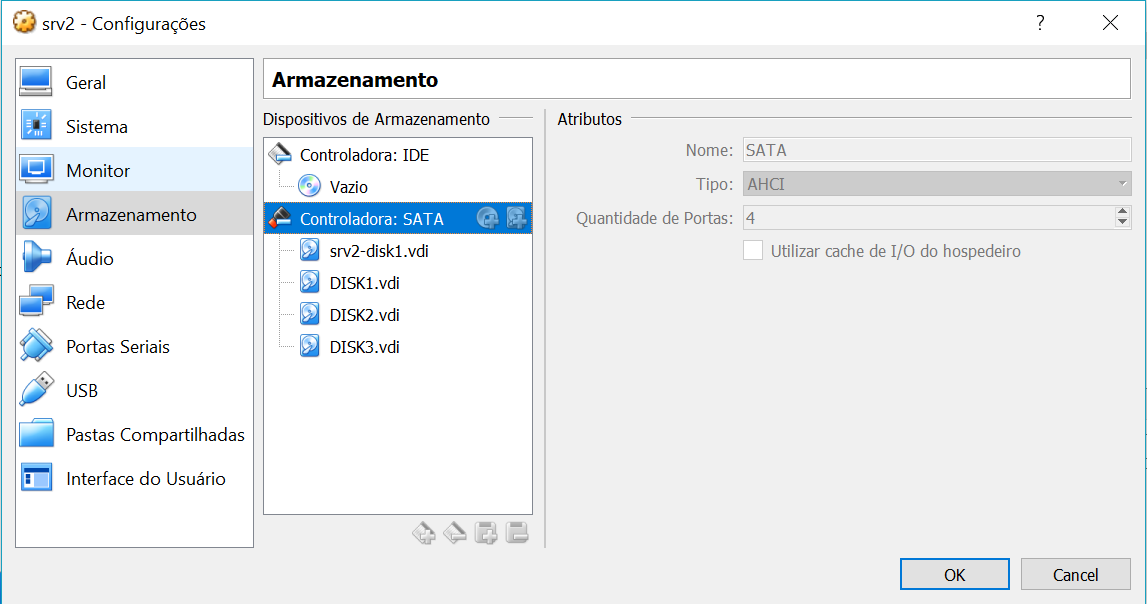
Adicione os discos na máquinas zmsrv2
Ligue a máquinas zmsrv1 e formate os discos /dev/sdb , /dev/sdc e /dev/sdd
fdisk /dev/sdb

Device contains neither a valid DOS partition table, nor Sun, SGI or OSF disklabel
Building a new DOS disklabel with disk identifier 0x92e2b75a.
Changes will remain in memory only, until you decide to write them.
After that, of course, the previous content won't be recoverable.
Warning: invalid flag 0x0000 of partition table 4 will be corrected by w(rite)
WARNING: DOS-compatible mode is deprecated. It's strongly recommended to
switch off the mode (command 'c') and change display units to
sectors (command 'u').
Command (m for help): n
Command action
e   extended
p   primary partition (1-4) p
Partition number (1-4): 1
First cylinder (1-2627, default 1):
Using default value 1
Last cylinder, +cylinders or +size{K,M,G} (1-2627, default 2627):
Using default value 2627
Command (m for help): w

The partition table has been altered!
Calling ioctl() to re-read partition table.
Syncing disks.
Criei os discos ASM
oracleasm createdisk DISK1 /dev/sdb1
oracleasm createdisk DISK2 /dev/sdc1
oracleasm createdisk DISK3 /dev/sdd1

oracleasm scandisks
oracleasm listdisks
Na máquinas zmsrv2 execute os comandos:
oracleasm scandisks
oracleasm listdisks
Configure as variáveis de ambiente no arquivo bash_profile nos usuários grid e oracle
Usuário grid
vi ~/.bash_profile

ORACLE_SID=+ASM1; export ORACLE_SID
ORACLE_BASE=/u01/app/grid; export ORACLE_BASE
# it must not be under the ORACLE_BASE
ORACLE_HOME=/u01/app/12.1.0/grid; export ORACLE_HOME
ORACLE_TERM=xterm; export ORACLE_TERM
TNS_ADMIN=$ORACLE_HOME/network/admin; export TNS_ADMIN
PATH=.:${PATH}:$ORACLE_HOME/bin
PATH=${PATH}:/usr/bin:/bin:/usr/local/bin
export PATH
export TEMP=/tmp
export TMPDIR=/tmp
umask 022

Usuário oracle

vi ~/.bash_profile

ORACLE_SID=zmrac1; export ORACLE_SID
ORACLE_BASE=/u01/app/oracle; export ORACLE_BASE
ORACLE_HOME=$ORACLE_BASE/product/12.1.0/db_1; export ORACLE_HOME
ORACLE_TERM=xterm; export ORACLE_TERM
NLS_DATE_FORMAT="DD-MON-YYYY HH24:MI:SS"; export NLS_DATE_FORMAT
TNS_ADMIN=$ORACLE_HOME/network/admin; export TNS_ADMIN
PATH=.:${PATH}:$ORACLE_HOME/bin
PATH=${PATH}:/usr/bin:/bin:/usr/local/bin
export PATH
LD_LIBRARY_PATH=$ORACLE_HOME/lib
LD_LIBRARY_PATH=${LD_LIBRARY_PATH}:$ORACLE_HOME/oracm/lib
LD_LIBRARY_PATH=${LD_LIBRARY_PATH}:/lib:/usr/lib:/usr/local/lib
export LD_LIBRARY_PATH
THREADS_FLAG=native; export THREADS_FLAG
export TEMP=/tmp
export TMPDIR=/tmp
export EDITOR=vi
umask 022
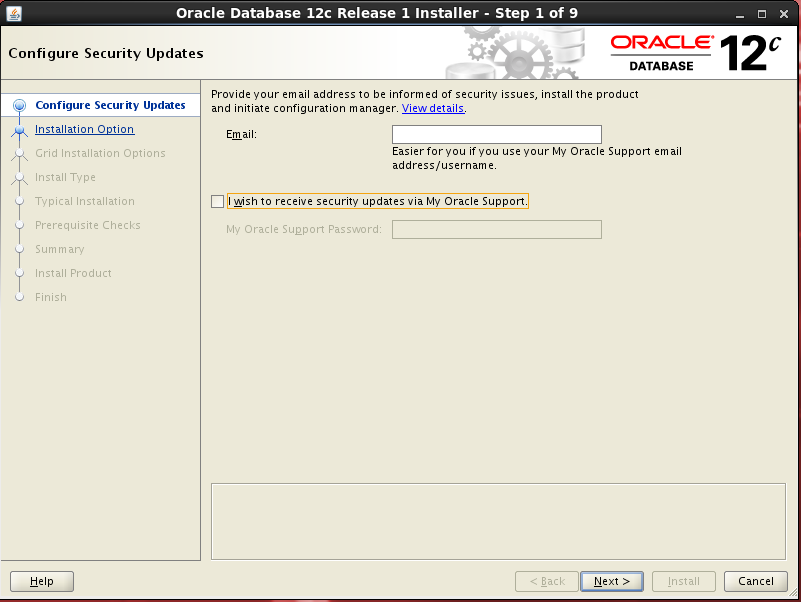
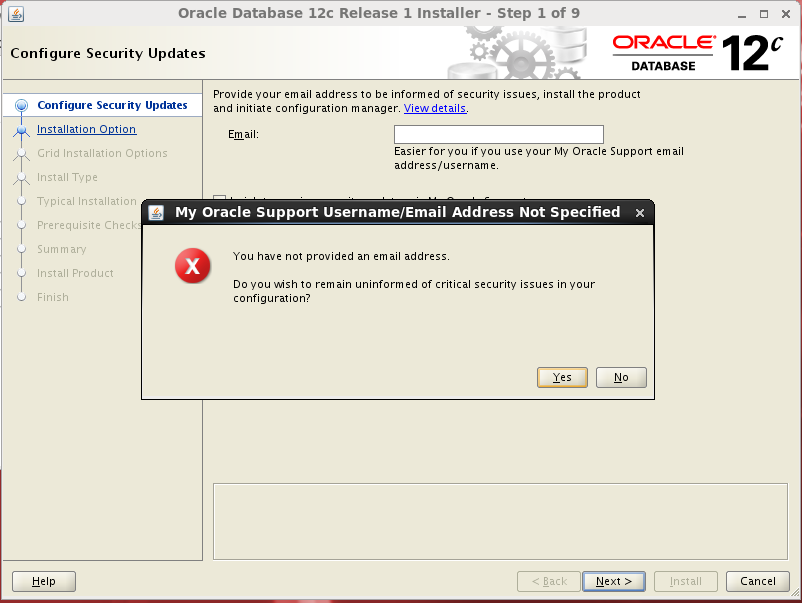
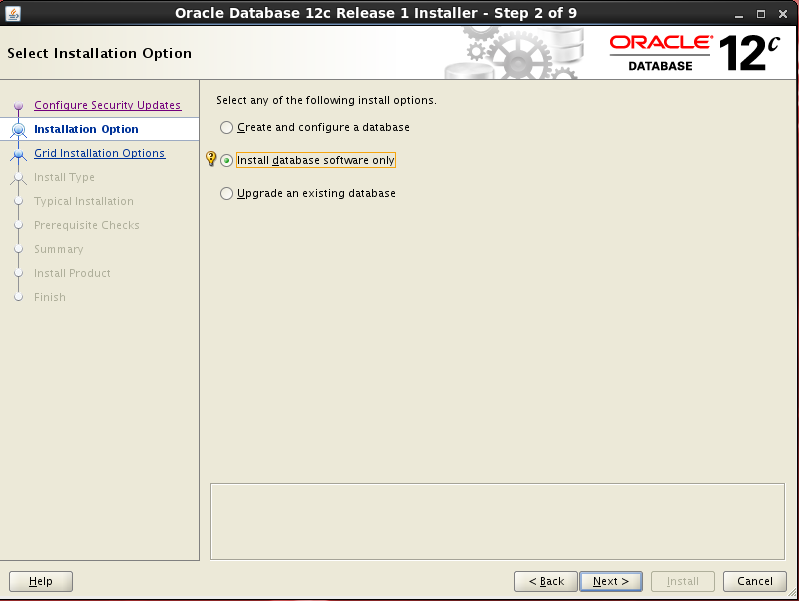
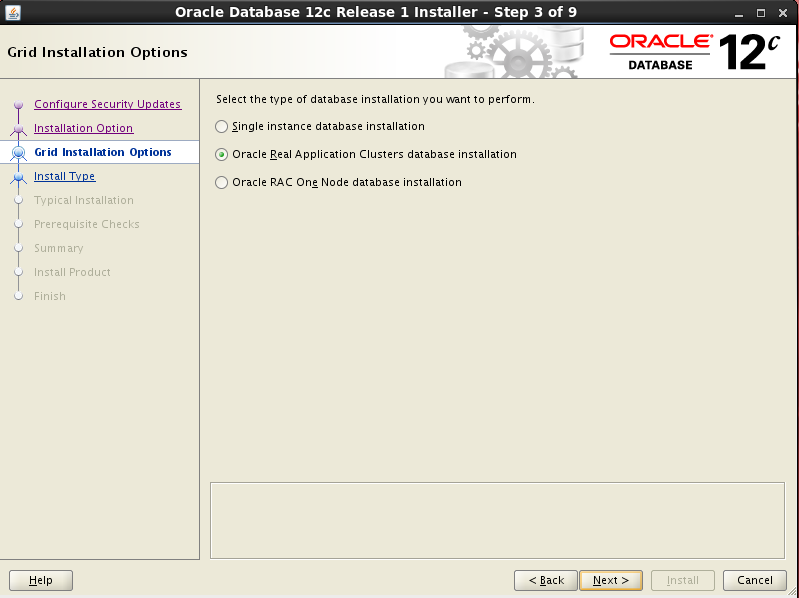
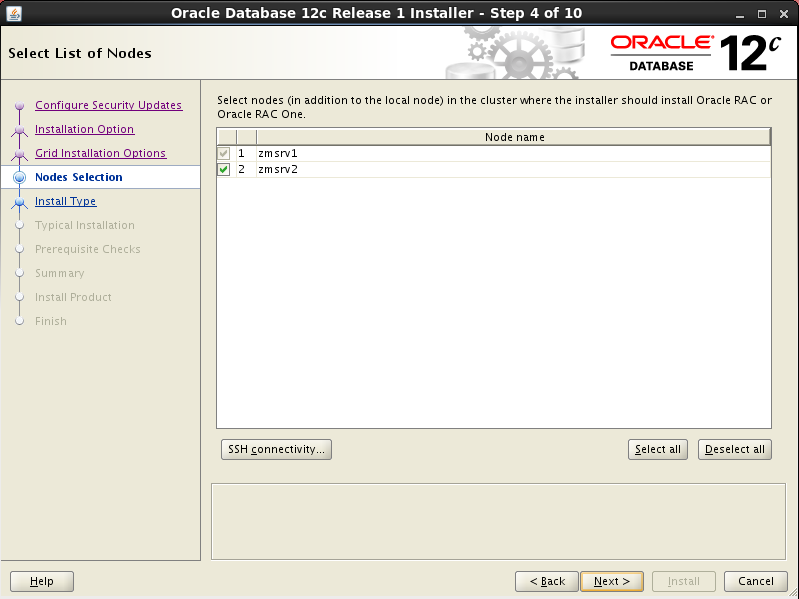
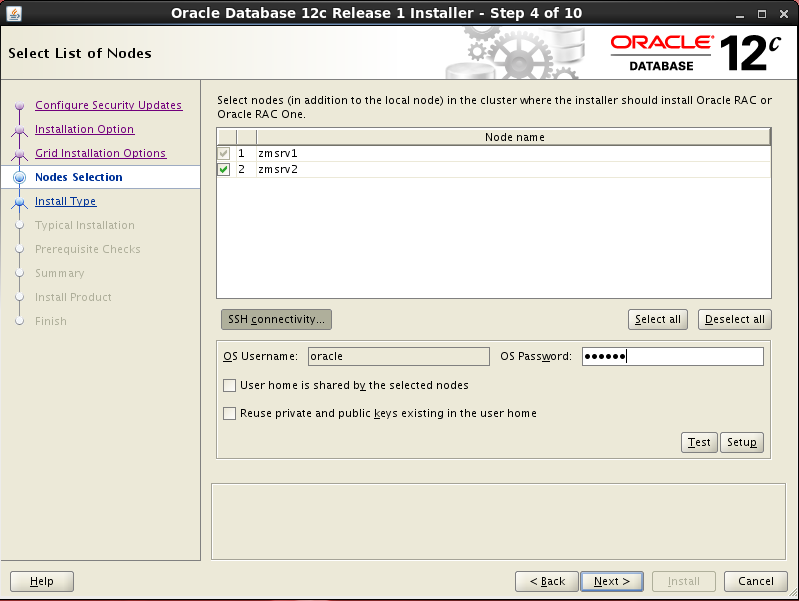
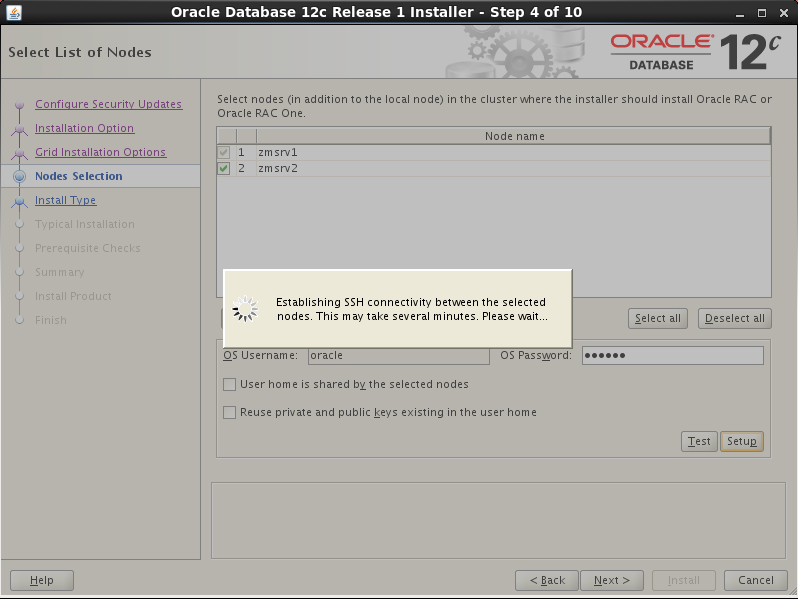
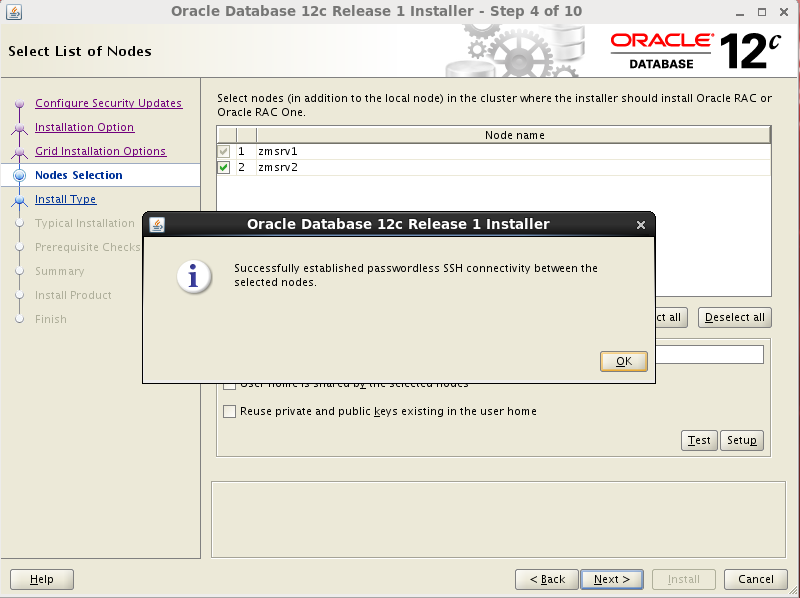
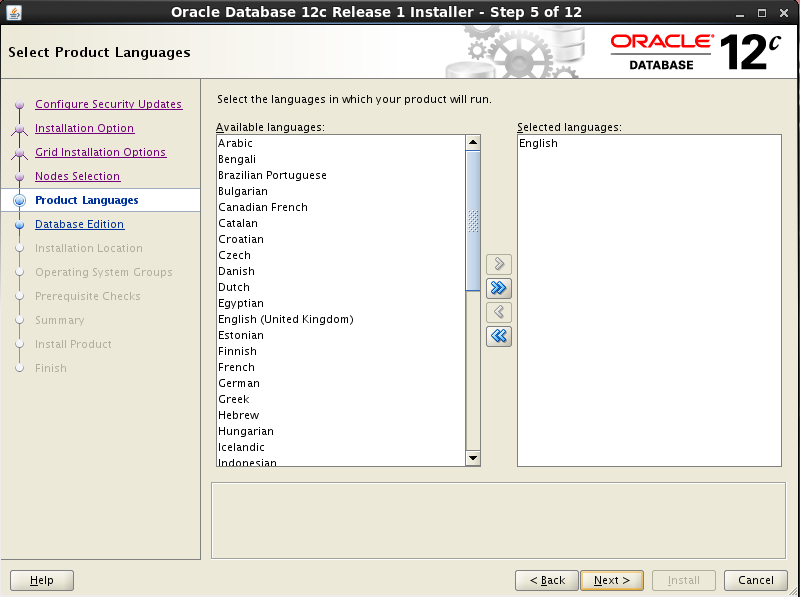
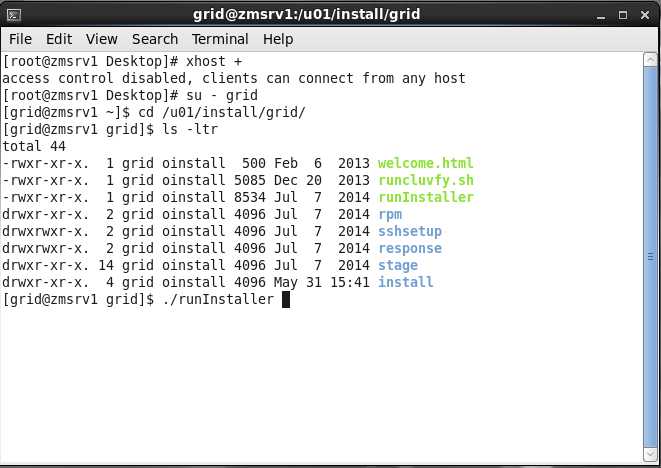
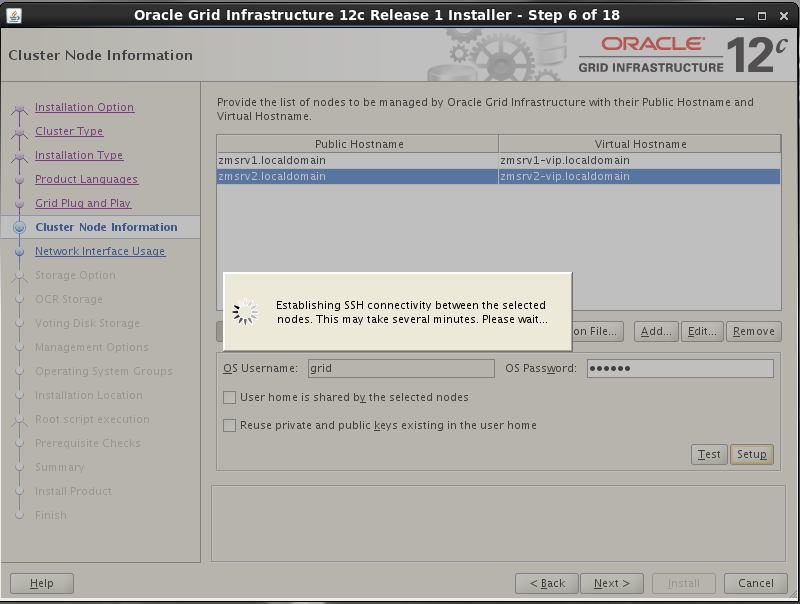
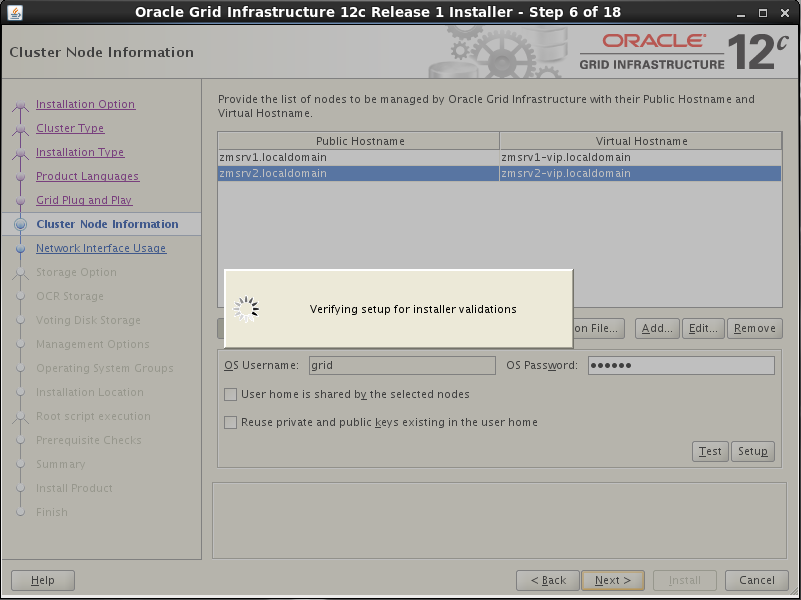
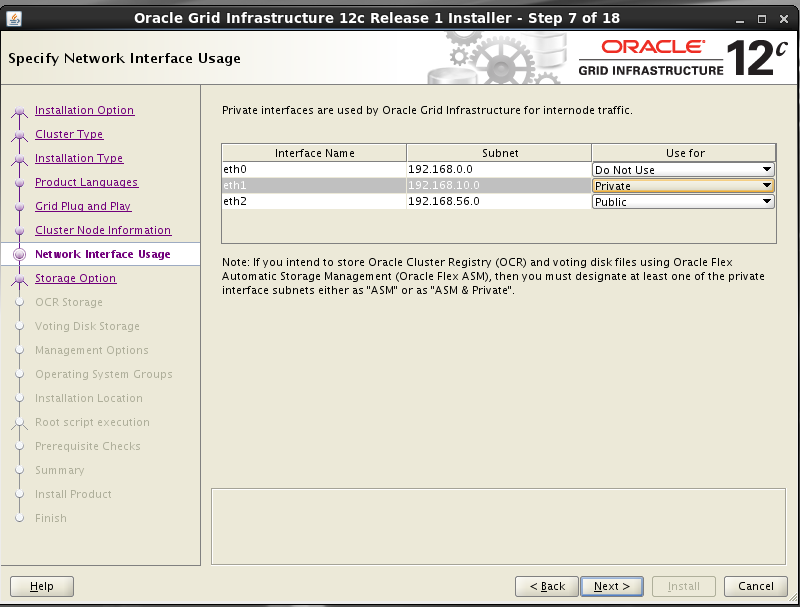
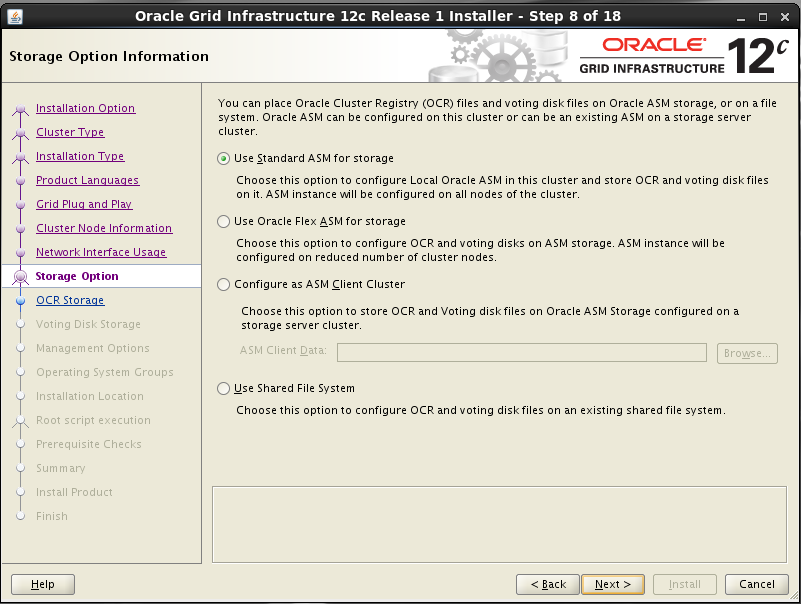
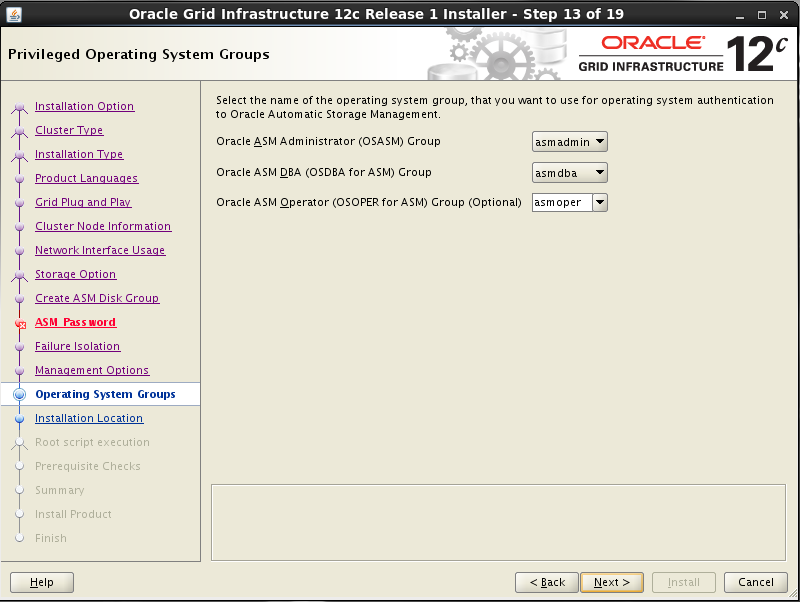
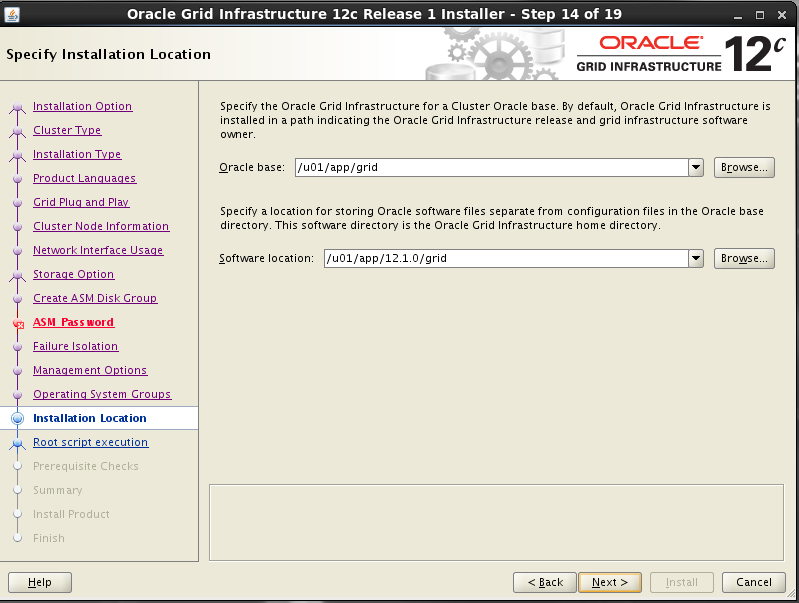
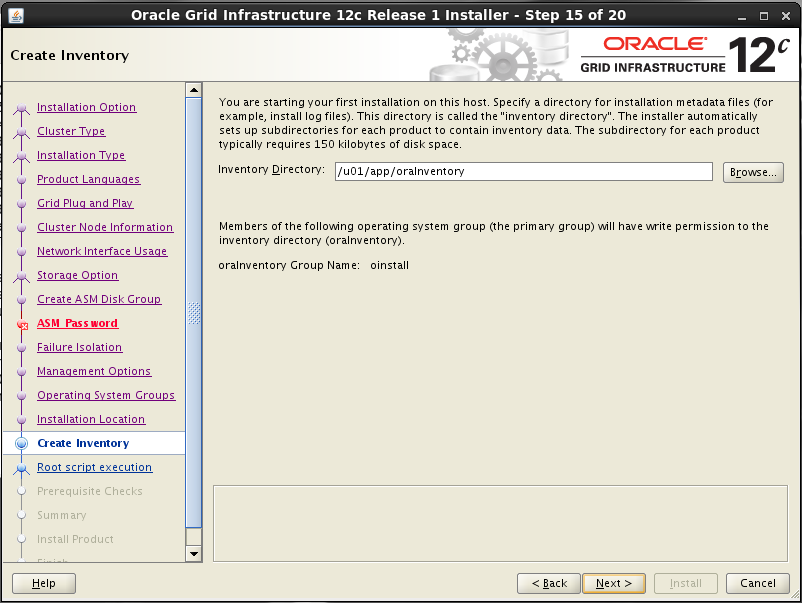
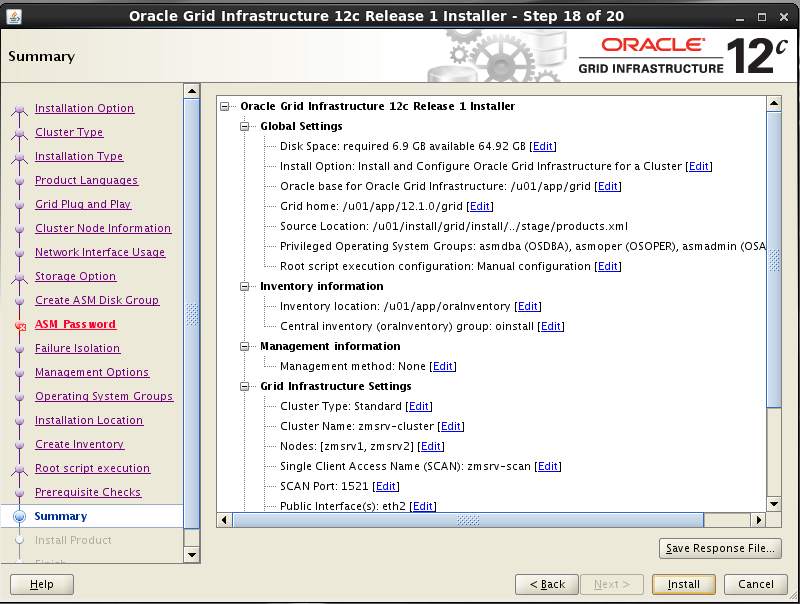
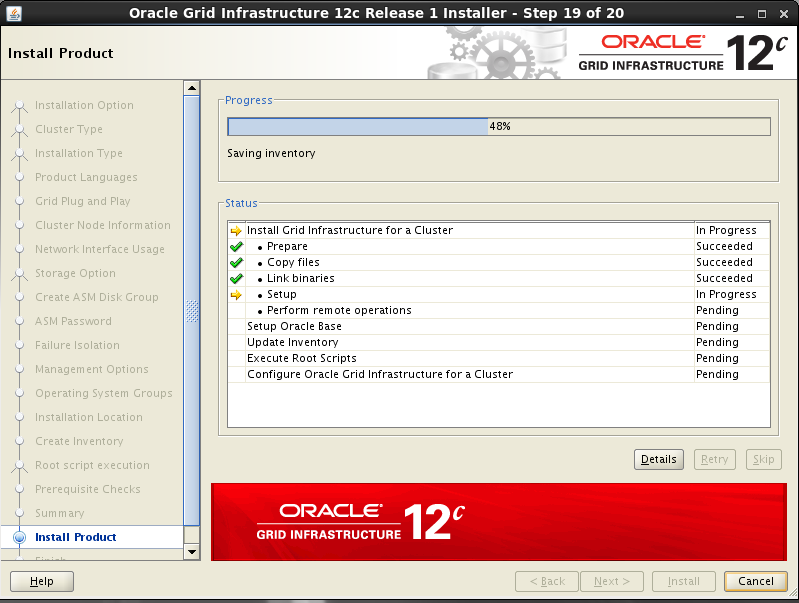
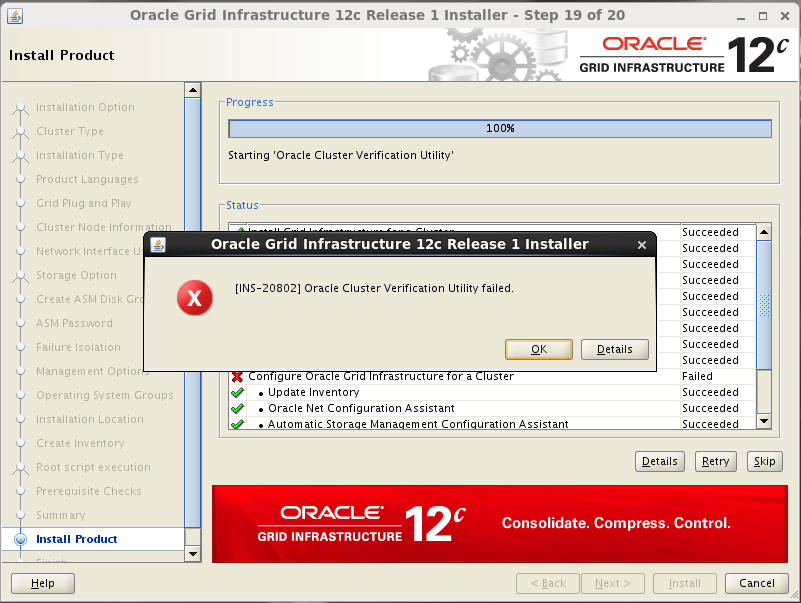
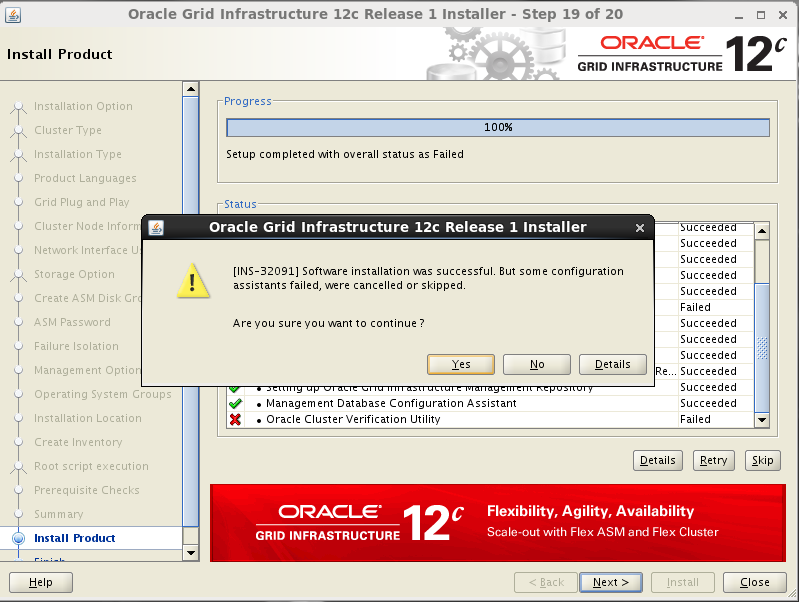
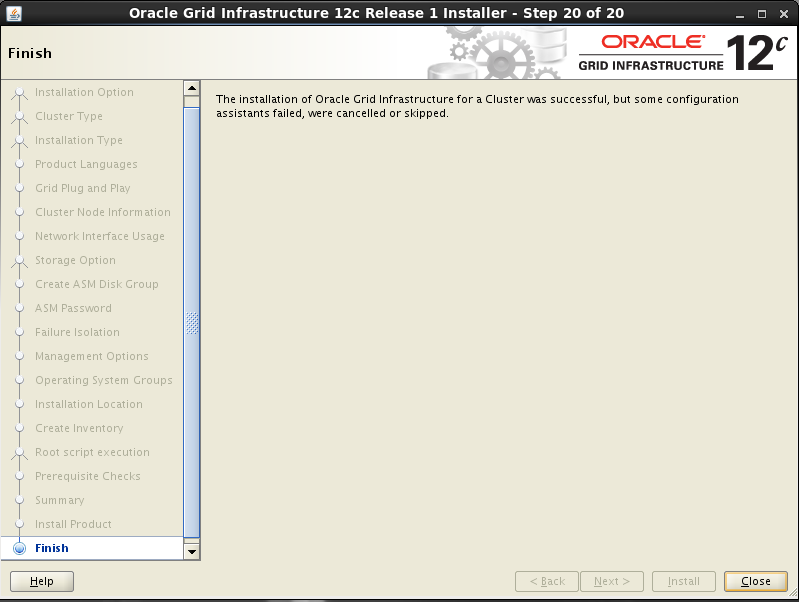
Acesse com o usuário grid e vá na pasta onde se encontra o instalador do grid, após execute o script runInstaller

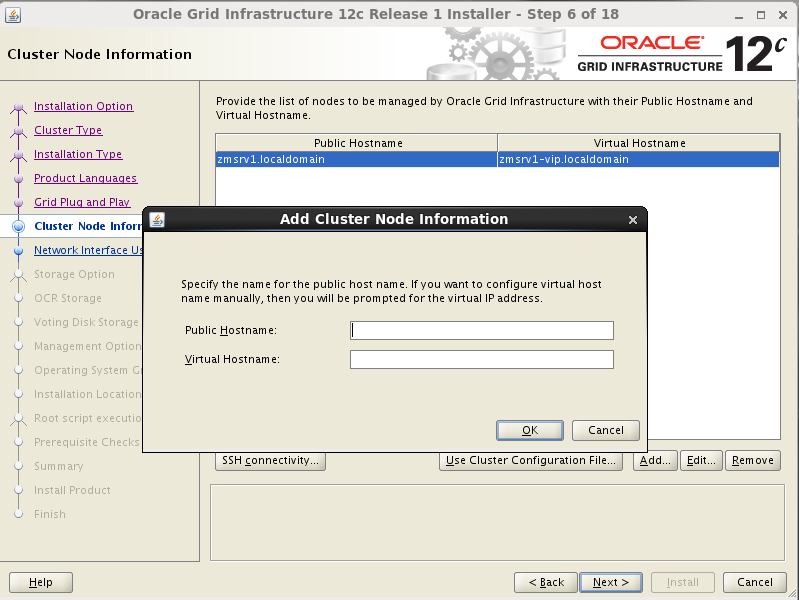
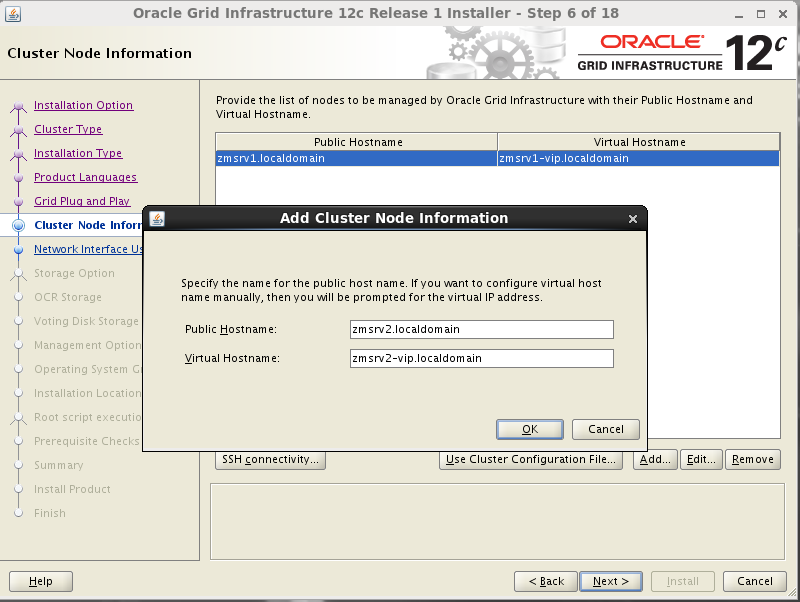
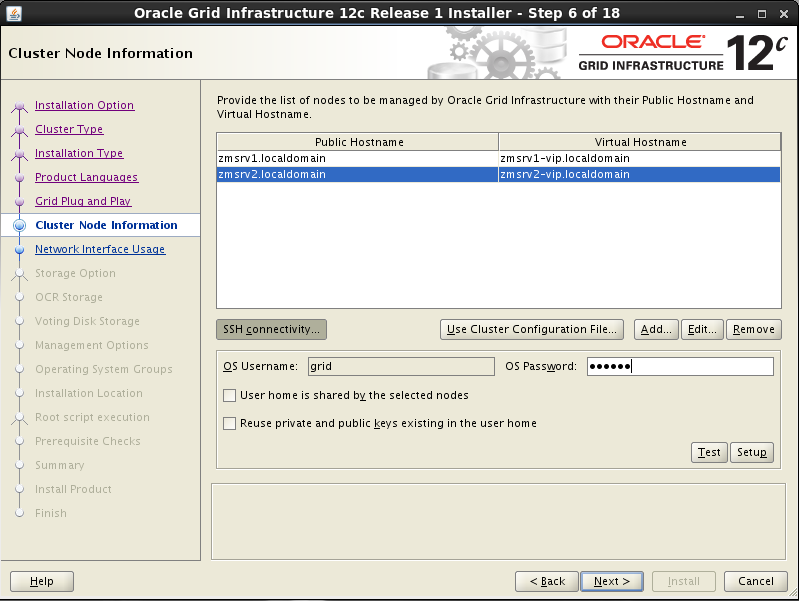

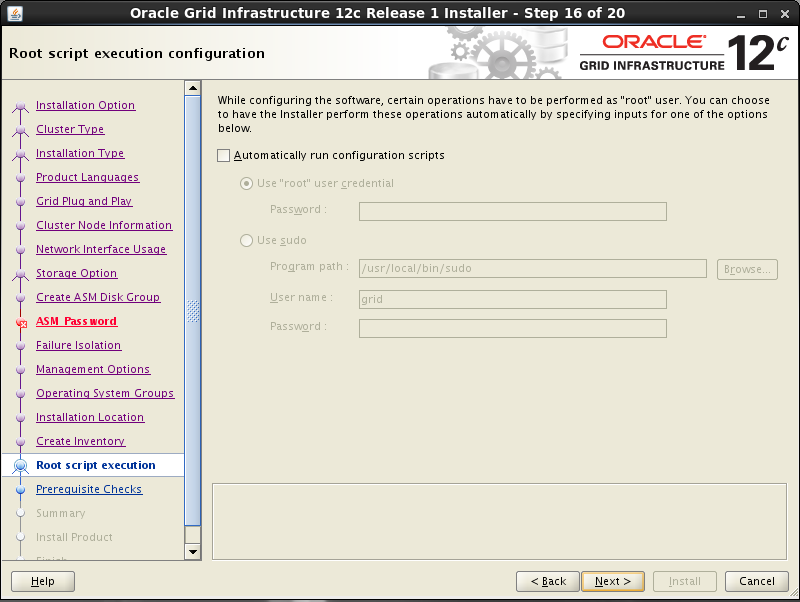
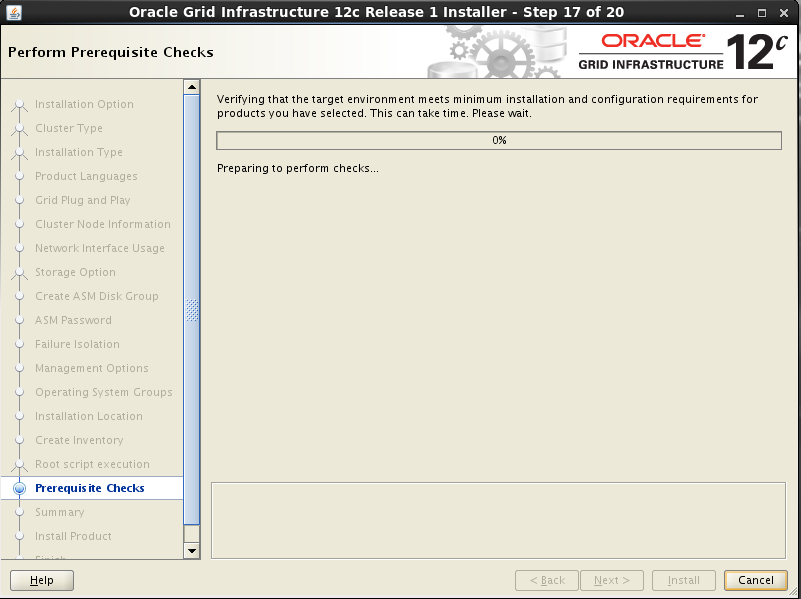
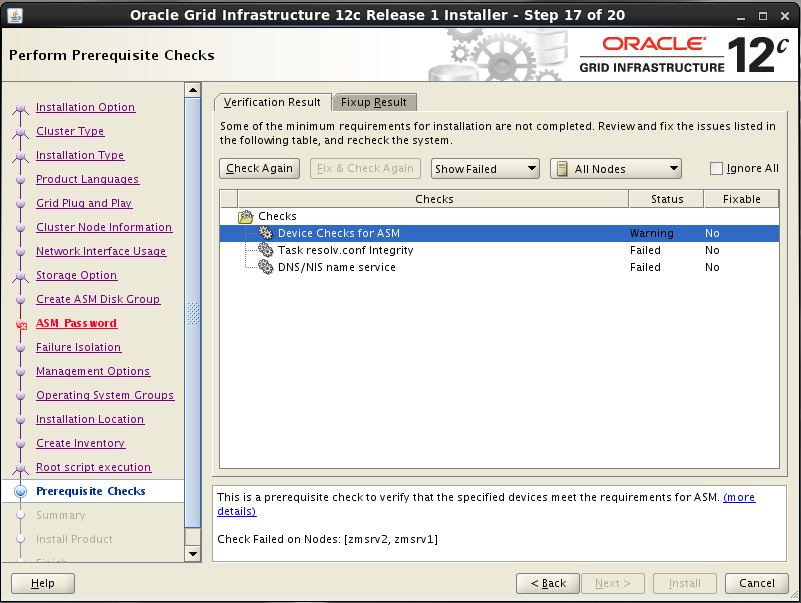
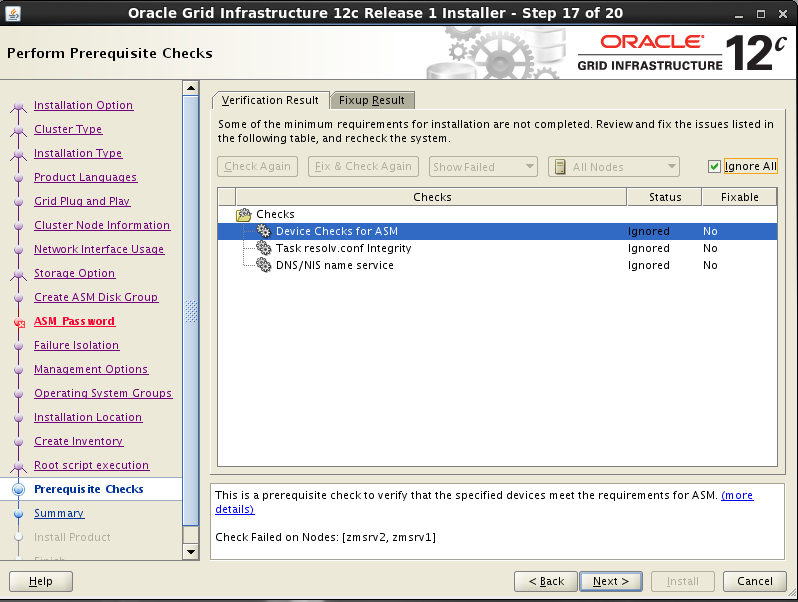
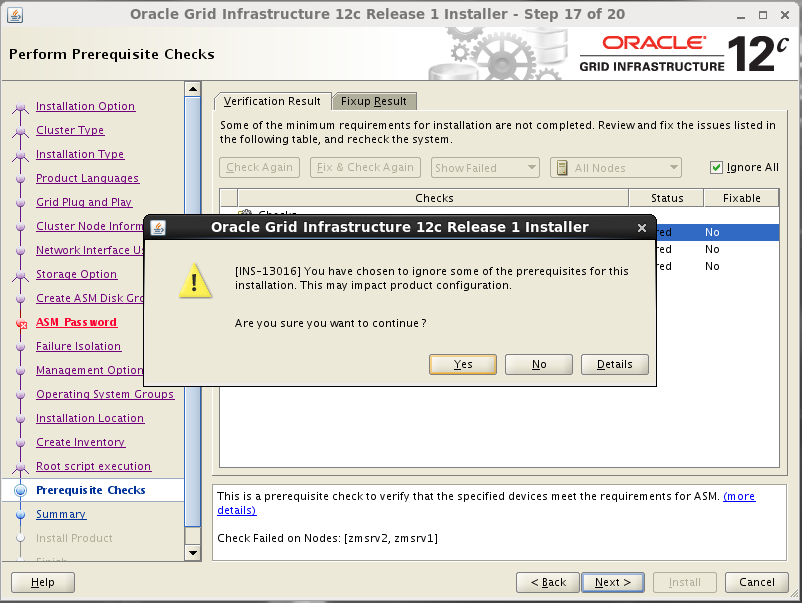

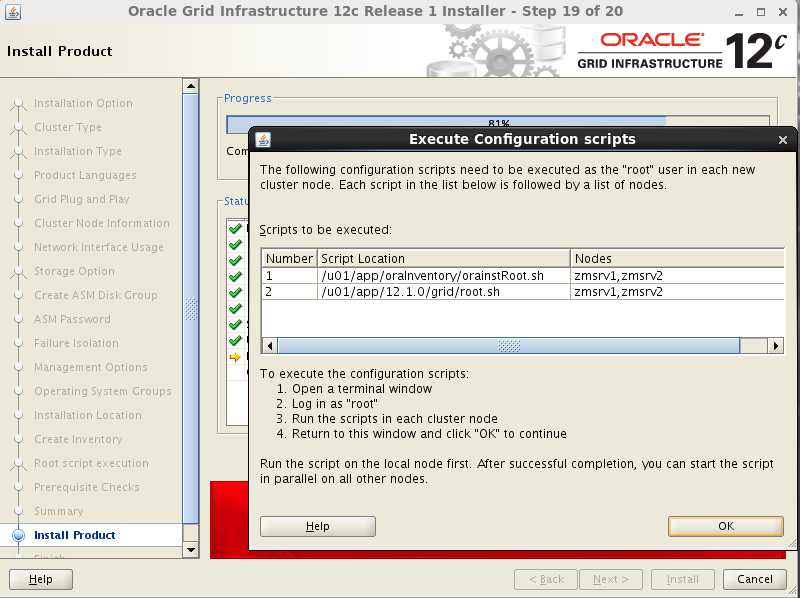
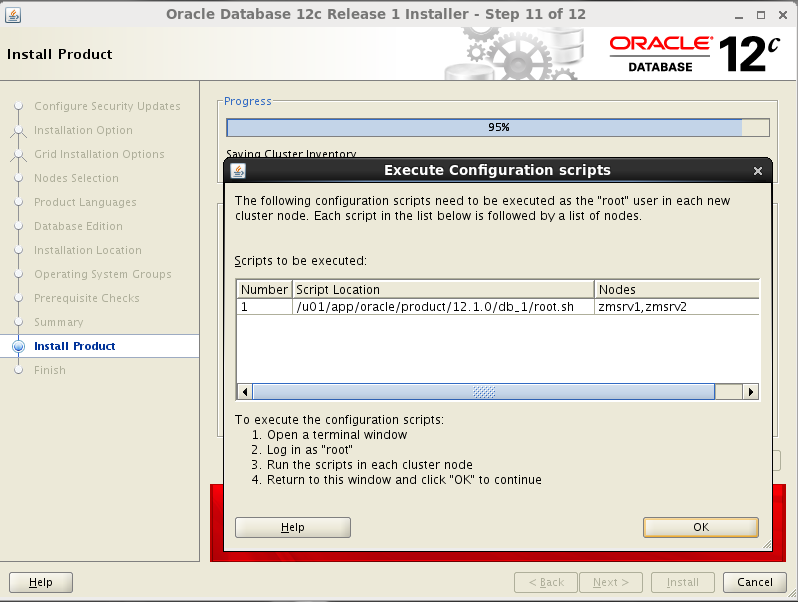
Nas máquinas zmsrv1 e zmsrv2 execute:
/u01/app/oraInventory/orainstRoot.sh
Changing permissions of /u01/app/oraInventory.
Adding read,write permissions for group.
Removing read,write,execute permissions for world.
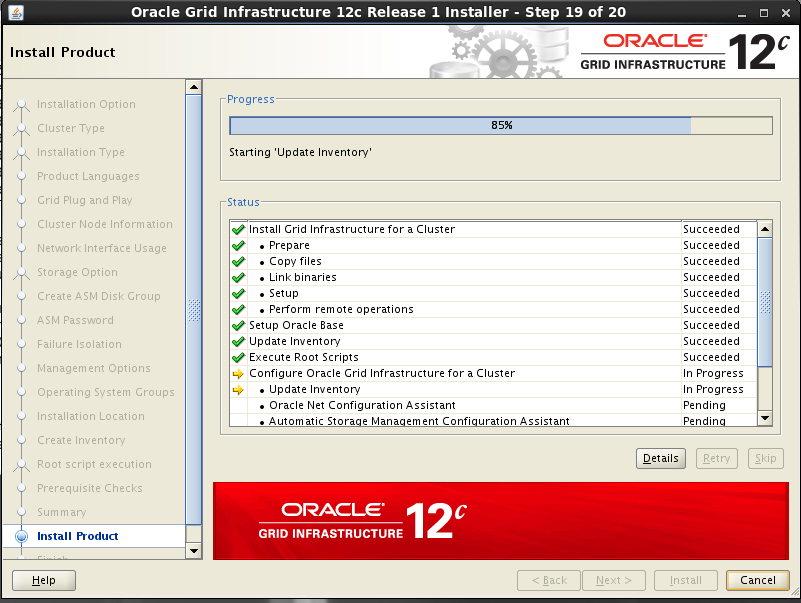
/u01/app/12.1.0/grid/root.sh
Performing root user operation.

The following environment variables are set as:
ORACLE_OWNER= grid
ORACLE_HOME= /u01/app/12.1.0/grid

Enter the full pathname of the local bin directory: [/usr/local/bin]:
Copying dbhome to /usr/local/bin ...
Copying oraenv to /usr/local/bin ...
Copying coraenv to /usr/local/bin ...


Creating /etc/oratab file...
Entries will be added to the /etc/oratab file as needed by
Database Configuration Assistant when a database is created
Finished running generic part of root script.
Now product-specific root actions will be performed.
Using configuration parameter file: /u01/app/12.1.0/grid/crs/install/crsconfig_params
2018/05/31 18:41:56 CLSRSC-4001: Installing Oracle Trace File Analyzer (TFA) Collector.

2018/05/31 18:42:23 CLSRSC-4002: Successfully installed Oracle Trace File Analyzer (TFA) Collector.

2018/05/31 18:42:24 CLSRSC-363: User ignored prerequisites during installation

OLR initialization - successful
2018/05/31 18:43:35 CLSRSC-330: Adding Clusterware entries to file 'oracle-ohasd.conf'

CRS-4133: Oracle High Availability Services has been stopped.
CRS-4123: Oracle High Availability Services has been started.
CRS-4133: Oracle High Availability Services has been stopped.
CRS-4123: Oracle High Availability Services has been started.
CRS-4133: Oracle High Availability Services has been stopped.
CRS-4123: Starting Oracle High Availability Services-managed resources
CRS-2672: Attempting to start 'ora.mdnsd' on 'zmsrv2'
CRS-2672: Attempting to start 'ora.evmd' on 'zmsrv2'
CRS-2676: Start of 'ora.mdnsd' on 'zmsrv2' succeeded
CRS-2676: Start of 'ora.evmd' on 'zmsrv2' succeeded
CRS-2672: Attempting to start 'ora.gpnpd' on 'zmsrv2'
CRS-2676: Start of 'ora.gpnpd' on 'zmsrv2' succeeded
CRS-2672: Attempting to start 'ora.gipcd' on 'zmsrv2'
CRS-2676: Start of 'ora.gipcd' on 'zmsrv2' succeeded
CRS-2672: Attempting to start 'ora.cssdmonitor' on 'zmsrv2'
CRS-2676: Start of 'ora.cssdmonitor' on 'zmsrv2' succeeded
CRS-2672: Attempting to start 'ora.cssd' on 'zmsrv2'
CRS-2672: Attempting to start 'ora.diskmon' on 'zmsrv2'
CRS-2676: Start of 'ora.diskmon' on 'zmsrv2' succeeded
CRS-2676: Start of 'ora.cssd' on 'zmsrv2' succeeded
CRS-2672: Attempting to start 'ora.cluster_interconnect.haip' on 'zmsrv2'
CRS-2672: Attempting to start 'ora.ctssd' on 'zmsrv2'
CRS-2676: Start of 'ora.ctssd' on 'zmsrv2' succeeded
CRS-2676: Start of 'ora.cluster_interconnect.haip' on 'zmsrv2' succeeded
CRS-2672: Attempting to start 'ora.asm' on 'zmsrv2'
CRS-2676: Start of 'ora.asm' on 'zmsrv2' succeeded
CRS-2672: Attempting to start 'ora.storage' on 'zmsrv2'
CRS-2676: Start of 'ora.storage' on 'zmsrv2' succeeded
CRS-2672: Attempting to start 'ora.crf' on 'zmsrv2'
CRS-2676: Start of 'ora.crf' on 'zmsrv2' succeeded
CRS-2672: Attempting to start 'ora.crsd' on 'zmsrv2'
CRS-2676: Start of 'ora.crsd' on 'zmsrv2' succeeded
CRS-6017: Processing resource auto-start for servers: zmsrv2
CRS-2672: Attempting to start 'ora.net1.network' on 'zmsrv2'
CRS-2676: Start of 'ora.net1.network' on 'zmsrv2' succeeded
CRS-2672: Attempting to start 'ora.ons' on 'zmsrv2'
CRS-2676: Start of 'ora.ons' on 'zmsrv2' succeeded
CRS-2673: Attempting to stop 'ora.LISTENER_SCAN1.lsnr' on 'zmsrv1'
CRS-2677: Stop of 'ora.LISTENER_SCAN1.lsnr' on 'zmsrv1' succeeded
CRS-2673: Attempting to stop 'ora.scan1.vip' on 'zmsrv1'
CRS-2677: Stop of 'ora.scan1.vip' on 'zmsrv1' succeeded
CRS-2672: Attempting to start 'ora.scan1.vip' on 'zmsrv2'
CRS-2676: Start of 'ora.scan1.vip' on 'zmsrv2' succeeded
CRS-2672: Attempting to start 'ora.LISTENER_SCAN1.lsnr' on 'zmsrv2'
CRS-2676: Start of 'ora.LISTENER_SCAN1.lsnr' on 'zmsrv2' succeeded
CRS-6016: Resource auto-start has completed for server zmsrv2
CRS-6024: Completed start of Oracle Cluster Ready Services-managed resources
CRS-4123: Oracle High Availability Services has been started.
2018/05/31 18:46:29 CLSRSC-343: Successfully started Oracle Clusterware stack

2018/05/31 18:46:44 CLSRSC-325: Configure Oracle Grid Infrastructure for a Cluster ... succeeded


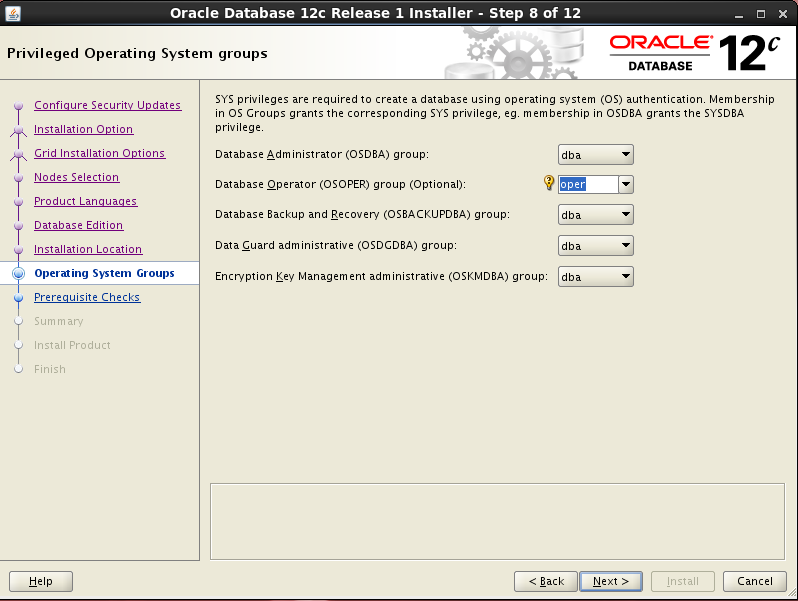
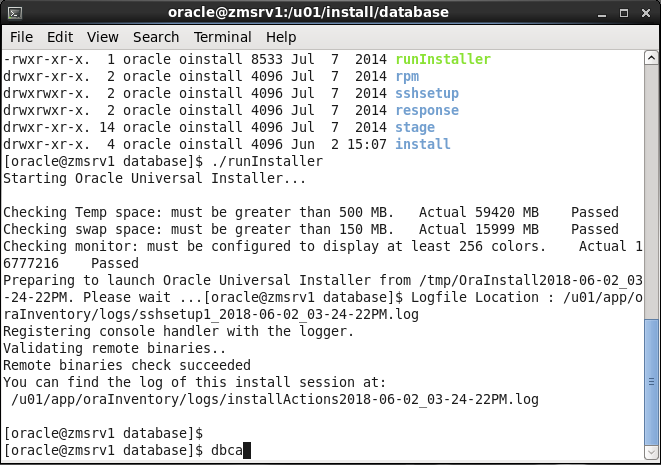
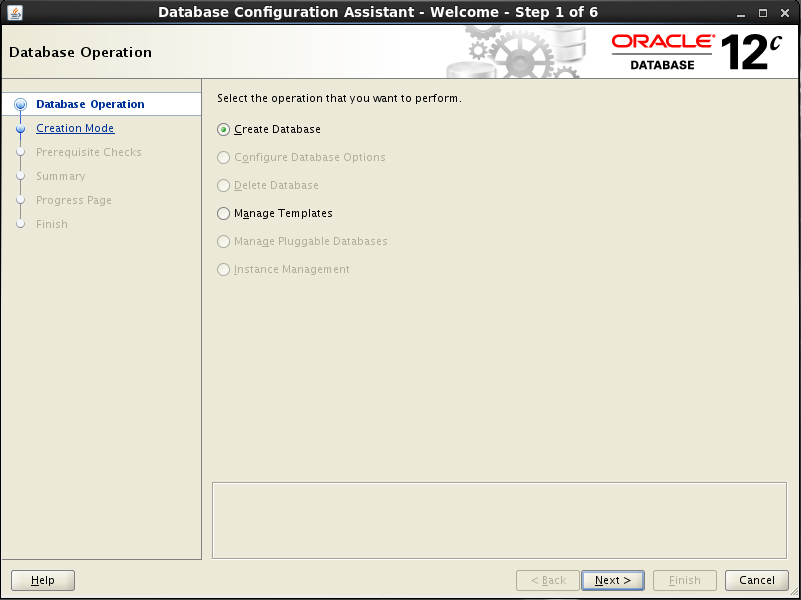
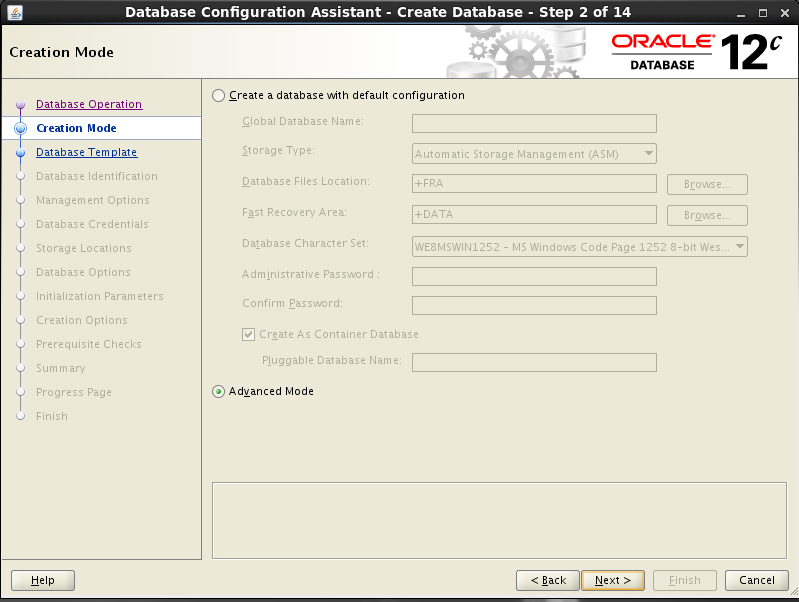
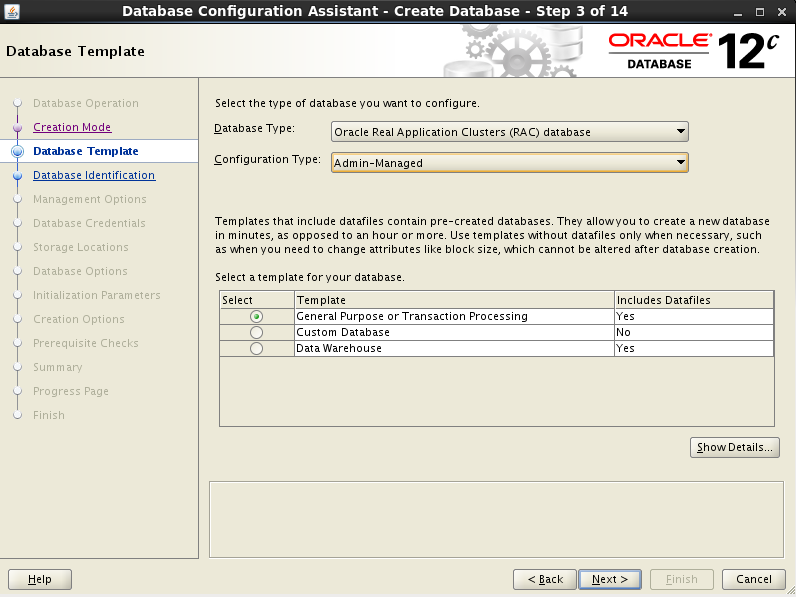
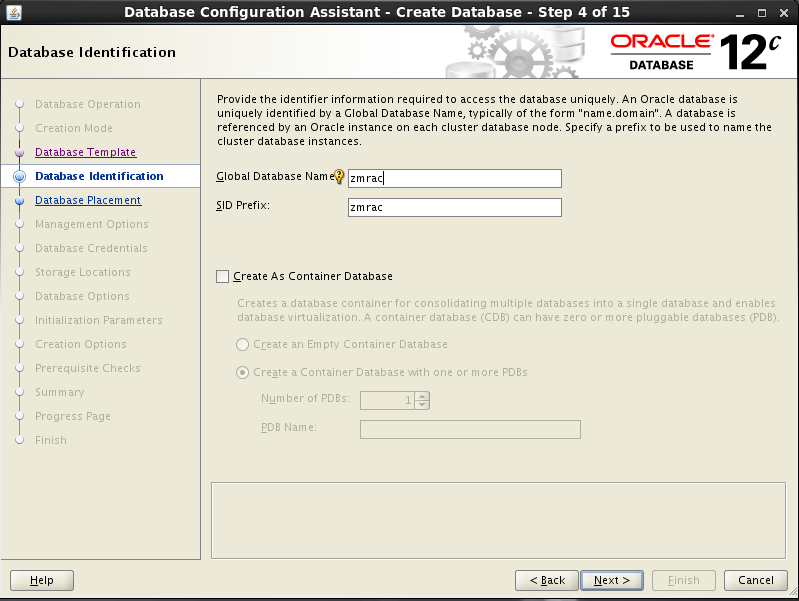
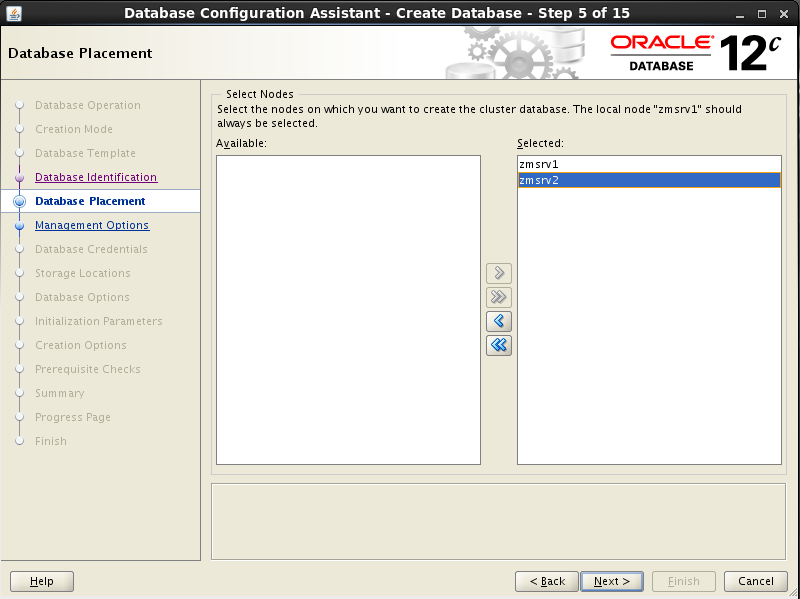
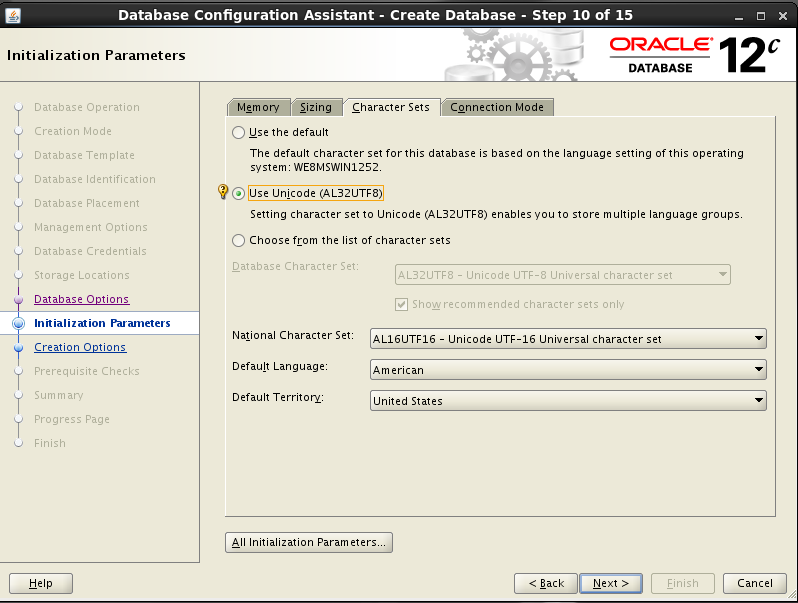
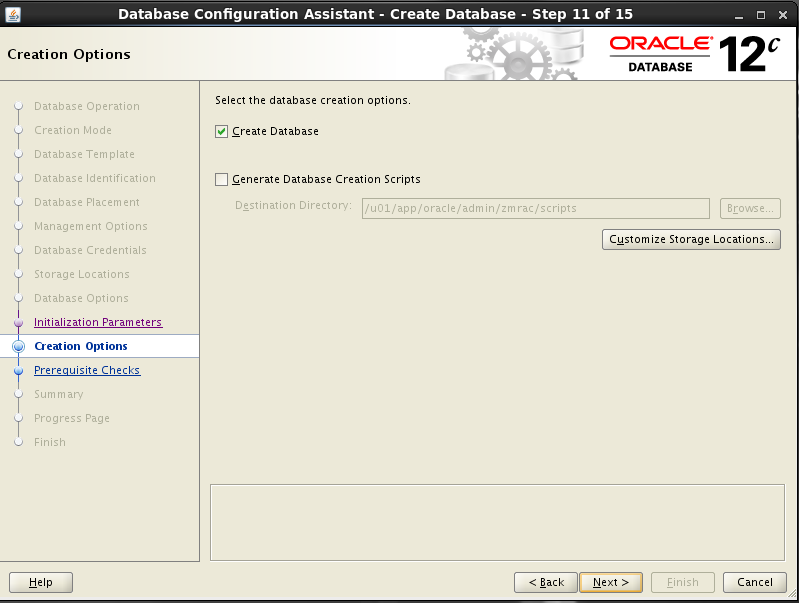
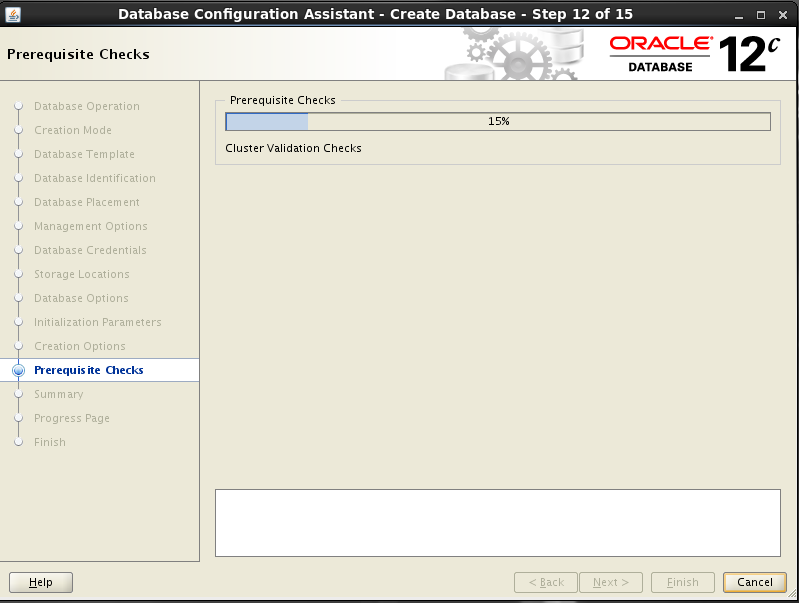
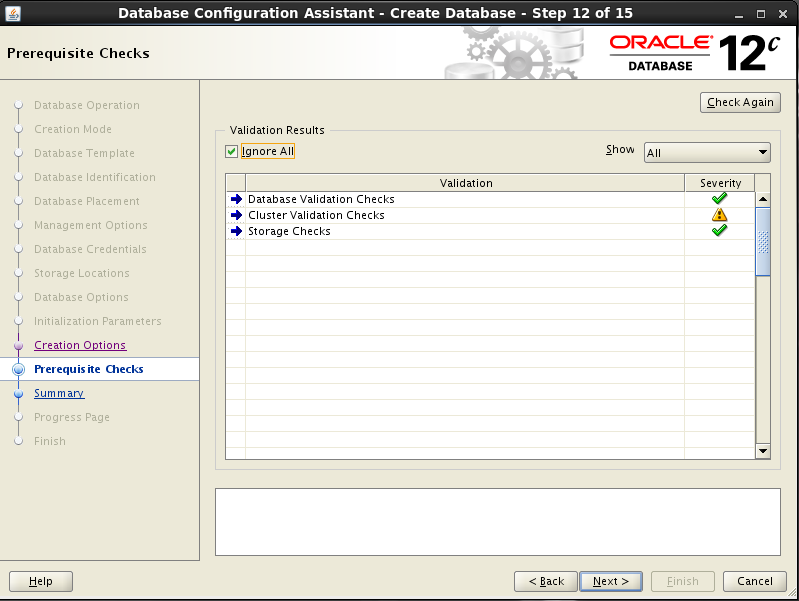
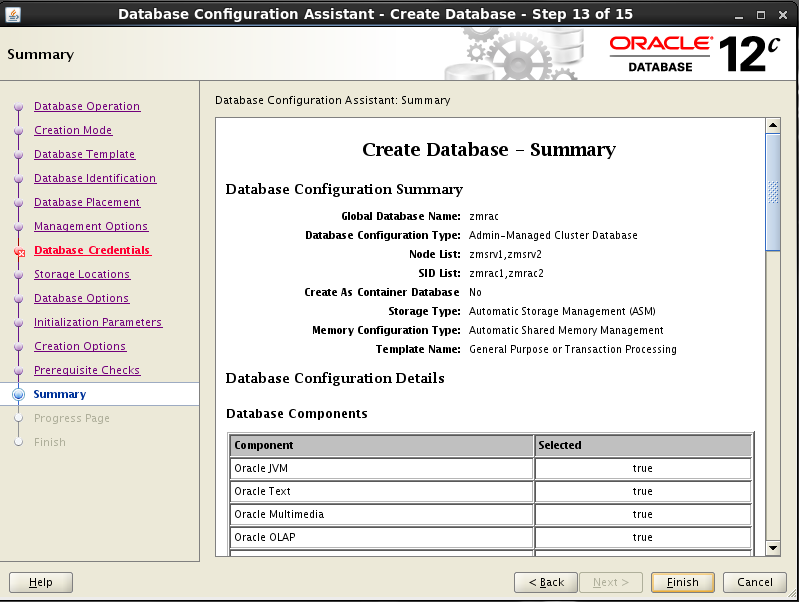
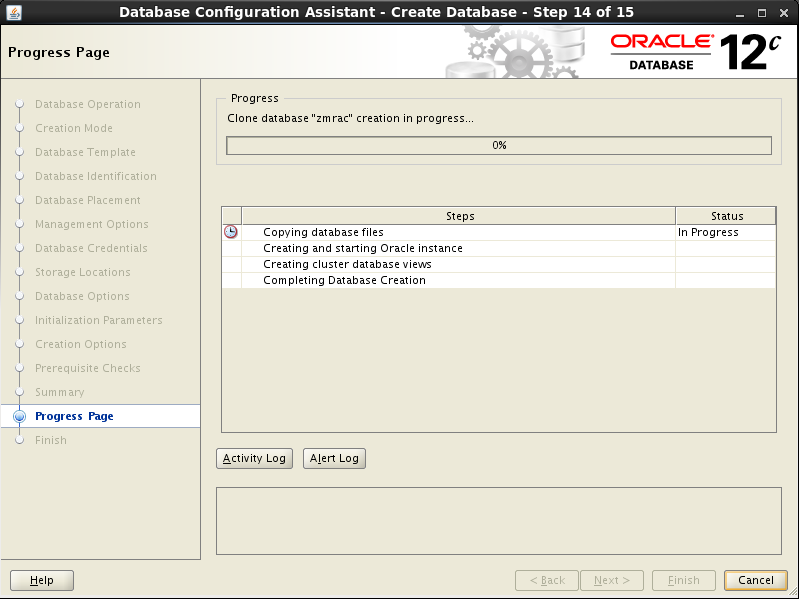
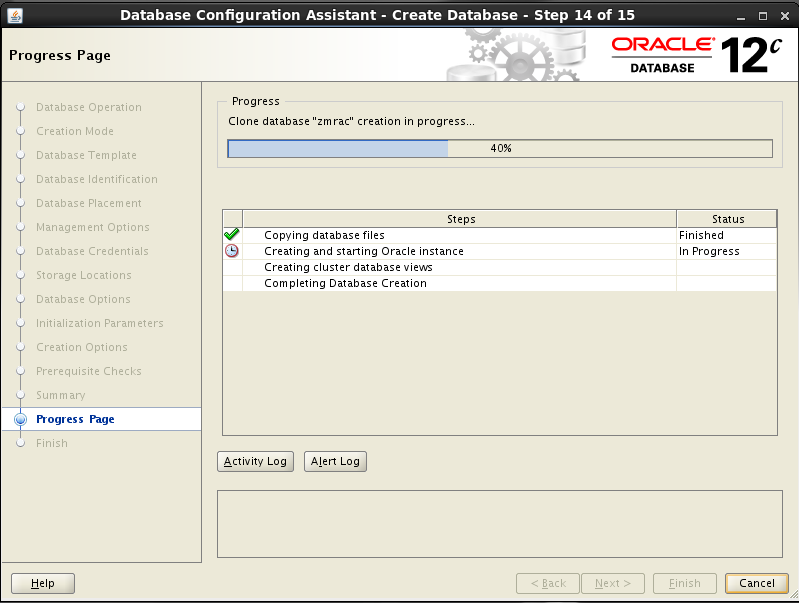
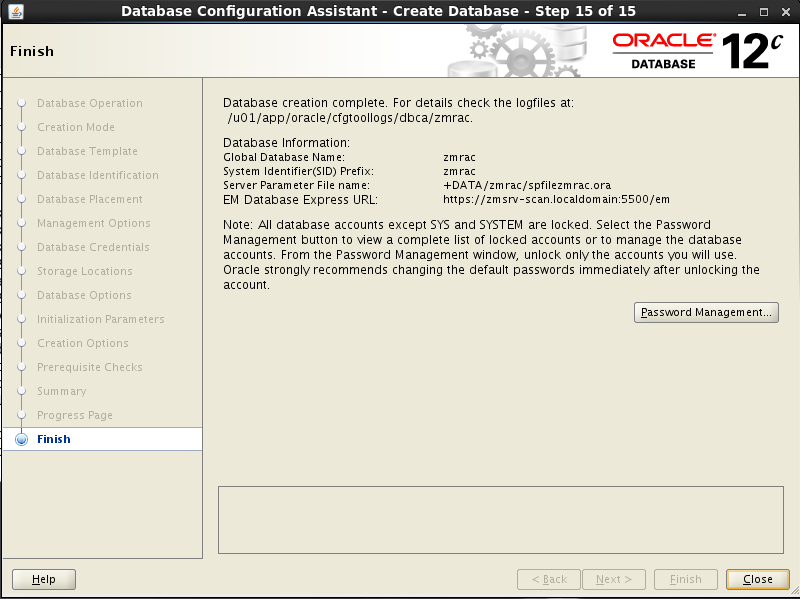
Com o usuário Oracle execute o procedimento abaixo: